
Your makeup brushes shape how colors blend and how flawless your look appears. Even small residue, oil, and bacteria affect performance and skin comfort.
Properly cleaning makeup brushes protects bristles, prevents shedding, and maintains their shape. Soft, well-maintained brushes allow foundation, powder, and eyeshadow to glide smoothly.
Knowing how to clean makeup brushes correctly can transform your routine, helping you enjoy consistent application and vibrant colors. Discovering the right methods makes your tools last longer and look pristine.
From gentle cleansing to careful drying, simple habits extend brush life and keep your makeup flawless. Understanding these nuances gives you control over hygiene and performance every day.
What Happens when Makeup Brushes Stay Dirty?
Leaving makeup brushes unclean lets oils, sweat, and leftover product accumulate. This creates bacteria that can irritate the skin and cause breakouts.
Bacteria multiply in leftover product, and excess oils cause bristles to clump, preventing smooth blending. This can lead to streaks, smudges, or uneven powder application.
Foundation streaks, eyeshadow smudges, and powder clumps happen because the bristles can’t pick up product properly.
Regular cleaning keeps your brushes soft and hygienic. Your makeup applies evenly, colors stay true, and your skin avoids unnecessary irritation or clogged pores.
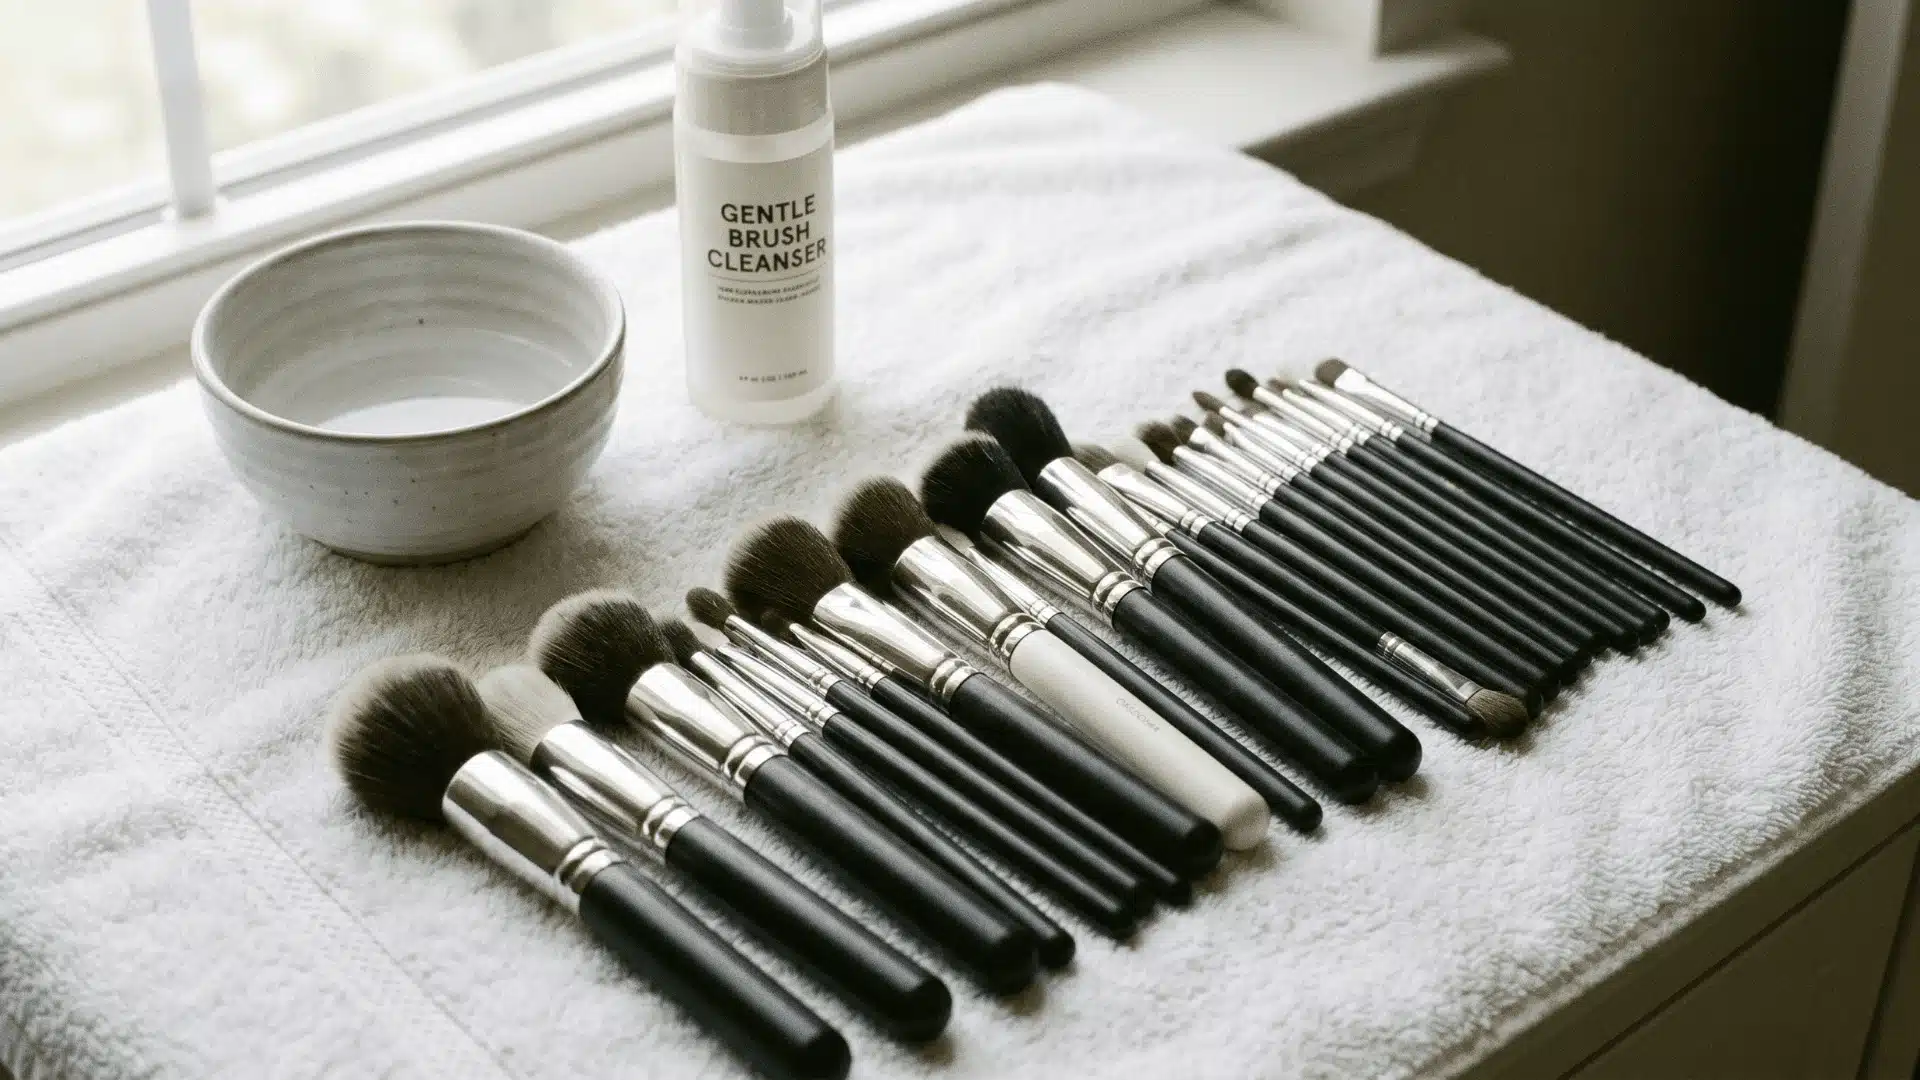
Preparing Your Makeup Brushes for Cleaning
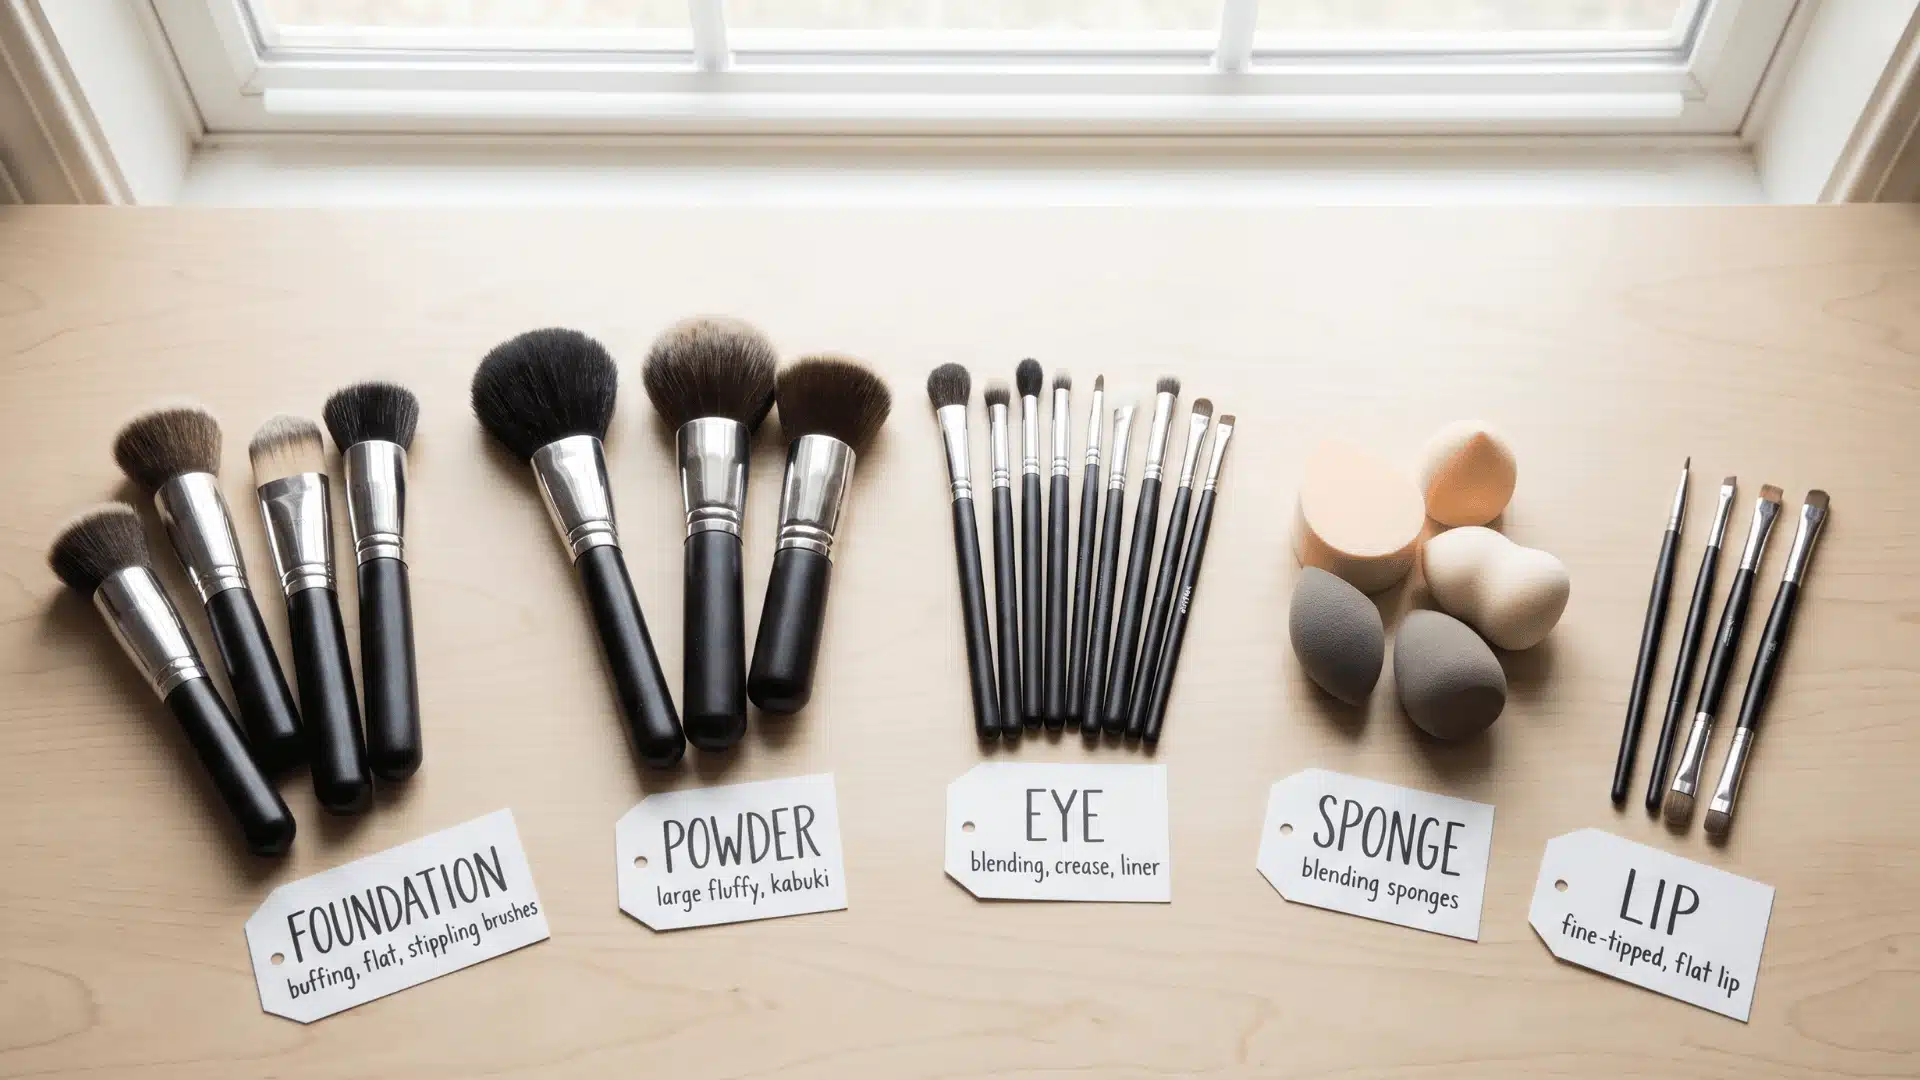
Setting up your brushes correctly before washing is essential. Different brush types and materials respond differently to water and cleansers, so knowing what you have helps prevent damage.
Prepping brushes by type ensures that water and cleanser interact properly with the bristles, protecting their shape and integrity.
| Brush Type | Cleaning Frequency | Notes on Handling and Prep |
|---|---|---|
| Foundation/Concealer Brushes | Daily or every other day | Dense bristles, prone to oil buildup; hold downward while washing. |
| Powder Brushes | Weekly | Softer, fluffier bristles; avoid soaking handles. |
| Eye Makeup Brushes | Weekly | Small and delicate; swirl gently on palm or mat. |
| Sponges/Dense Tools | Monthly Deep Clean | Thick fibers trap makeup; allow extra drying time. |
| Lip Brushes | After each use | Can carry bacteria quickly; use a gentle cleanser. |
| Angled or Specialty Brushes | Weekly or as needed | Unique shapes require careful swirling to maintain form. |
Following this table helps you tailor your prep to each tool. Proper setup ensures your brushes stay soft, hygienic, and long-lasting.
How to Clean Makeup Brushes? Step-By-Step Guide
Cleaning your brushes the right way protects both your tools and your skin. Follow these steps carefully to remove makeup residue without damaging bristles or handles.
Step 1: Choosing the Right Cleanser

Start with a gentle liquid soap, baby shampoo, or a specialized brush cleanser. These remove makeup effectively without stripping the bristles’ natural oils, keeping them soft and flexible.
Avoid harsh detergents or strong chemicals. They can make bristles stiff, brittle, and prone to falling out. The right cleanser helps keep your brushes healthy and lasts longer.
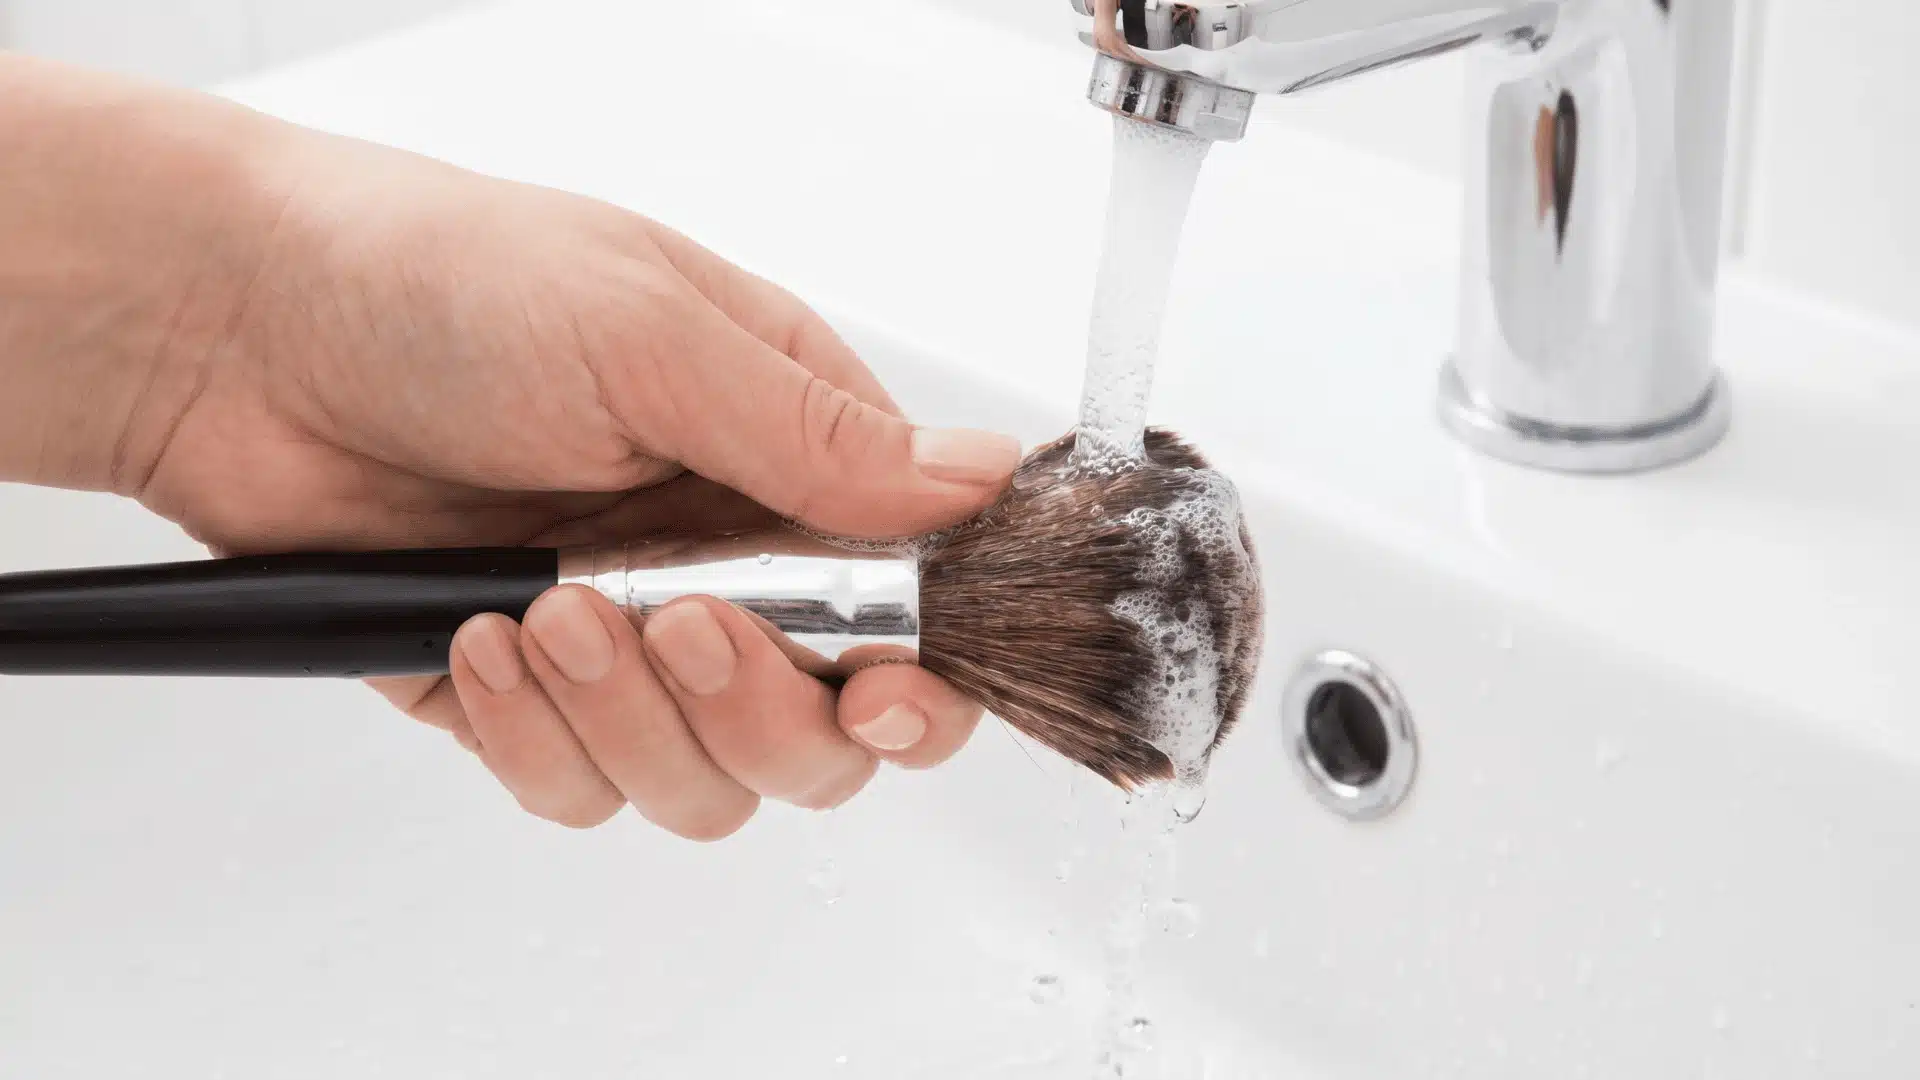
Step 2: Swirling and Lathering Technique

Wet the bristles with lukewarm water and apply a small amount of cleanser. Swirl the brush on your palm or a silicone mat to lift makeup thoroughly.
Circular motions lift makeup without fraying the bristles, and pressing too hard can damage their shape. For delicate eye brushes, use extra gentle pressure; dense foundation brushes require slightly firmer swirling.
Step 3: Rinsing and Squeezing
Rinse the brush under lukewarm water until it runs clear. Always keep the bristles facing down to prevent water from seeping into the ferrule, which can weaken the glue and loosen the bristles.
Gently squeeze the bristles from the base to the tip to remove any leftover soap and residue.
Avoid twisting or pulling on the bristles. Improper handling can loosen the ferrule or deform the brush, reducing lifespan and performance. Patience ensures brushes stay intact.
Step 4: Drying Properly
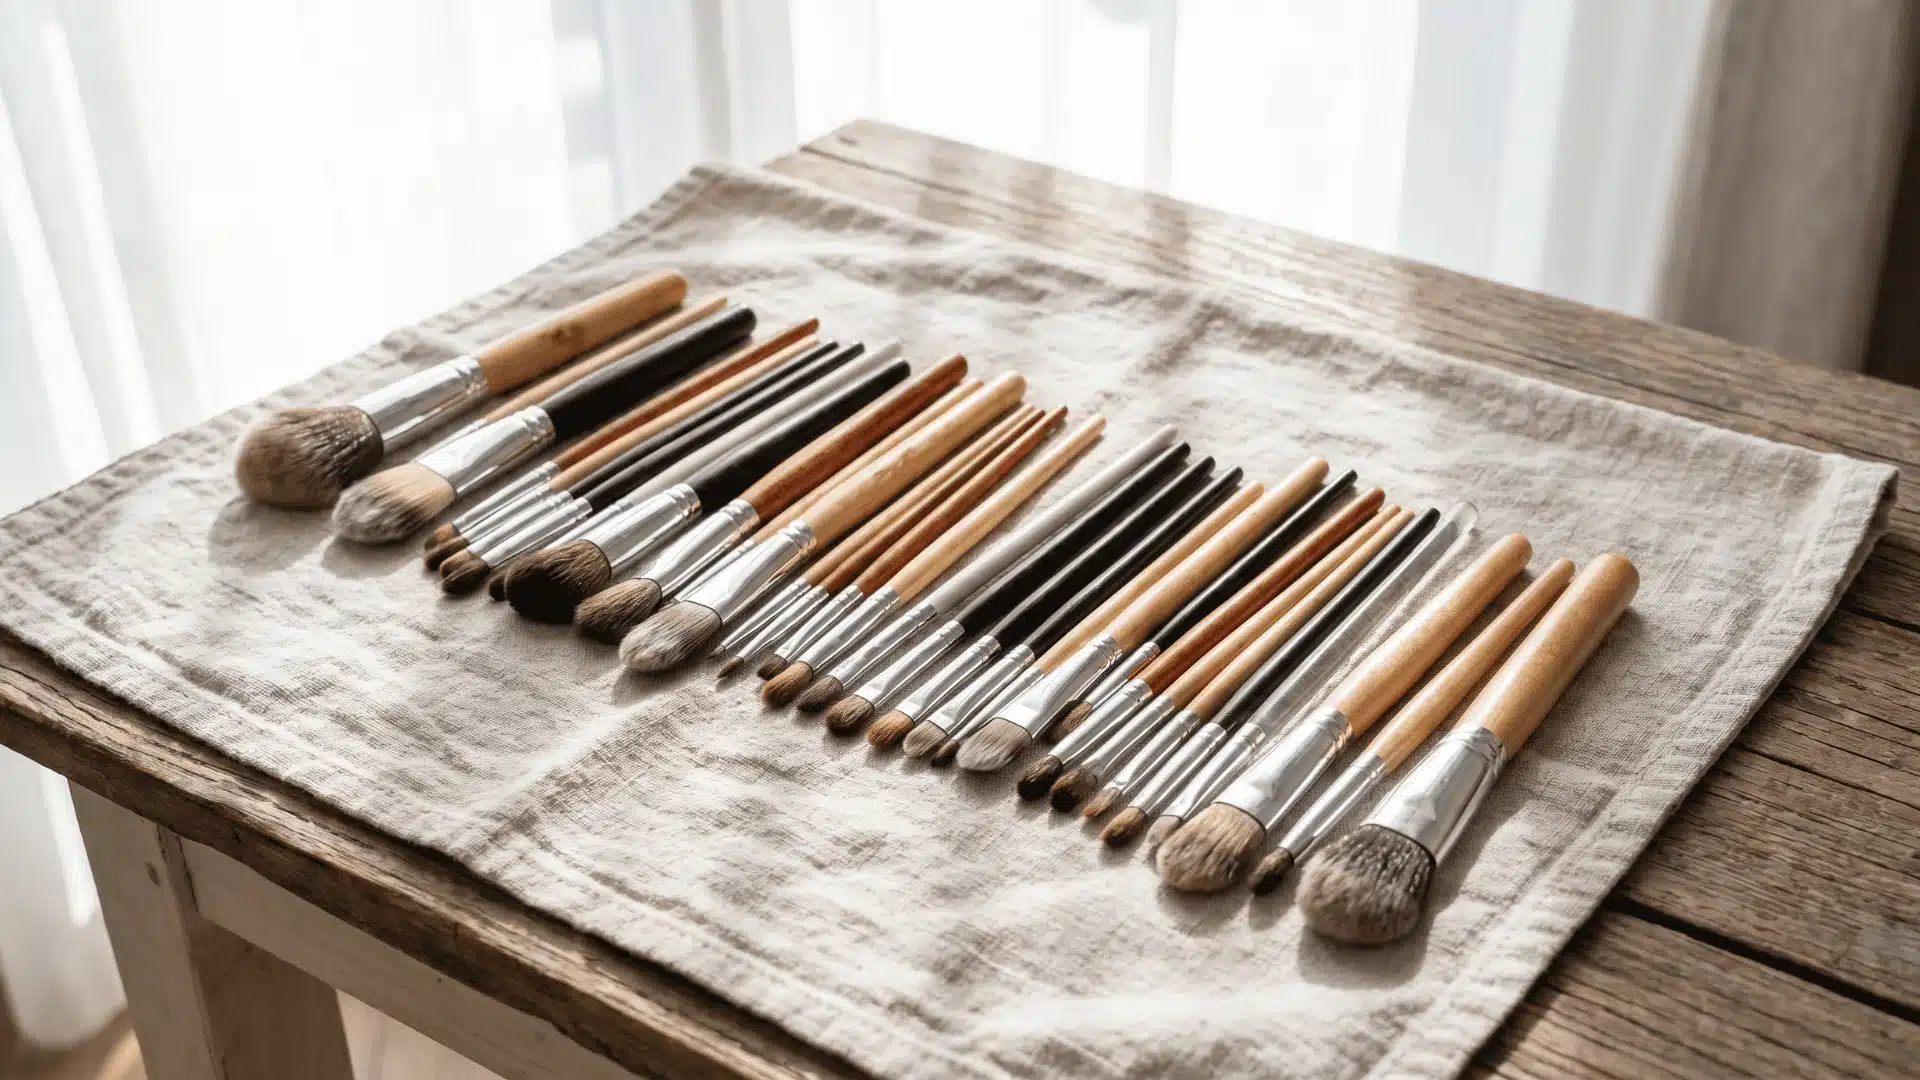
Lay brushes flat or slightly downward on a towel. This prevents water from seeping into the ferrule, which could weaken glue and cause bristles to fall out.
Do not stand brushes upright while wet. Let them dry completely before use. Proper drying preserves shape, prevents mildew, and keeps your brushes performing smoothly for every application.
Common Mistakes to Avoid
Even when using the right cleanser, small errors can damage your brushes. Being aware of them helps your tools last longer and stay effective.
- Soaking the Entire Brush: Submerging the handle and ferrule weakens glue, causing bristles to fall out.
- Using Hot Water: High temperatures can warp bristles and degrade adhesives.
- Storing Wet Brushes Upright: Water seeps into the ferrule, damaging both glue and handle.
- Twisting or Pulling Bristles: Rough handling during washing can fray bristles and shorten the brush’s life.
Each of these mistakes not only damages your brush but can also affect makeup application, so correcting them ensures smoother results and longer-lasting tools.
Tips and Suggestions for Maintaining Brushes Longer
Small habits can significantly extend your brushes’ life and keep them performing at their best. Following a few simple practices makes cleaning easier and protects your tools.
- Rotate Brushes Between Washes: Reduces wear and prevents overuse of a single tool.
- Store in a Ventilated Area: Keeps brushes dry and prevents mold or bacteria growth.
- Use Solid Soaps or Silicone Mats: Makes cleaning faster and gentler on bristles.
- Consider Automated Brush Cleaners: A convenient option for regular deep cleaning without damaging brushes.
By following these tips, your brushes stay soft, hygienic, and long-lasting, ensuring consistent makeup application every time.
Note: Quick daily spot cleans combined with deep weekly washes keep brushes performing at their best.
Conclusion
Keeping brushes clean ensures smooth application, vibrant colors, and a healthy skin environment. Proper care prevents buildup that damages bristles and impacts makeup performance.
By following recommended cleansing, rinsing, and drying methods, your brushes remain soft and resilient. Healthy tools support precise, effortless application every time you use them.
Reflecting on your routine, small adjustments in handling and storage make a significant difference. Knowing how to clean makeup brushes effectively helps you maintain hygiene and prolongs brush lifespan.
Take action today by integrating these habits into your routine. Clean, well-kept brushes enhance every look, saving time and giving you professional-quality results at home.
Frequently Asked Questions
How Often Should I Clean Makeup Brushes for Best Results?
You should clean brushes used with liquid or cream products at least once a week and brushes for powder products every 1–2 weeks to keep bacteria and buildup low.
Can I Use Household Items to Clean Makeup Brushes?
Yes. Gentle items like baby shampoo or mild facial cleanser work well. Avoid harsh soaps or strong chemicals that can dry out bristles.
Is There a Way to Clean Glitter from Makeup Brushes?
Start with a gentle oil-based cleanser to break down the glitter adhesive, then wash as usual. This helps lift stubborn particles from bristles.
When Should I Replace My Makeup Brushes Entirely?
Replace brushes when bristles start to fray, shed, lose shape, or no longer apply makeup evenly, even after cleaning.