
Removing acrylic nails at home is completely doable when you know the right steps. The process does not have to be painful or leave your natural nails in rough shape.
Whether you are using acetone or looking for a gentler option, the key is to take your time and not rush any stage.
If you are thinking about your next set after removal, celebrity nail trends worth trying might give you some fresh ideas.
This article walks you through everything from preparation to aftercare so your natural nails come out as healthy as possible.
What Should You Do Before Removing Acrylic Nails?
Proper preparation makes acrylic nail removal safer and reduces the risk of damaging your natural nails.
Rushing into the process without the right tools or knowledge is one of the most common reasons people end up with weak, peeling nails afterward.
Taking a few minutes to get ready can make a real difference in how your nails look and feel once the acrylics come off.
Tools and Supplies You’ll Need
|
When You Should Consider Professional Removal
If your acrylics are lifting, cracked, or have been on for a full set cycle without a fill, a nail technician may be the safer choice.
Most sets need a fill every 2 to 3 weeks and full removal by the 6 to 8 week mark. Most people are surprised by how quickly acrylics wear down before removal becomes necessary.
The same applies if your natural nails already feel thin or sensitive. Trying to remove acrylic nails at home when the nail bed is compromised can lead to breaks, infections, or longer recovery times. When in doubt, a salon visit is worth it.
How do You Remove Acrylic Nails?
The safest way to remove acrylic nails is to soften the material gradually before attempting to lift it from the natural nail.
Skipping steps or rushing the soak time is what causes the most damage, so working through each stage carefully gives your natural nails the best chance of coming out intact.
1. Gather Your Removal Supplies
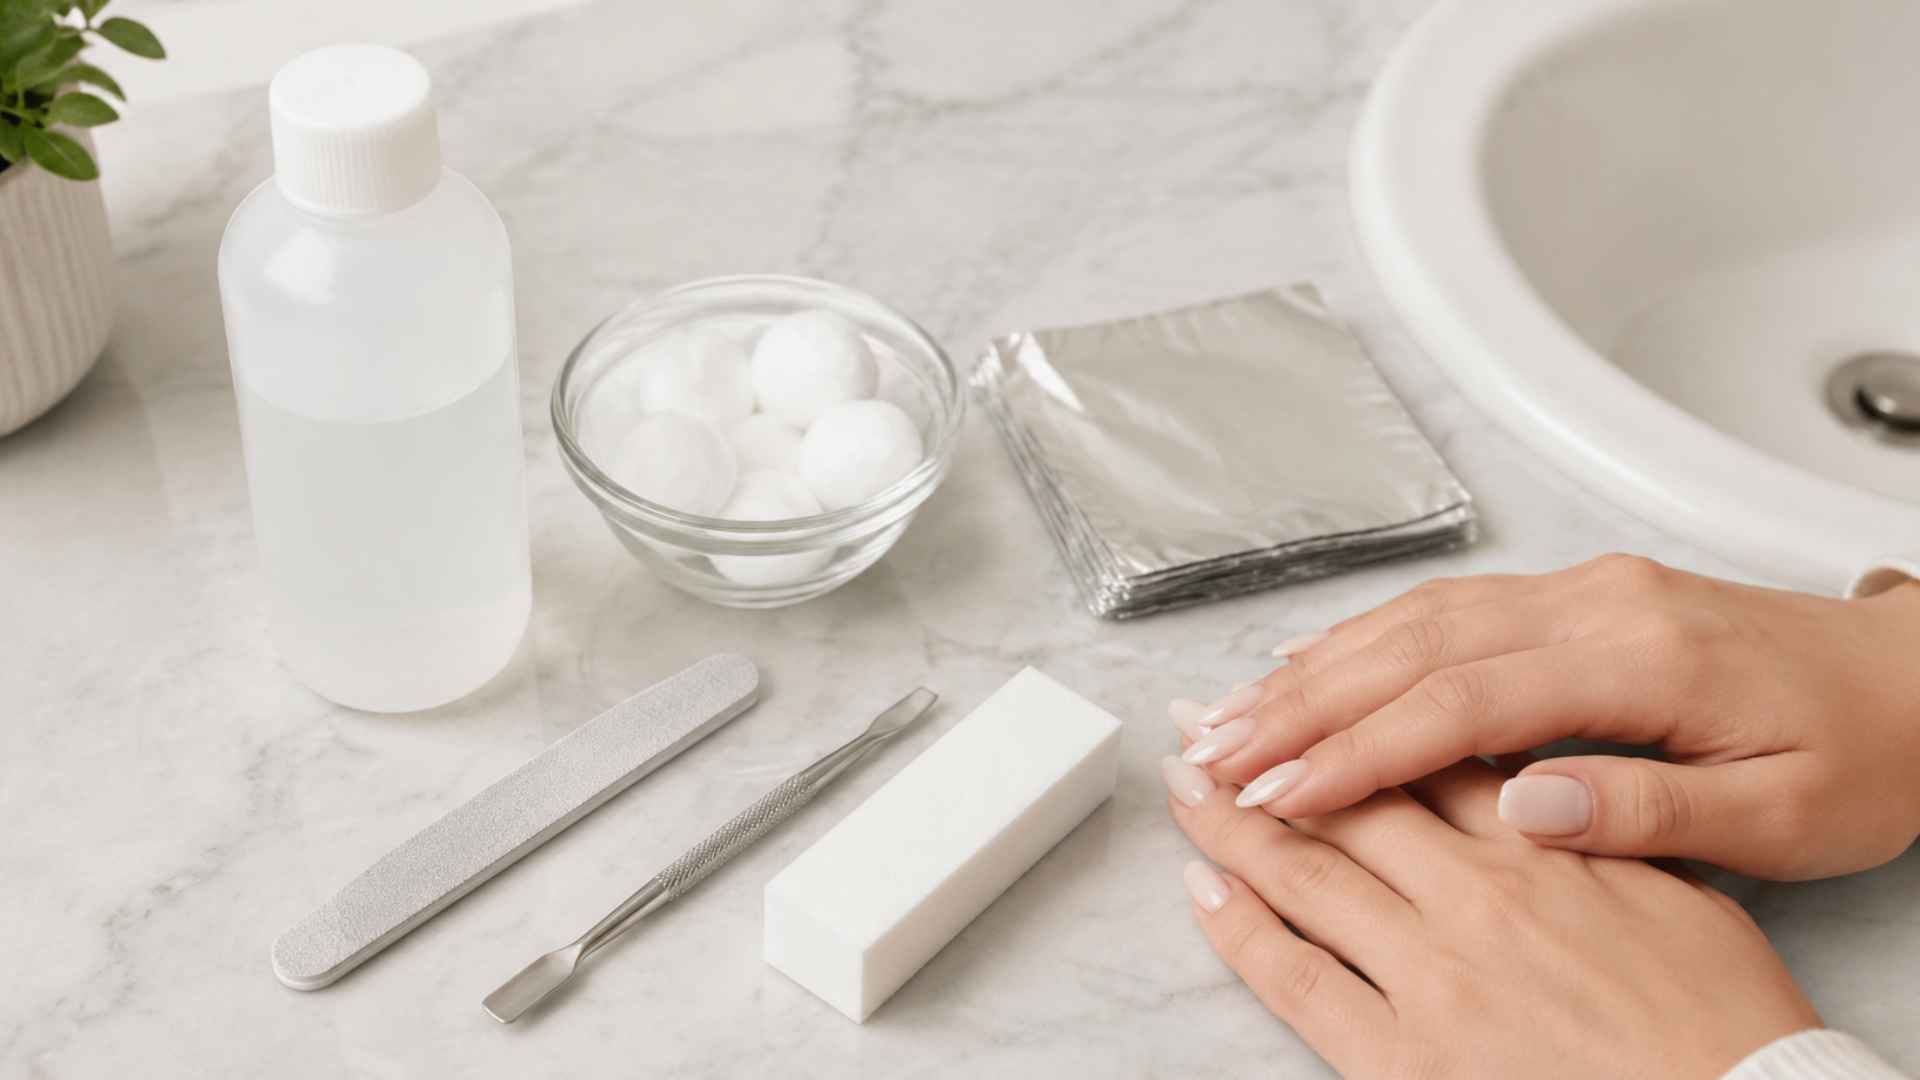
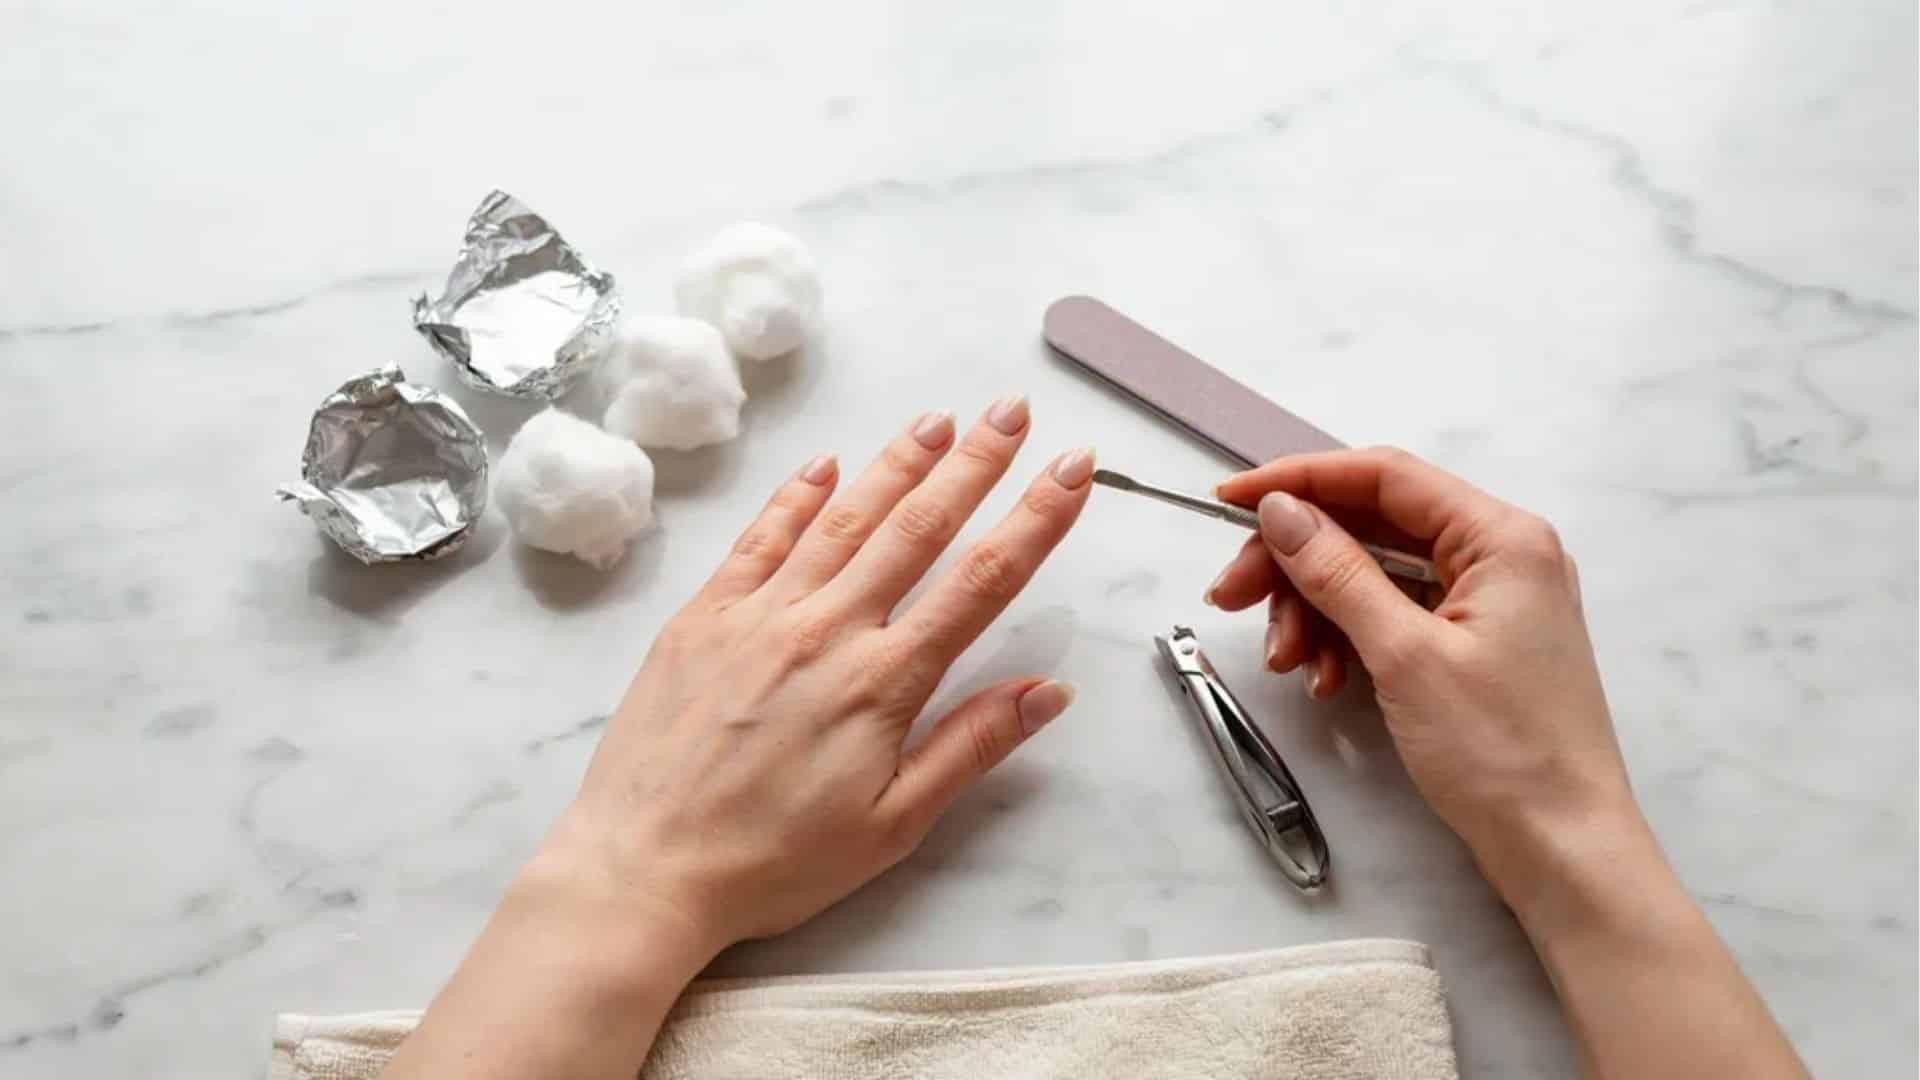
Set everything out before you begin. You will need 100% pure acetone, cotton balls, small squares of aluminum foil, a nail file, a cuticle pusher, and a buffer.
Having it all ready means the process stays uninterrupted from start to finish.
2. Trim the Acrylic Nails Short
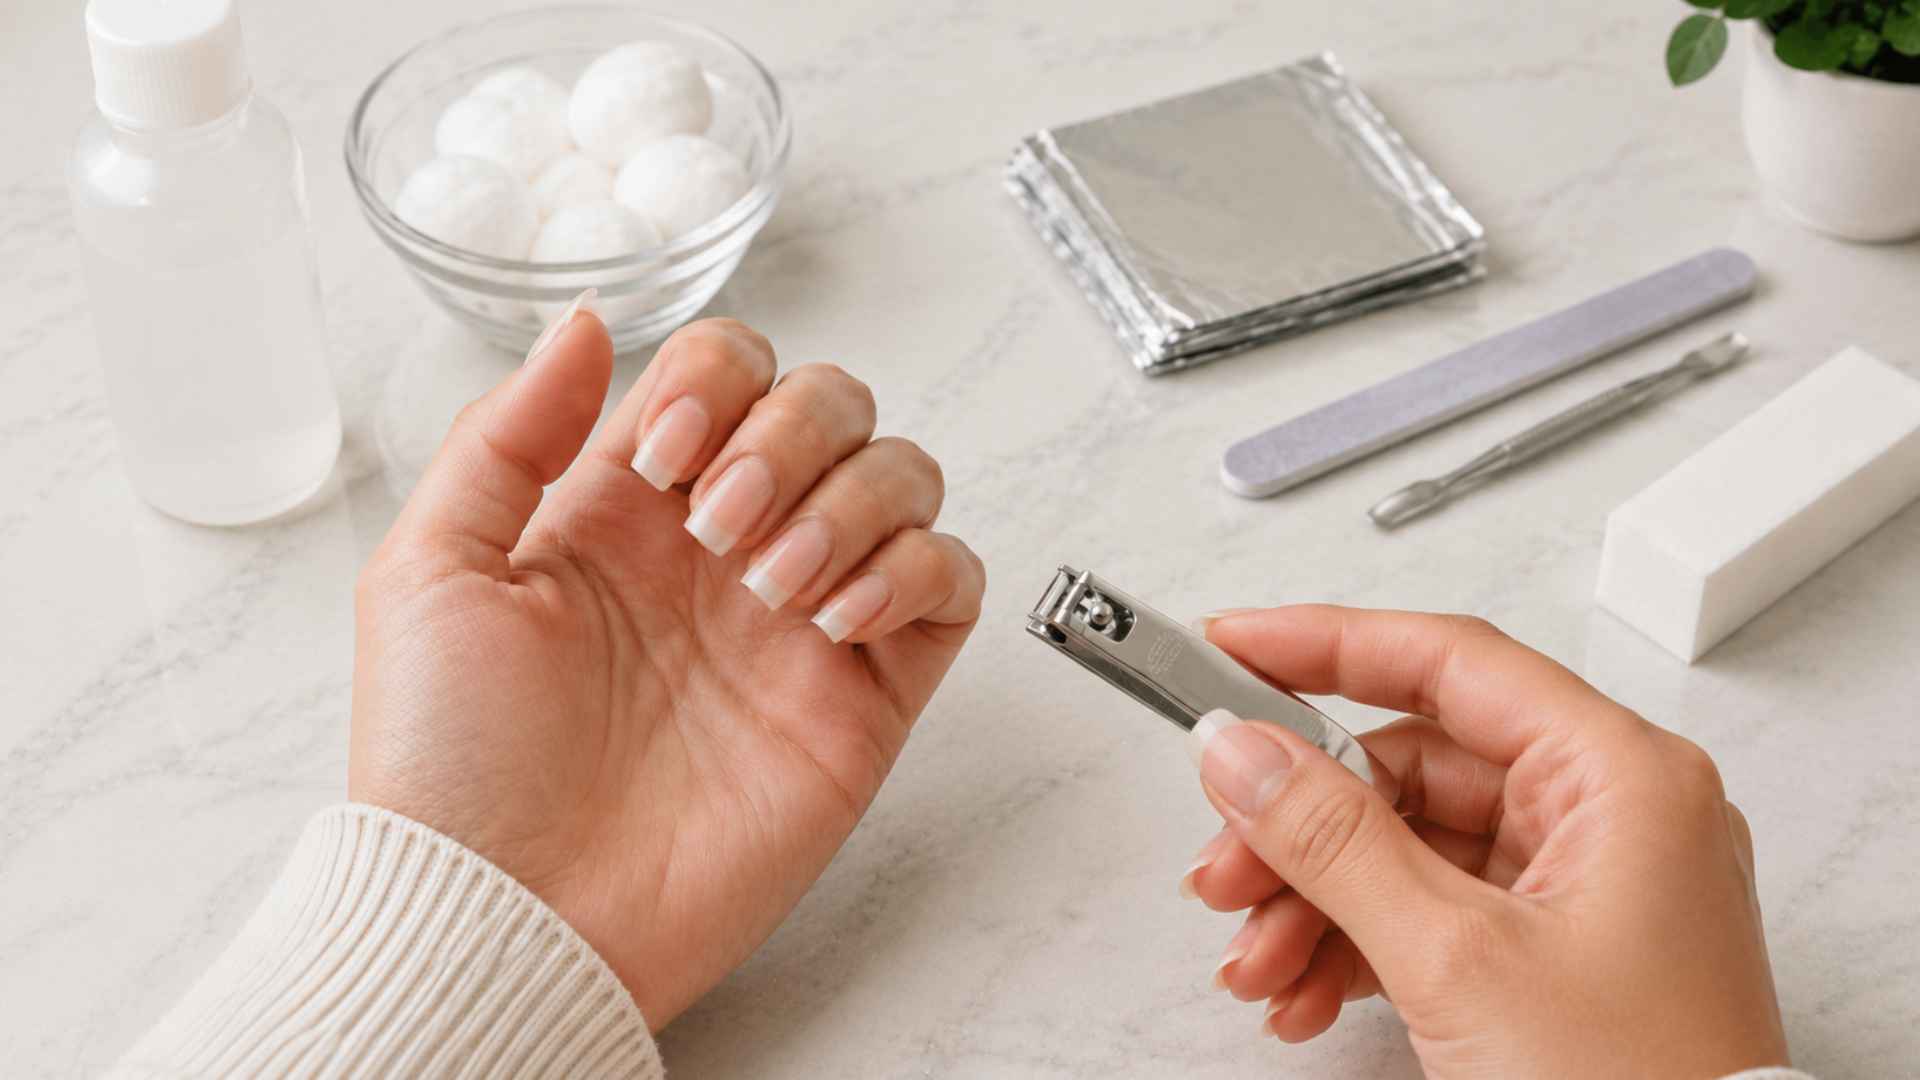
Use nail clippers to cut the acrylic down as short as possible without cutting into your natural nail.
Shorter nails mean less acrylic for the acetone to break down, which cuts soaking time and reduces the chance of the acrylic snagging or cracking during removal.
3. File Off the Top Layer
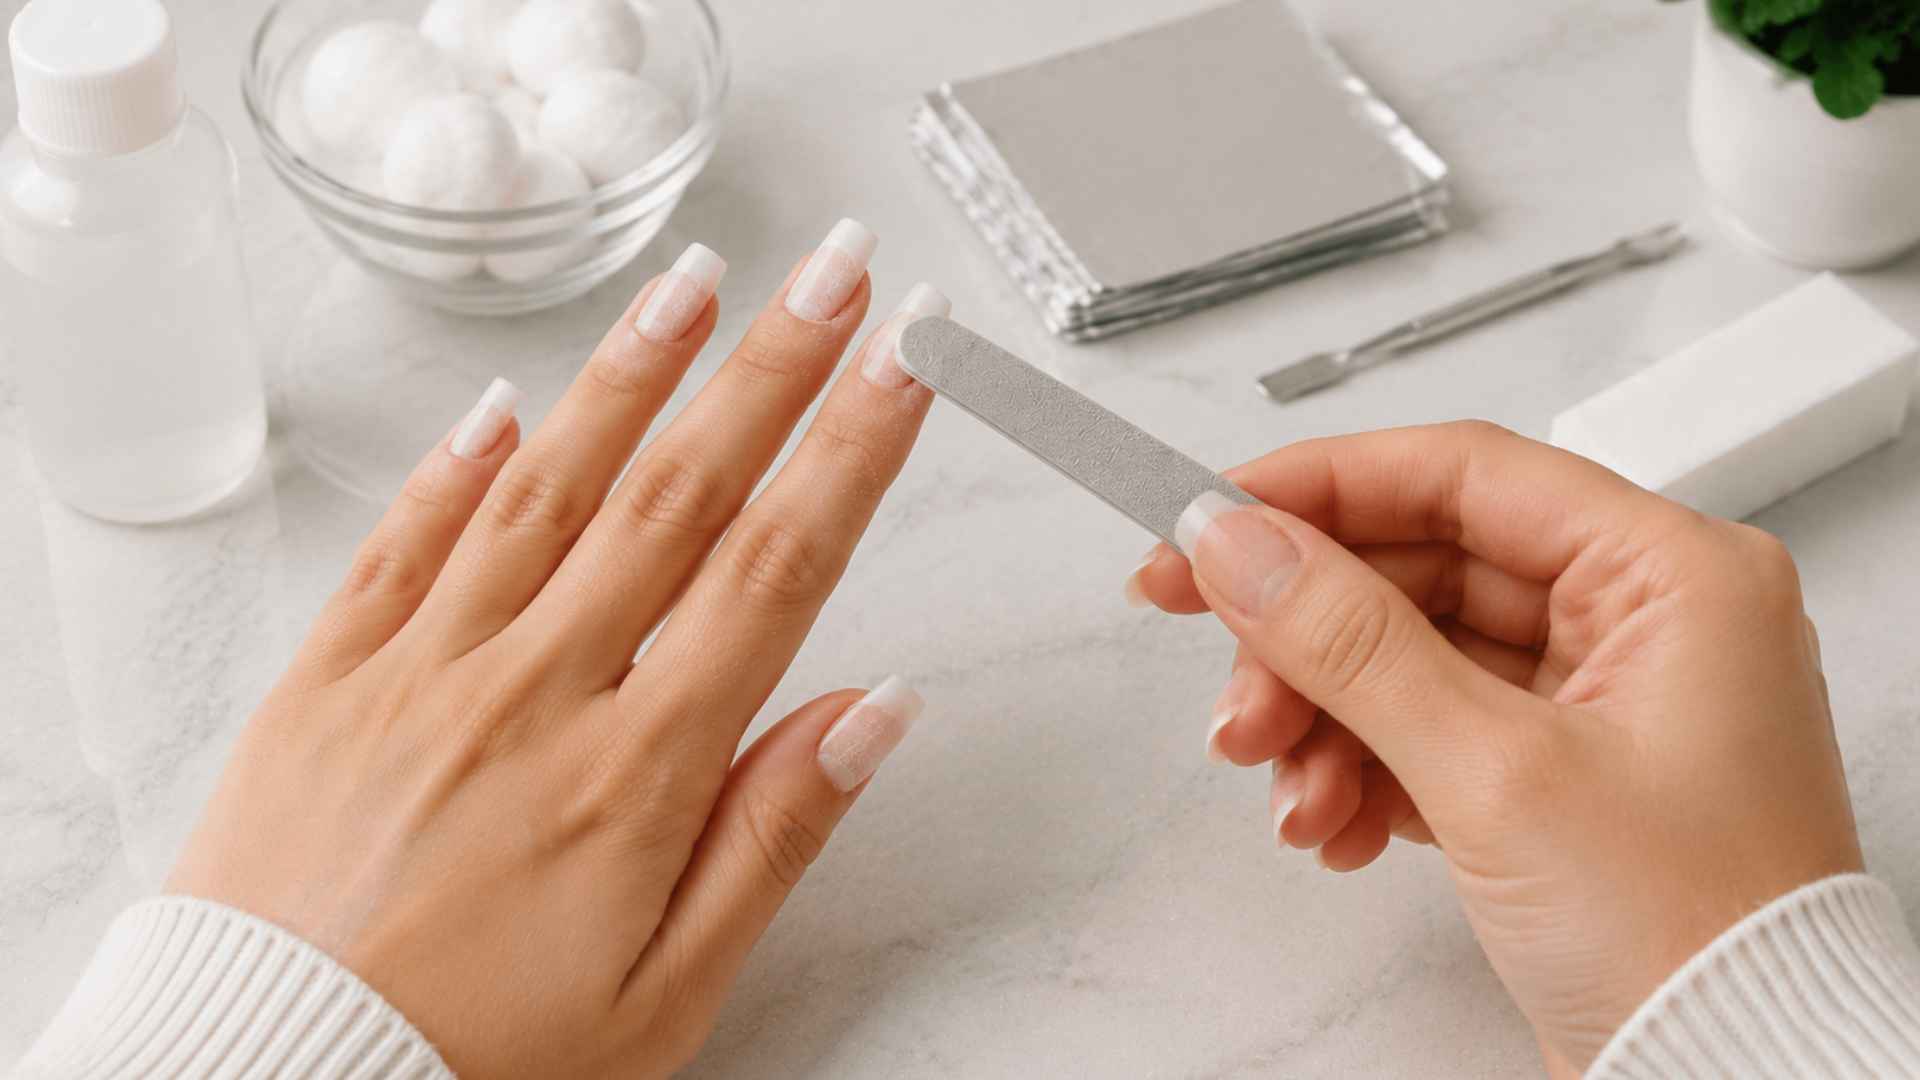
Use a coarse nail file to buff away the shiny topcoat across the entire surface of each nail. This step matters because acetone cannot penetrate a sealed surface efficiently.
Removing the top layer gives the acetone direct access to the acrylic underneath, which speeds up the softening process and makes the soak far more effective.
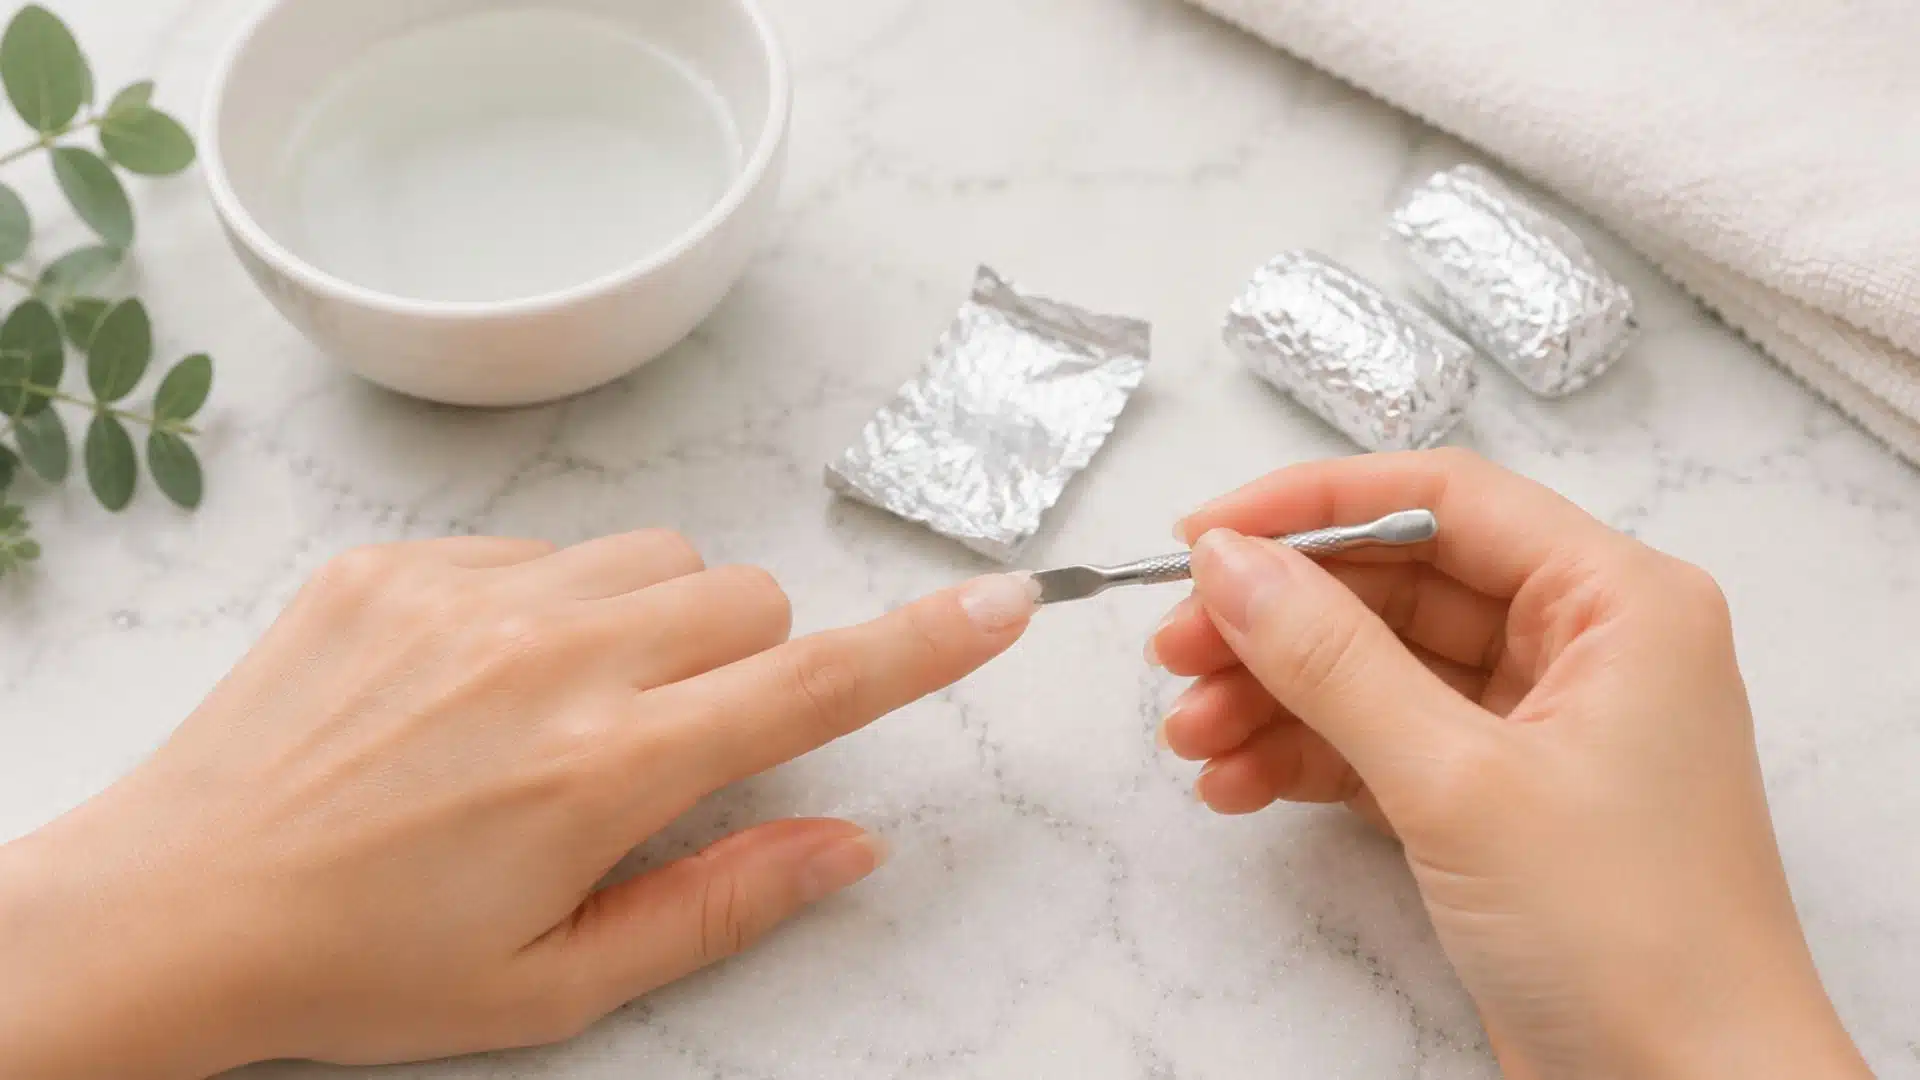
4. Soak Nails Using Acetone and Foil Wraps
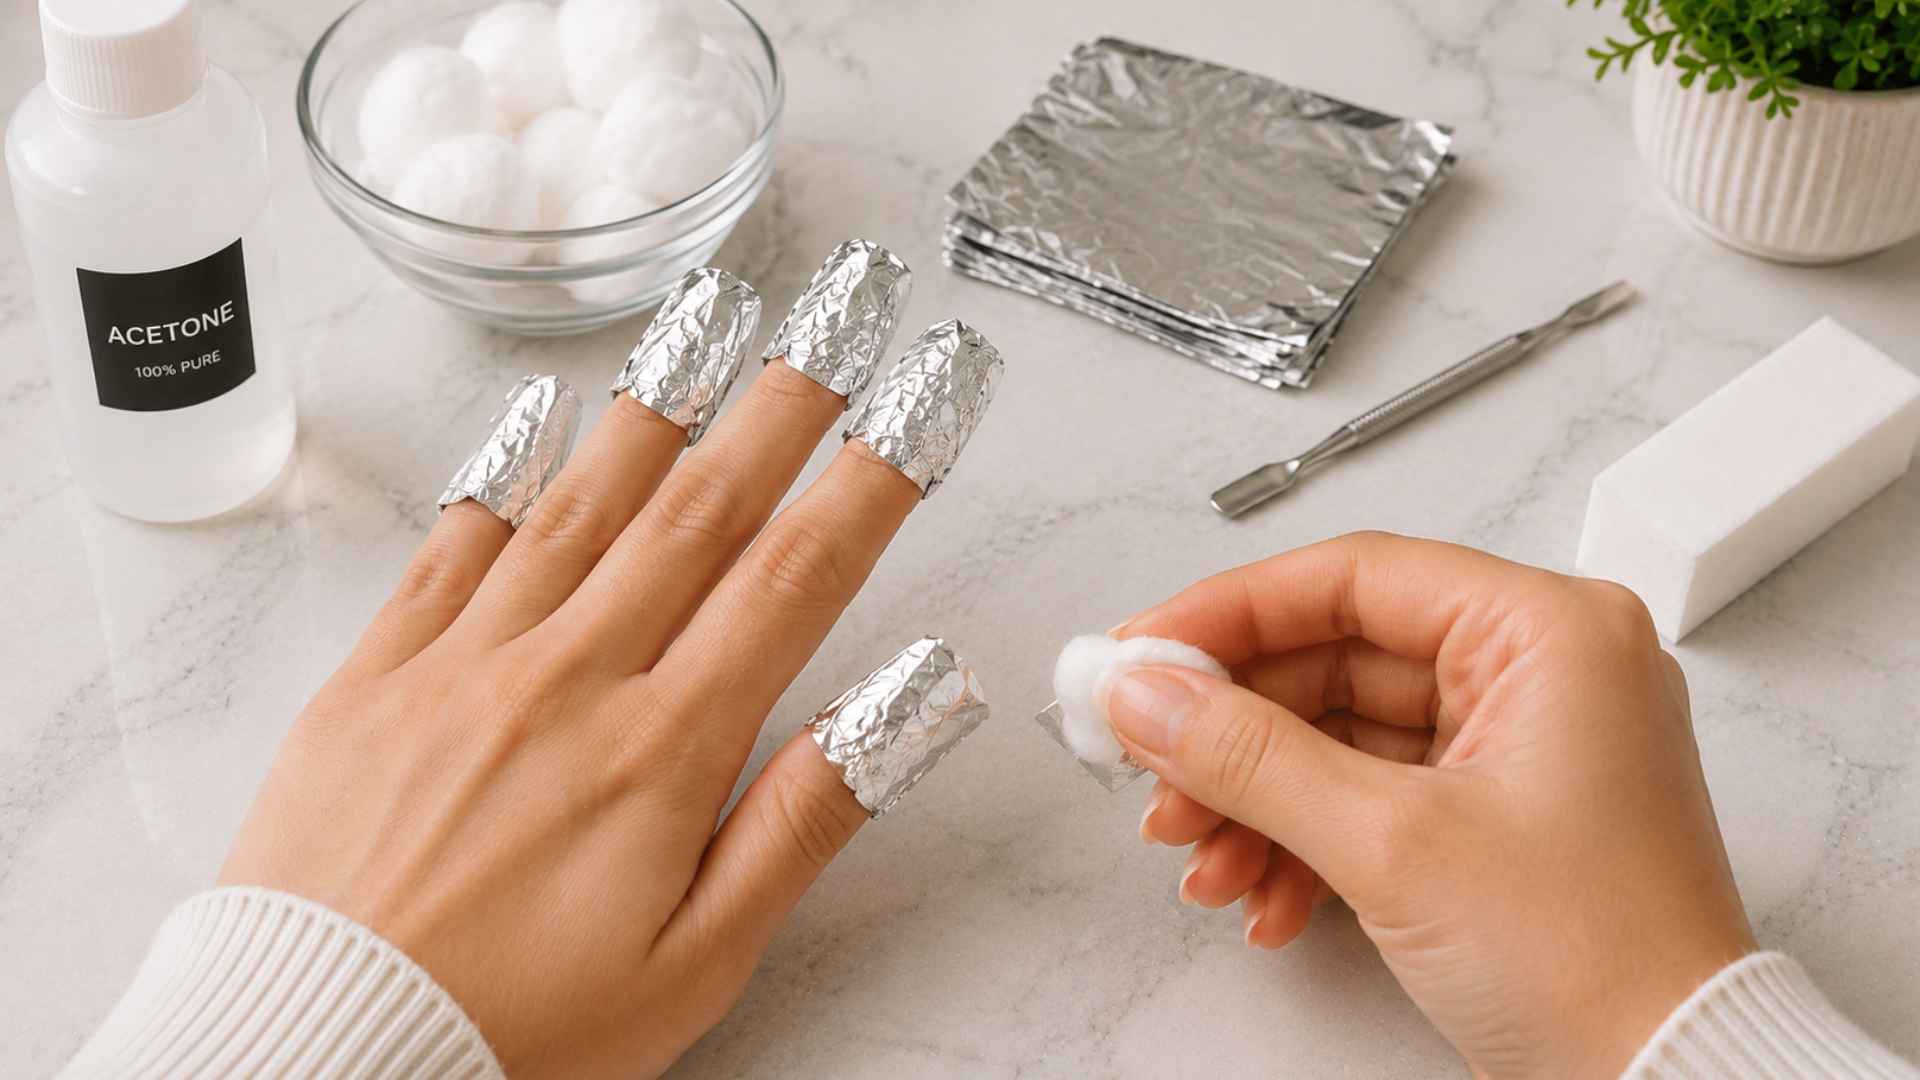
Soak a cotton ball in acetone and press it against the nail. Wrap each finger with foil to hold it in place and help the acetone work more effectively.
Leave it for 15 to 30 minutes without checking, so the acrylic can soften properly. Thinner sets may only need 15 minutes, while thicker or older acrylics may need the full 30.
If you do not have foil available, you can soak your fingertips directly in a small bowl of acetone for the same amount of time as an alternative.
5. Gently Remove Softened Acrylic
Remove one foil wrap at a time and gently slide the softened acrylic toward the nail tip with a cuticle pusher. It should move without much resistance.
If it feels firm or pulls at the nail, rewrap and soak for another 5 to 10 minutes before trying again. Forcing acrylic off too early can damage the natural nail.
What Is the Best Way to Soak Off Acrylic Nails?
Soaking off acrylic nails is the most reliable way to remove them without causing damage. The process works by gradually breaking down the acrylic bond, so the material lifts cleanly from the nail bed rather than being forced off.
- Apply petroleum jelly around each nail before soaking to protect your skin from the drying effects of acetone.
- Use 100% pure acetone only. Saturate a cotton ball fully and press it flat against the entire nail surface.
- Wrap each finger in aluminum foil to hold the cotton in place and trap heat, which helps the acetone work faster.
- Keep the wraps on for 20 to 30 minutes without checking. Lifting them early breaks acetone contact and extends soak time.
- Remove one wrap at a time and gently slide the softened acrylic toward the tip. Rewrap and soak longer if it resists.
Are Porcelain Nails Removed the Same Way?
Porcelain nails are sometimes used as a term for acrylic-style enhancements in salons, but they are technically made from fiberglass rather than the standard acrylic mix.
If you are still deciding between nail types, understanding the difference between acrylic and dip powder can help you choose what works best for your nails.
Because the materials differ, professional removal is the safer route for porcelain nails. If you are removing them at home, the acetone foil wrap method can still work, but expect a longer soak time and proceed with extra care.
Porcelain nails remove like acrylic nails, but they may need a little longer to soak because the mix can be denser. If they don’t lift easily, soak again instead of forcing them off.
How Can You Remove Acrylic Nails Without Acetone?

Acetone-free removal methods are slower, but some people prefer them when avoiding strong solvents.
These methods work best on acrylics that are already lifting or have been on for a while. They are not as reliable as acetone for a full set in good condition, so patience is important going in.
1. Trim the Acrylic Nails First
Use nail clippers to cut the acrylic down as short as possible before soaking.
Less surface area means the warm water and oil mixture has less material to work through, which shortens the overall process.
2. Prepare a Warm Water, Soap, and Oil Soak
Fill a bowl with warm water, a few drops of dish soap, and a generous amount of cuticle oil or olive oil.
The soap helps break down the adhesive bond, while the oil loosens the acrylic from the nail bed without stripping the surrounding skin.
3. Soak Your Nails for 20 to 40 Minutes
Submerge your fingertips fully and keep them in the bowl for at least 20 minutes, and up to 40 minutes for thicker or more stubborn sets.
The warm water softens the acrylic bond gradually rather than dissolving it the way acetone does. You may need to top up with warm water partway through to keep the temperature consistent.
4. Check and Lift Loose Edges Carefully
After soaking, gently use a cuticle pusher to test the edges of each nail. Only lift where the acrylic has clearly separated from the nail bed.
If you feel any resistance or pulling, stop immediately and return your fingers to the soak rather than forcing the acrylic off.
5. Repeat the Process Until the Acrylic Loosens
This method rarely works in a single soak. Expect to repeat the process two or three times before the acrylic loosens enough to remove safely.
Rushing it at any stage increases the risk of pulling layers off the natural nail along with the acrylic.
What Mistakes Can Damage Your Natural Nails During Removal?
|
How Should You Care for Your Nails After Acrylic Removal?
After acrylic removal, focus on moisture and reducing stress on the natural nail. Acetone can leave nails and surrounding skin dry, so aftercare should start right away.
Wash your hands with mild soap and water to remove leftover acetone, dust, or softened acrylic. Pat dry, then apply cuticle oil to each nail and massage it into the nail surface and surrounding skin.
Follow with hand cream once or twice daily for the next few days. Keep nails short so they do not bend, catch, or split while they recover.
Use a fine buffer only on small rough spots. Avoid heavy filing, as it can thin the nail. If you notice pain, swelling, dark discoloration, or lasting sensitivity, speak with a dermatologist or licensed nail technician.
Conclusion
Learning how to remove acrylic nails safely comes down to one thing: patience.
Fully softening the acrylic before lifting it, moisturizing afterward, and knowing when to stop are what separate a smooth removal from a damaging one.
Skipping steps or forcing the process is where most people go wrong, and it usually means a longer recovery time for your natural nails.
Take it slow, follow each stage properly, and your nails will be in much better shape than if you rushed through it.
Frequently Asked Questions
Can you Use Nail Polish Remover Instead of Pure Acetone?
Most nail polish removers contain little acetone and work slowly. Pure acetone is usually more effective for acrylic removal.
How Often Should You Take a Break from Acrylic Nails?
Many nail technicians recommend occasional breaks to monitor nail health and address any thinning or damage.
Can Acrylic Nails Fall Off on Their Own?
Acrylic nails may loosen over time, but they rarely detach completely without lifting, filing, or removal.
Is it Safe to Reapply Acrylic Nails Immediately After Removal?
It’s usually best to assess nail condition first and allow recovery time if nails feel thin or sensitive.
Why do Acrylic Nails Sometimes Turn Yellow?
Yellowing can result from product aging, staining, sun exposure, or the use of certain nail products over time.