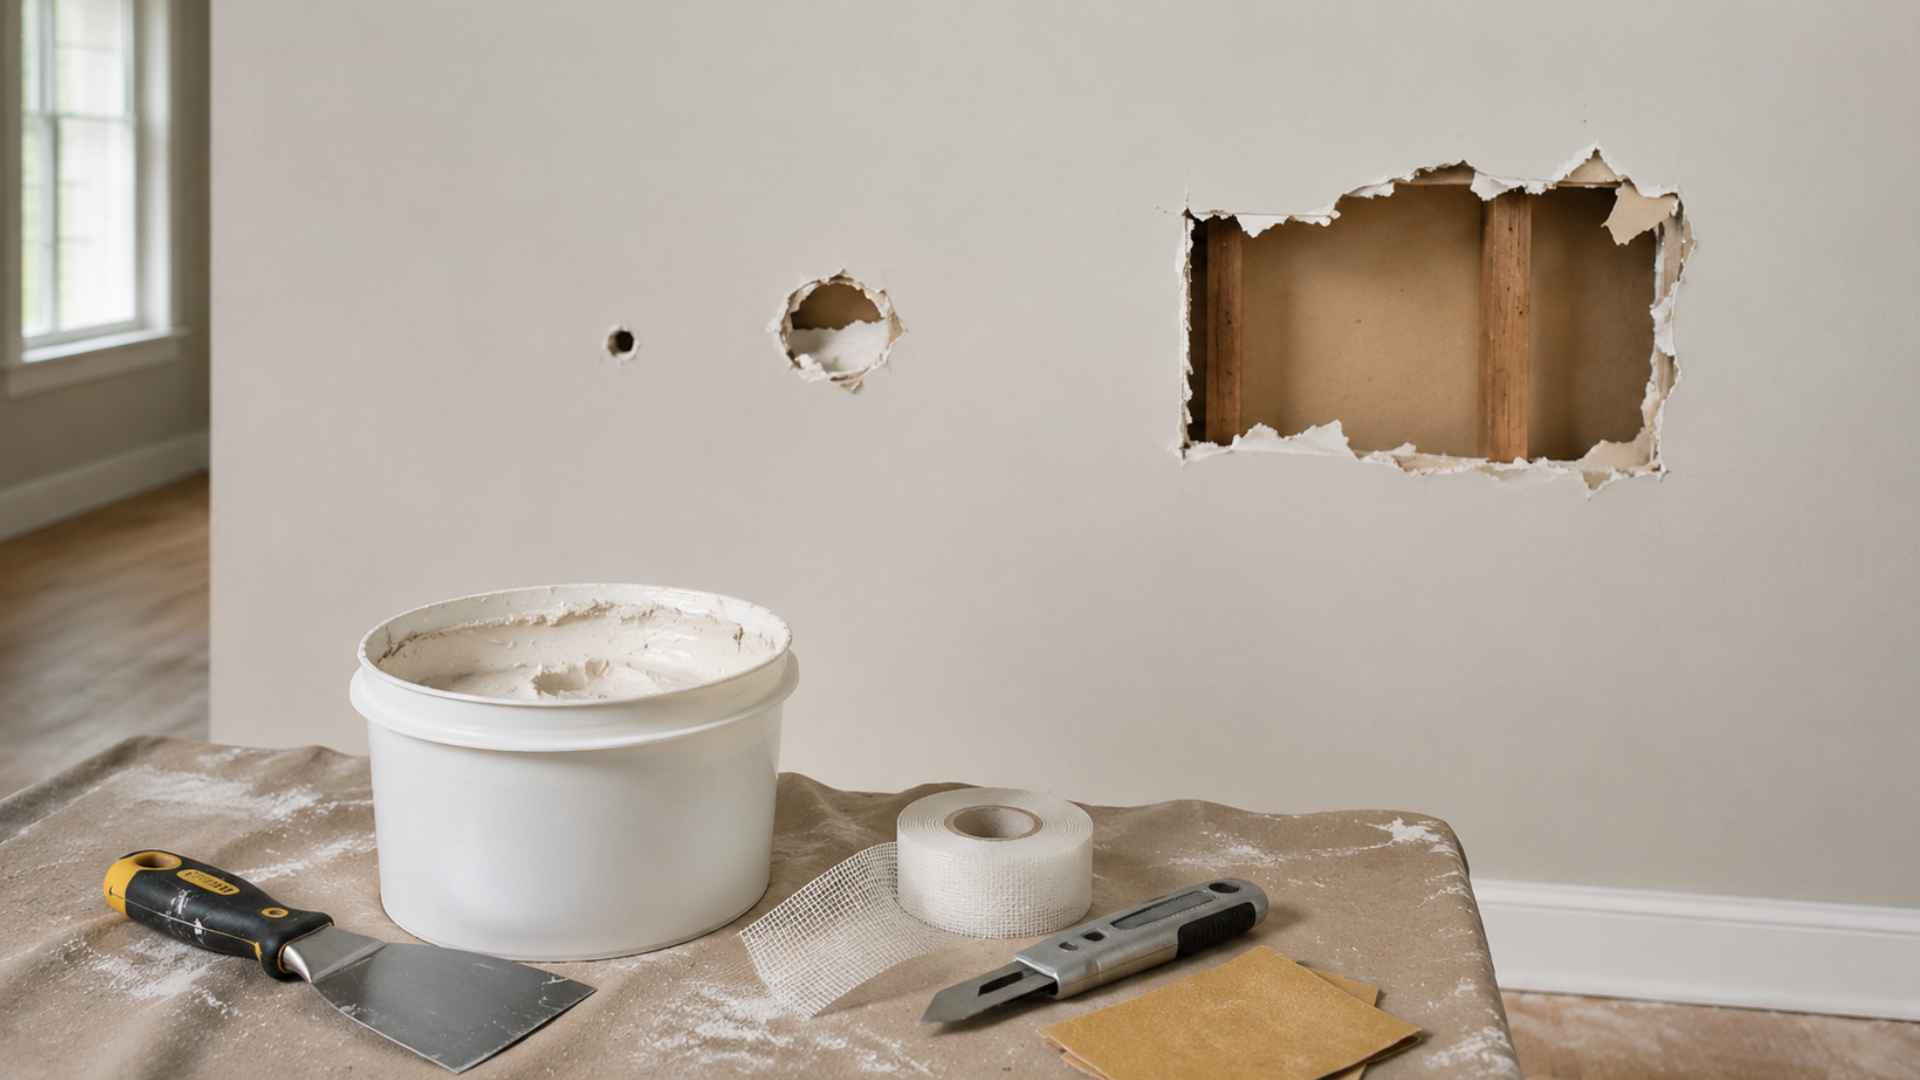
Drywall damage is one of the most common household problems, but it is also one of the easiest to fix when you know the right approach.
The approach differs based on the damage, from a small nail hole to a large sheetrock repair; the right fix depends on the size and depth of the damage.
Clean the area, apply the right patch, build up thin coats of joint compound, and finish with primer and paint.
Skip the hiring fees. Use these clear, step-by-step instructions to get pro results yourself.
What You Need to Know Before You Start
Drywall repairs vary in difficulty depending on hole size, and knowing what you are dealing with before you start makes the whole process much easier to manage.
Small fixes like nail holes or minor dents take under an hour and require very little prep work beyond cleaning the surface and applying a thin layer of compound.
Medium repairs involving mesh patches require a bit more time and patience, as the compound must fully dry between coats before you can sand and move on.
Having your tools ready and working patiently through each stage is what gives you a finish that sits flush with the rest of the wall and holds up well over time.
Tools and Materials Needed
Before you start any drywall repair, having the right tools and materials within reach saves you time and helps the job go smoothly. Here is everything you will need.
| Tool / Material | Purpose |
|---|---|
| Joint compound | Fills holes, covers tape, and creates a smooth surface |
| Putty knife | Spreads and feathers compound evenly across the repair area |
| Sandpaper | Smooths dried compound between coats for a flush finish |
| Utility knife | Cuts clean edges around damaged drywall sections |
| Drywall patch | Covers medium holes without needing a full replacement piece |
| Drywall tape | Reinforces seams and prevents cracks from reappearing |
| Primer | Seals the repaired surface so paint adheres evenly |
| Paint | Blends the finished repair with the surrounding wall color |
Once you have everything gathered and ready, you can move straight into the repair without any interruptions.
How to patch a drywall
With the right tools in hand, the repair process is easy to follow from start to finish. Work through each step in order and give every coat enough time to dry before moving on.
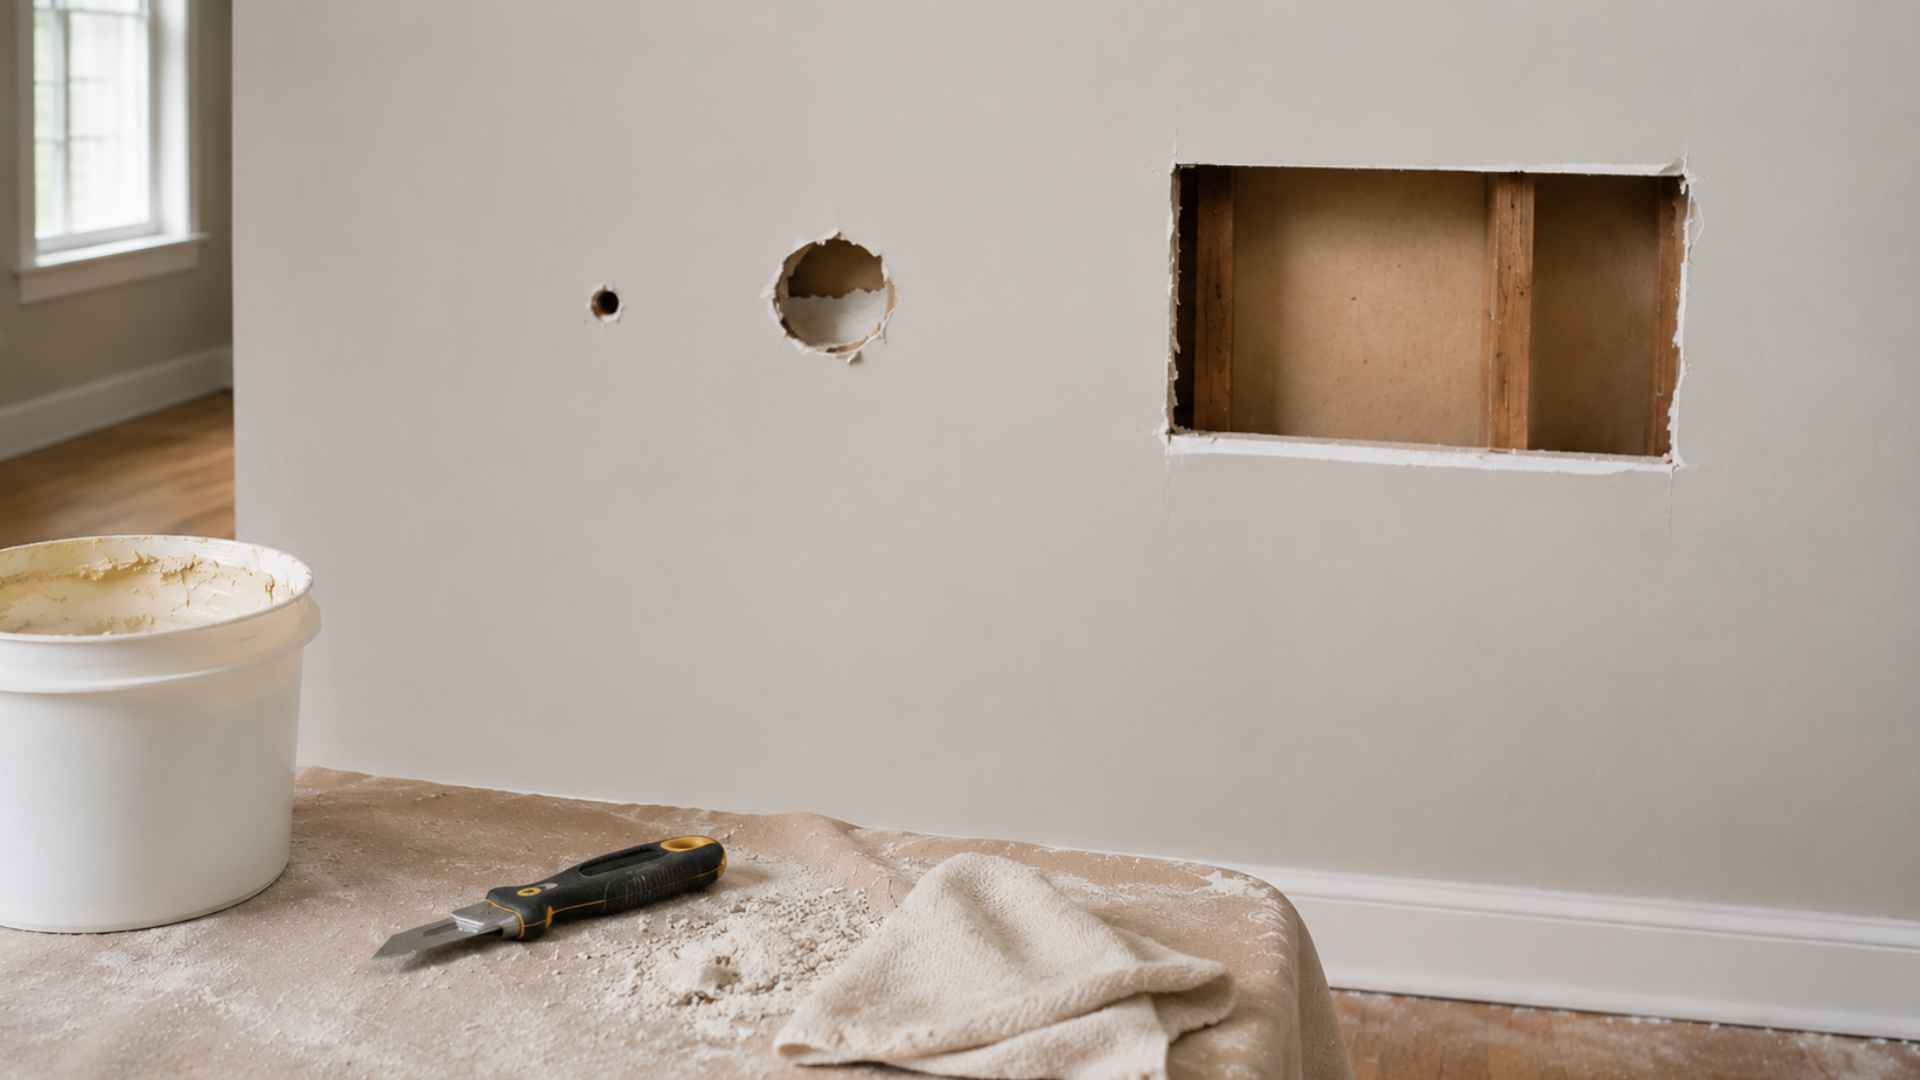
Step 1: Assess Damage and Choose Repair
Take a close look at the damaged area before touching any tools. Small nail holes can be filled with spackle in under an hour.
Medium holes from doorknob dents need a mesh patch and around 2 to 4 hours.
Large sections with significant damage require a new drywall piece with backing boards and can take up to 8 hours to complete.
Step 2: Prepare the Damaged Area
Remove any loose drywall pieces and debris from around the damaged spot. Use a utility knife to trim jagged edges into a neat square or rectangle.
Wipe the area down with a dry cloth to clear away fine dust before applying anything.
Step 3: Apply the Drywall Patch
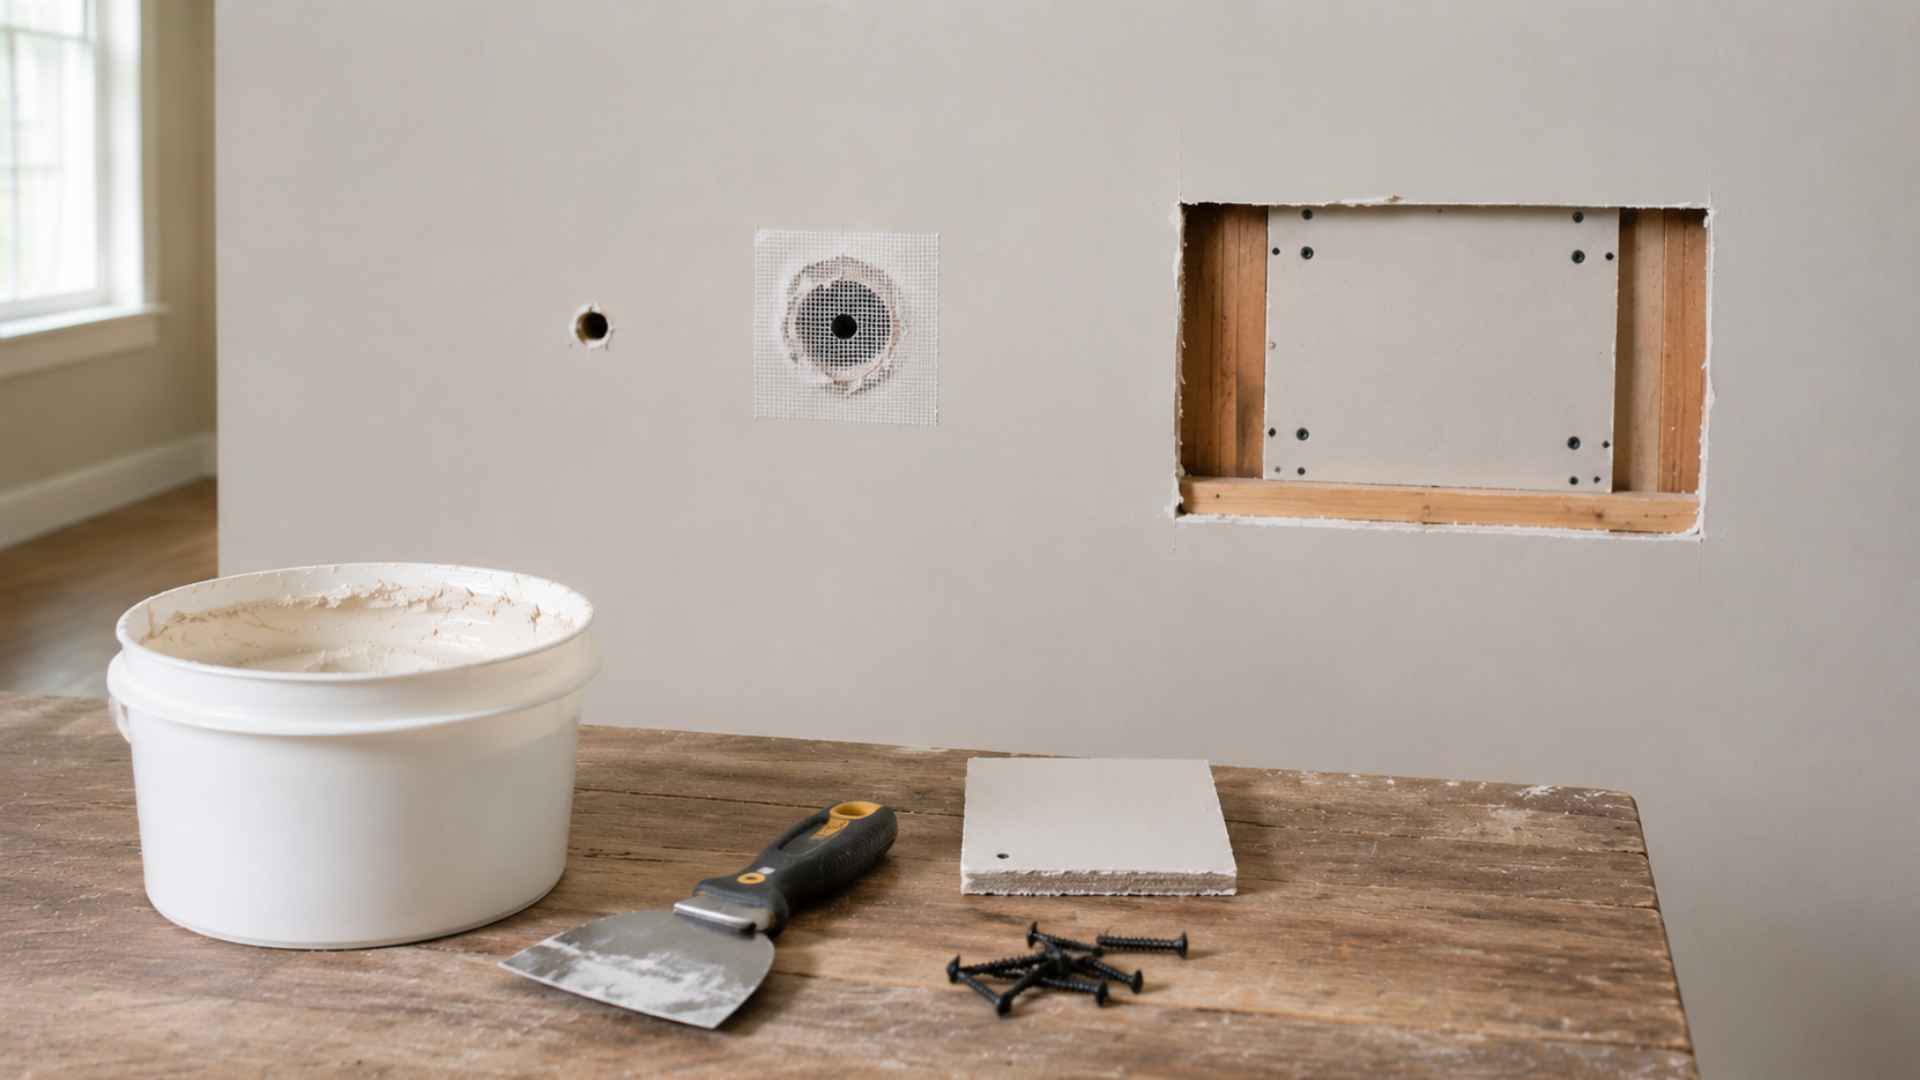
For small holes, fill directly with spackle and smooth it flat with a putty knife.
Medium holes need a mesh patch pressed firmly over the opening, followed by a layer of joint compound spread evenly on top.
For large holes, fit a new piece of drywall into the opening, secure it to backing boards with drywall screws, then apply compound over the seams.
Step 4: Apply Joint Compound

Spread joint compound evenly over the patch using a putty knife, pressing it firmly into any gaps or seams.
Feather the edges outward so the compound tapers gradually into the surrounding wall rather than building up a raised ridge.
Avoid applying a single thick coat, as this can lead to cracking and uneven drying. Build up the surface with multiple thin coats instead, letting each one dry fully before adding the next.
Step 5: Sand, Prime, and Paint
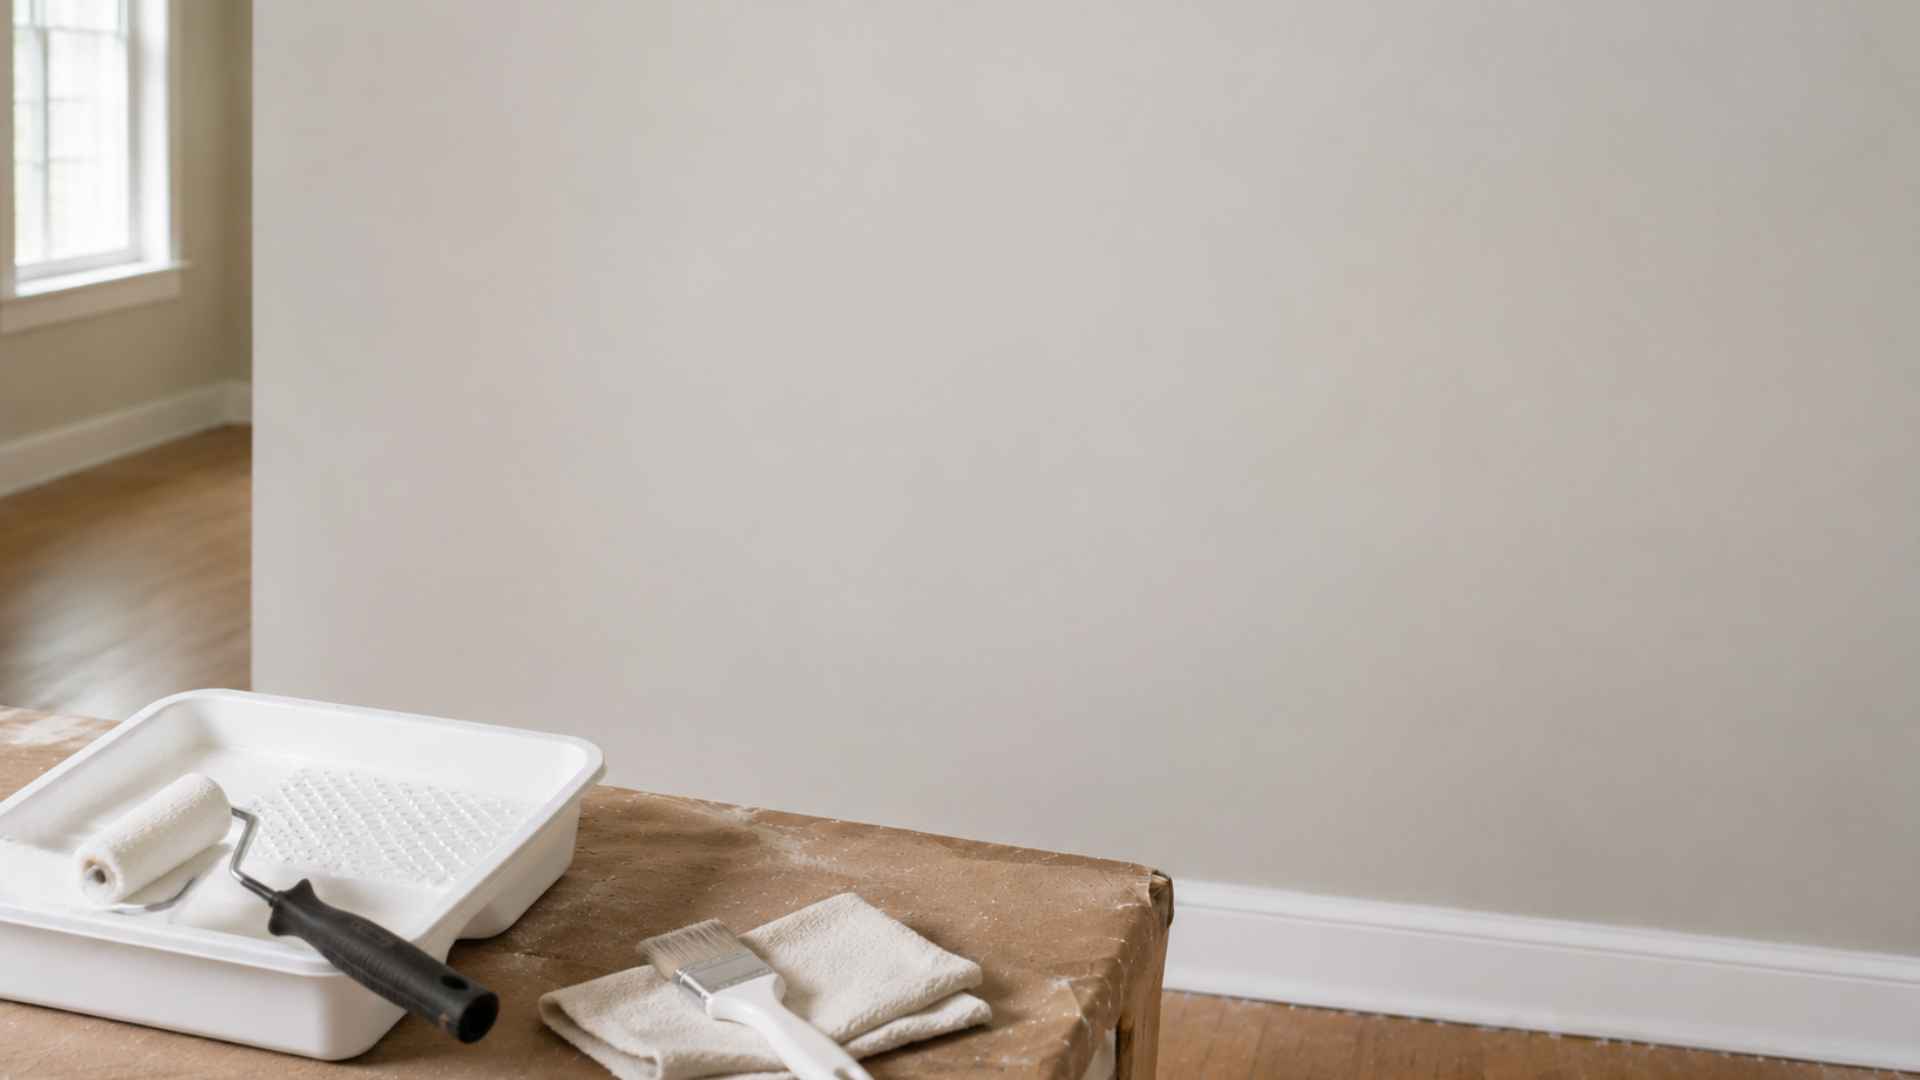
Once the compound has dried completely, sand the area with 120-grit sandpaper in light circular motions until it is flush with the surrounding wall.
Wipe away all dust with a dry cloth before applying anything. Coat the repaired area with drywall primer and let it dry fully.
Then paint using the same color and finish as the rest of the wall, feathering the edges outward for a clean, even blend.
Quick Reference Table for Hole Sizes
A small table showing small, medium, and large holes, with repair methods and estimated times. This gives readers a fast visual guide.
| Hole Size | Repair Method | Time |
|---|---|---|
| Small (<1”) | Spackle | 30–60 min |
| Medium (1–6”) | Mesh patch & joint compound | 2–4 hrs |
| Large (>6”) | New drywall piece | 4–8 hrs |
Common Drywall Repair Mistakes to Avoid
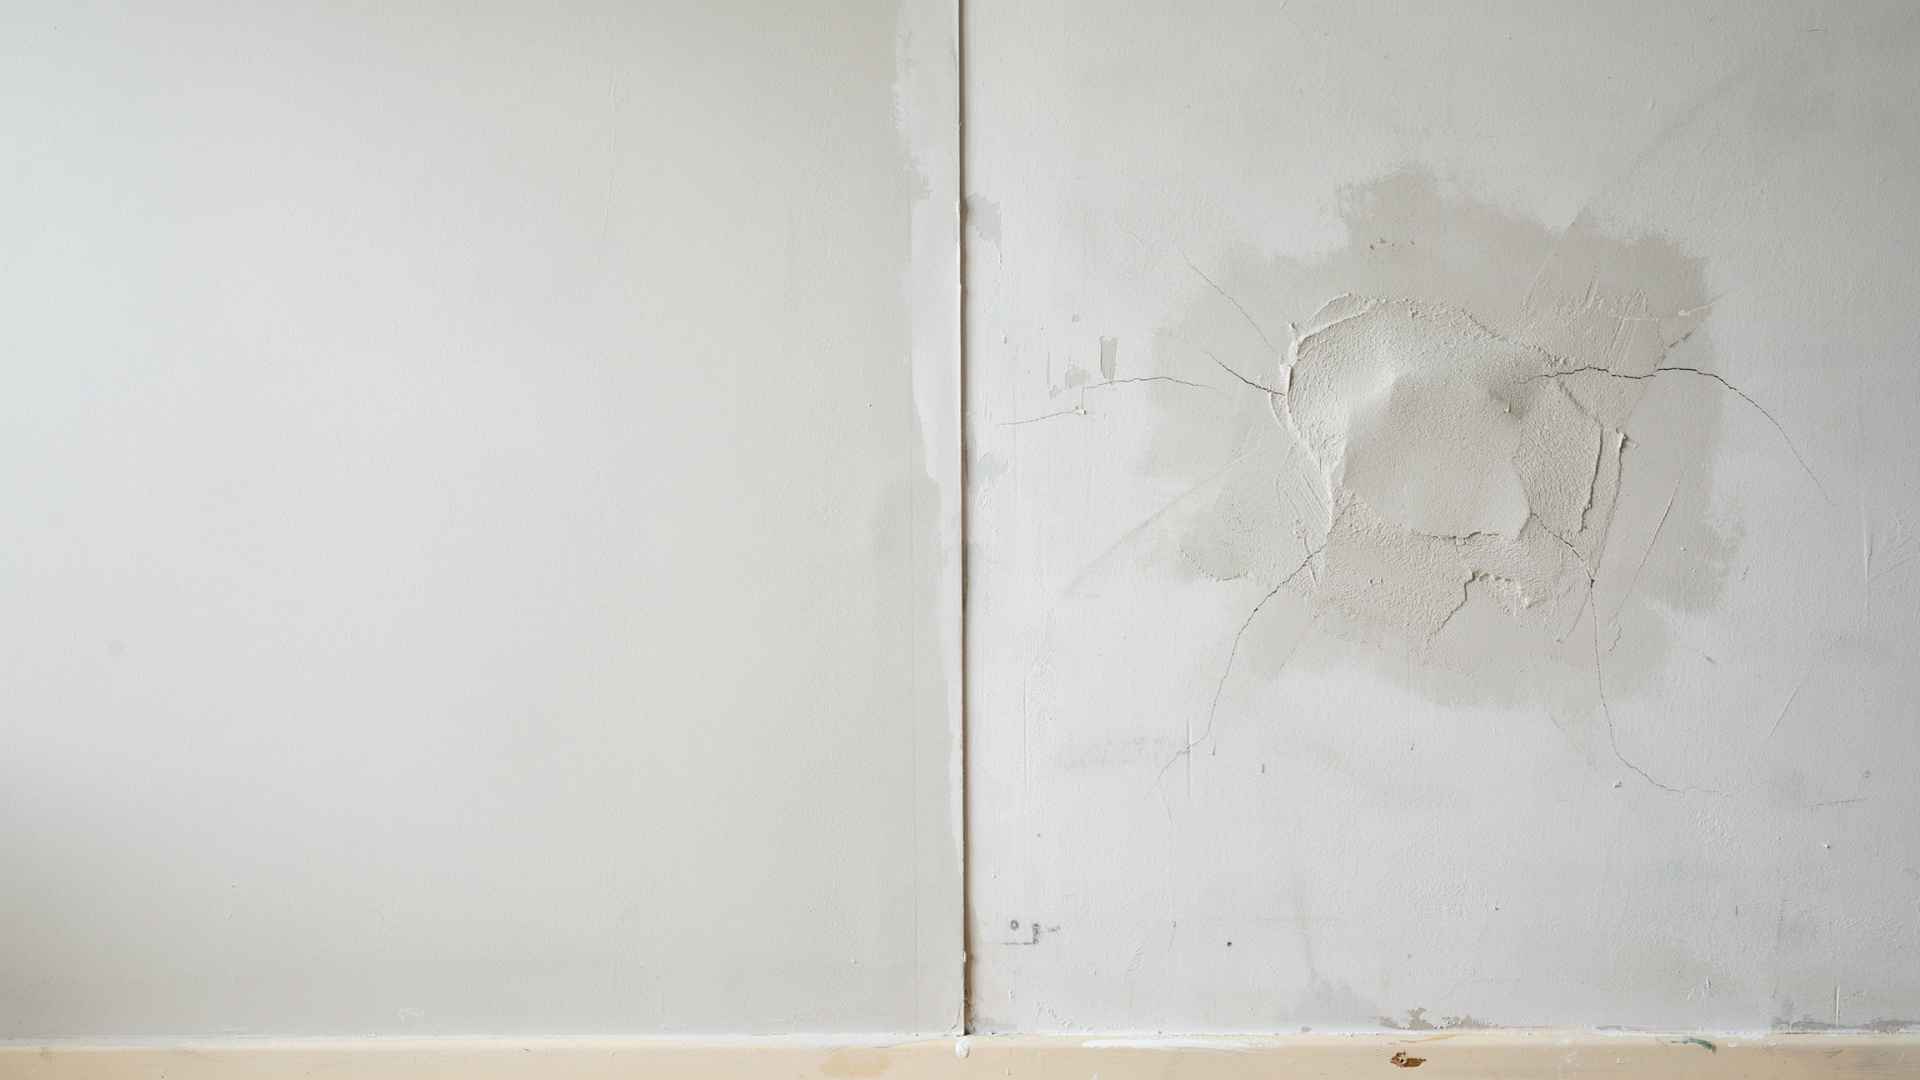
Even a simple drywall repair can go wrong when a few key steps get skipped or rushed. Knowing what to watch out for saves you from having to redo the work.
- Loading on too much compound at once causes it to shrink as it dries, leading to cracks and uneven surfaces
- Always build up the surface gradually using thin, even layers instead of one thick coat
- Painting directly over joint compound without primer causes paint to absorb unevenly and leaves a dull patch on the wall
- Always apply primer first to seal the surface before any paint goes on
- Sanding before the compound has dried fully tears the surface and creates gouges that need to be filled again
- Give each coat enough time to dry completely, and never skip the final sanding step before priming
Avoiding these mistakes from the start is what keeps the repair clean, durable, and worth the effort.
Final Thoughts
Patching drywall is a repair most homeowners can handle on their own with the right tools and a little patience.
Taking time to properly prep the surface, building up thin coats of compound, and finishing with primer before paint are what make the difference between a repair that blends in and one that stands out.
Follow each step carefully, and the results will speak for themselves. With a little practice, you will find that most drywall repairs take less time and effort than you expected.
Frequently Asked Questions
How Do You Patch Drywall for Beginners?
Use a mesh patch kit or spackle, cover with joint compound, sand smooth, then prime and paint.
What Is the Easiest Way to Fix a Hole in Drywall?
A self-adhesive mesh patch kit is the easiest option for most small to medium holes. Press it over the hole, apply joint compound over it, let it dry, then sand and paint.
Can You Repair Drywall Without Replacing It?
Yes, most holes and dents can be fixed using spackle, mesh patches, or joint compound without replacing the panel.