
Have you ever looked at a hair color photo you loved, only to wonder if it would actually work on you? Face framing highlights can completely change how your hair and features appear, but the placement, contrast, and tone make a bigger difference than most people expect.
Whether you want a bold money piece, soft brightness, or a natural sun-kissed effect, choosing the right style matters.
Here, I will explain how face-framing highlights work, how different variations compare, what suits your face shape, and how to maintain the look after your appointment.
What Are Face Framing Highlights, and Why Do They Work?
Face-framing highlights are a placement technique. Lighter strands are applied specifically around your hairline, where reflected light has the most impact on how your face reads.
That last part matters. This isn’t just about adding brightness to your hair. It’s about where light lands, and what that does to the way your features appear.
A lighter color reflects more light than a darker color. When those lighter strands sit closest to your face, your eye gets pulled there first.
The result is a complexion that looks brighter and features that read as more defined, without a single change to your actual hair color elsewhere.
Where the highlight starts and how far it extends changes the effect entirely. A highlight that begins at the temple and stops at the cheekbone does something visually different from one that runs to the jaw.
This is the same principle makeup artists use when contouring: brightness advances, depth recedes.
That’s the underlying logic. Everything else, the variation names, the placement choices, the face shape rules, is built on top of it.
How the Main Variations Differ, and What Each One Actually Does
Money pieces, babylights, and teasy-lights create different levels of contrast. Knowing the difference helps you choose the look that best matches your goal.
Money Piece Highlights: Bold Face-Framing Contrast
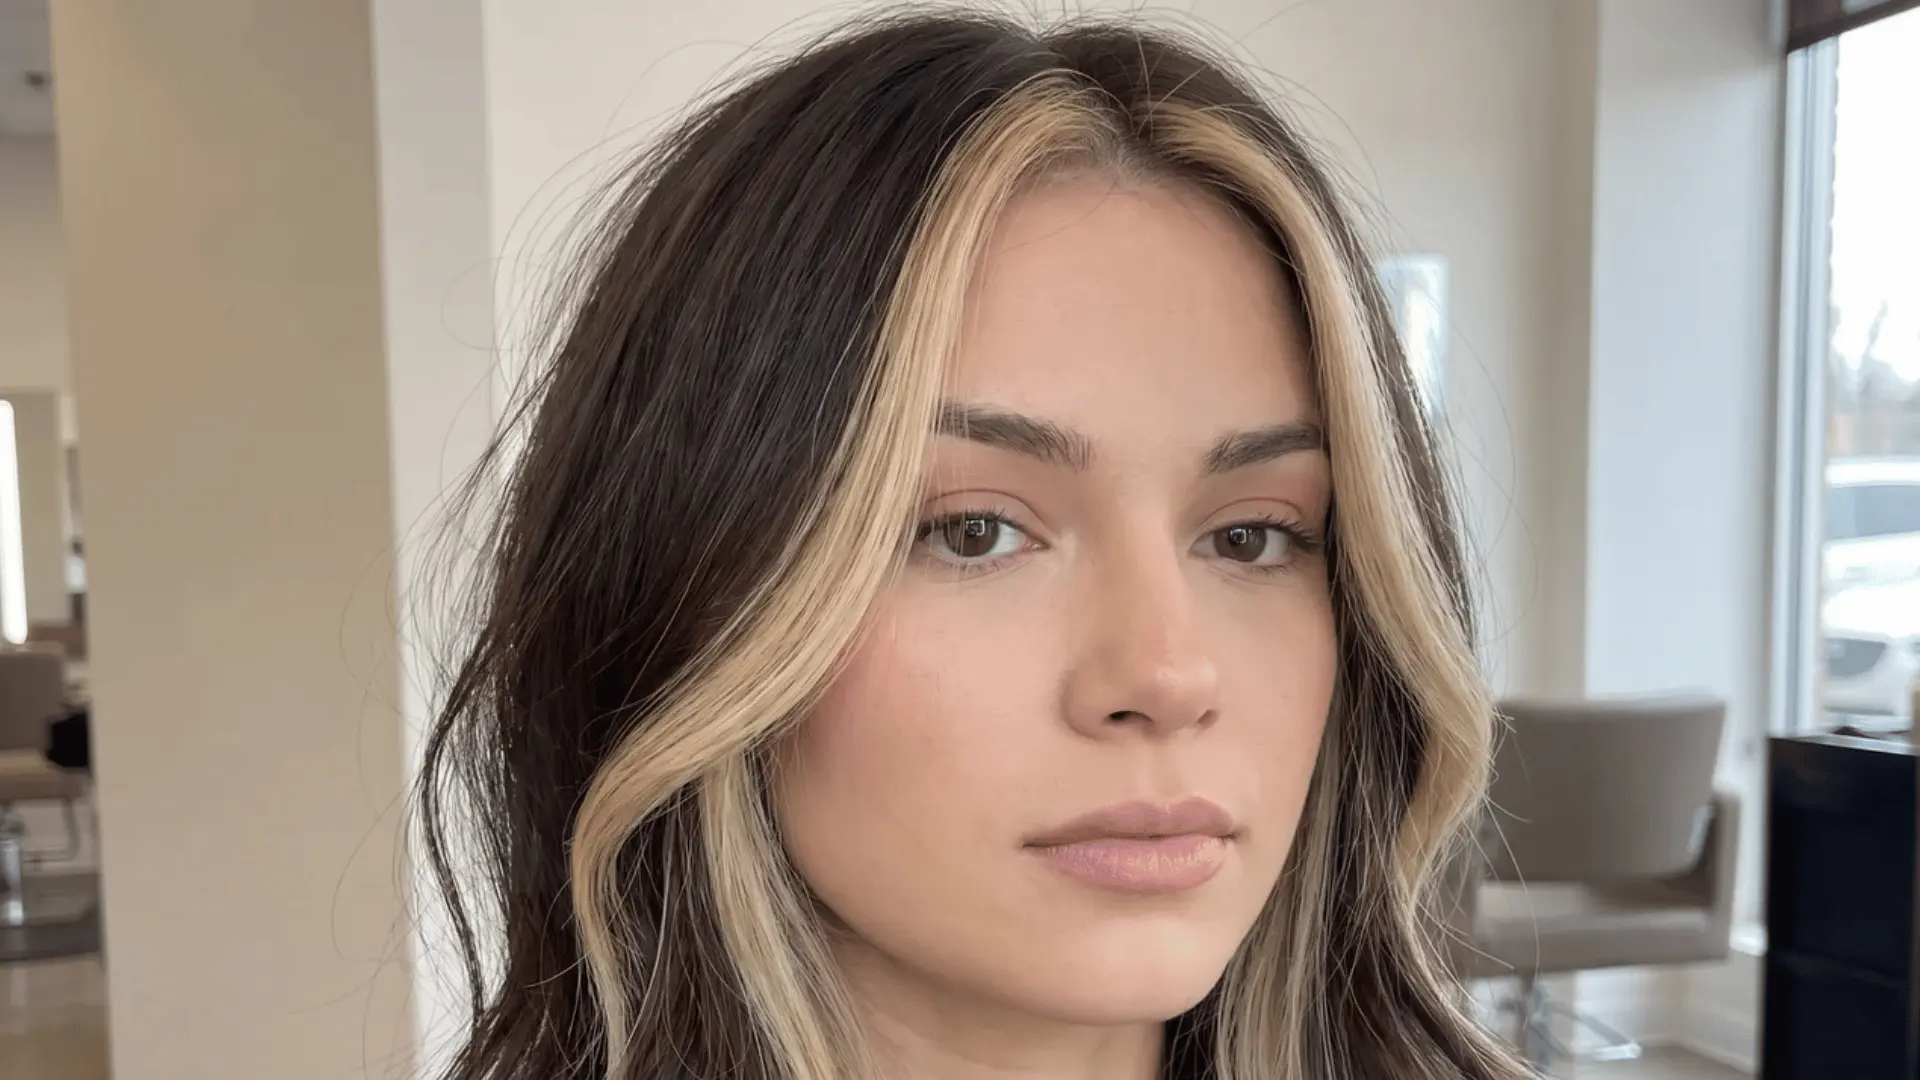
This is the boldest contrast option. A defined section of lighter hair sits around each side of the face, creating a bright frame that stands out immediately.
I have this style, and it works best when you actually want the highlights to be noticed. Blonde face framing highlights on darker bases create a strong pop, especially when paired with balayage for a softer blend behind it.
The look is meant to make a statement. If you’re hoping for something that quietly melts into your natural color, this level of contrast may feel too dramatic.
Babylights for Soft, Sun-Kissed Brightness

Babylights create brightness through quantity, not bold pieces. Instead of a few noticeable sections, they use many tiny, fine highlights placed close together, especially around the hairline.
The effect is subtle because no single strand takes over. I’ve found that this technique works well for anyone who wants their dark brown hair to look lighter without making it obvious that they had highlights done.
Even when the color reaches a lighter shade, the finish stays soft. It gives the impression that your hair naturally picked up sunlight rather than looking like a fresh salon transformation.
Teasy-Lights for a Seamless Highlight Blend

Before the lightener goes on, the hair is gently backcombed. That step is what makes teasy-lights different and changes how the highlights blend once the hair is styled.
Backcombing softens the transition between highlighted and natural hair, so there is no harsh line where the color starts or stops.
When the hair is pulled up or pushed back, the highlights continue to blend instead of separating. This technique works best for adding depth and dimension rather than creating strong contrast.
Pivoting Foils for Natural Movement and Dimension
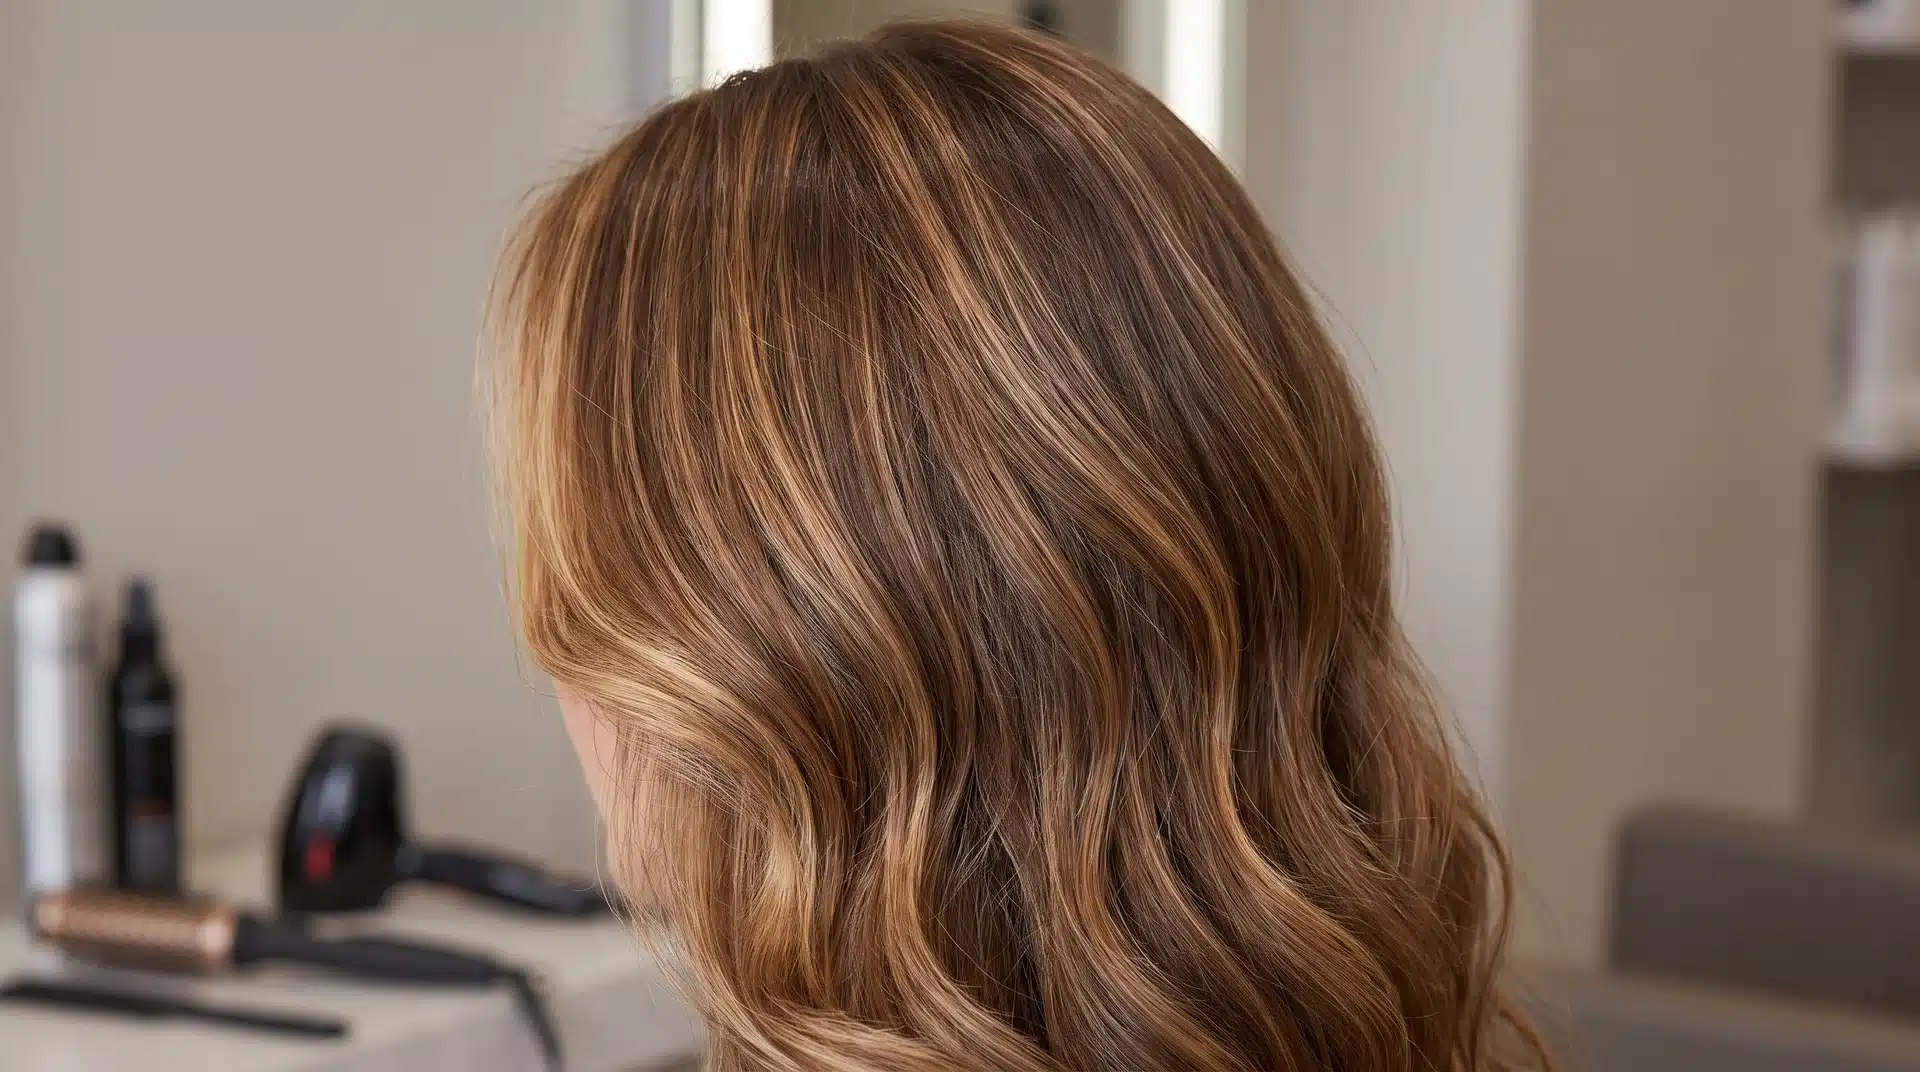
Pivoting foils use angled or rotated placement instead of straight sections to change how highlights move through the hair. This creates a more natural flow and blend.
This technique lets colorists add brightness where the hair naturally catches light, such as around the face, crown, or areas that move often.
The result is a more dimensional finish with softer transitions. The highlights look blended and intentional rather than evenly spaced or stripy.
How Face Shape Changes Where the Highlights Should Go
Face shape advice can sometimes sound like a list of rules: put highlights here, avoid them there. But there’s a simple reason behind these recommendations.
The highlights guide where people look first. The brightest pieces draw attention, so their placement can change how your features appear. Understanding this makes choosing where to add brightness easier.
- Round faces benefit from brightness higher up near the crown and at the ends of layered lengths. Light at the top and bottom of the face creates a vertical read. Light at the widest point would do the opposite.
- Square faces carry strong angles at the jaw. Softening the color there while adding brightness at the temples draws attention upward and away from the sharpest lines. The face reads as balanced rather than angular.
- Heart faces are wider at the forehead and narrower at the chin. Placing highlights from the ears downward shifts attention toward the jaw. That redirect balances a face that would otherwise read as top-heavy.
The principle running through all three is the same. You’re not following a rule; you’re deciding where you want the eye to travel. Placement controls that. Your face shape tells you where it needs to go.
What to Expect for Maintenance, and Where It Goes Wrong
Face framing highlights are usually easier to maintain than a full head of foils. But there’s one thing worth knowing before your first appointment: the hair around your face needs extra care.
Those front sections are often finer and more porous than the rest of your hair. In practice, that means they can lighten faster, dry out sooner, and need a little more attention after coloring. Here’s what that looks like:
- Porous hair absorbs toner faster and sees it faster. Brassiness at the front isn’t the highlight fading. It’s the toner going first. The color underneath is usually fine.
- Purple or blue shampoo counteracts this. Used once or twice a week, it neutralizes the warm tones that emerge as toner fades. It won’t slow regrowth, but it keeps highlighted sections from turning yellow or orange between appointments.
- Root melts and shadow roots aren’t a fix; they’re a plan. They soften the boundary between your natural color and the highlight, so the grow-out looks intentional. Good stylists recommend them before you leave, not after the grow-out becomes obvious.
- Tonal maintenance and regrowth are separate problems. The right shampoo can keep the tone fresh for months. The root line is a different conversation entirely.
Know which issue you’re dealing with before reaching for a product. Most at-home maintenance mistakes come from treating them as the same thing.
Conclusion
Face-framing highlights work because its placement controls where light and attention fall around your face. By choosing the right variation, contrast level, and starting point, you can create anything from soft brightness to a bold money piece.
Understanding your face shape and planning for toner fade and regrowth also helps the color stay flattering for longer.
The best face-framing highlights are not based on trends alone. They are placed to suit your features, hair color, and preferred level of maintenance.
Save a few reference photos and discuss the exact placement, tone, and grow-out plan with your stylist before your appointment.
Frequently Asked Questions
What Do Face-Framing Highlights Actually Do for Your Face?
They place lighter strands directly around your hairline, where reflected light has the most visual impact. Your eye gets drawn to those strands first, which makes your complexion read as brighter and your features as more defined. The rest of your hair color stays untouched.
Are Face-Framing Highlights High Maintenance?
Less so than a full head of foils. The main upkeep is tonal; the front sections are more porous and lose toner faster, so brassiness appears there first. Purple or blue shampoo used weekly manages that well. Visible regrowth typically shows at 10–14 weeks, depending on how much contrast you chose.
What’s the Difference Between a Money Piece and Face Framing Highlights?
Face framing highlights is the broader technique. The money piece is one version of it, the boldest, highest-contrast option. Babylights and teasy-lights are the same technique applied with less contrast and more diffusion. The money piece is the one you’ll notice immediately. The others take a closer look.
How Many Foils Does Face Framing Typically Require?
Usually, somewhere between 4 and 10, depending on the variation and how densely your stylist sections the hairline. A money piece needs fewer. Babylights around the full hairline need more. The number matters less than the precision of where each foil is placed.