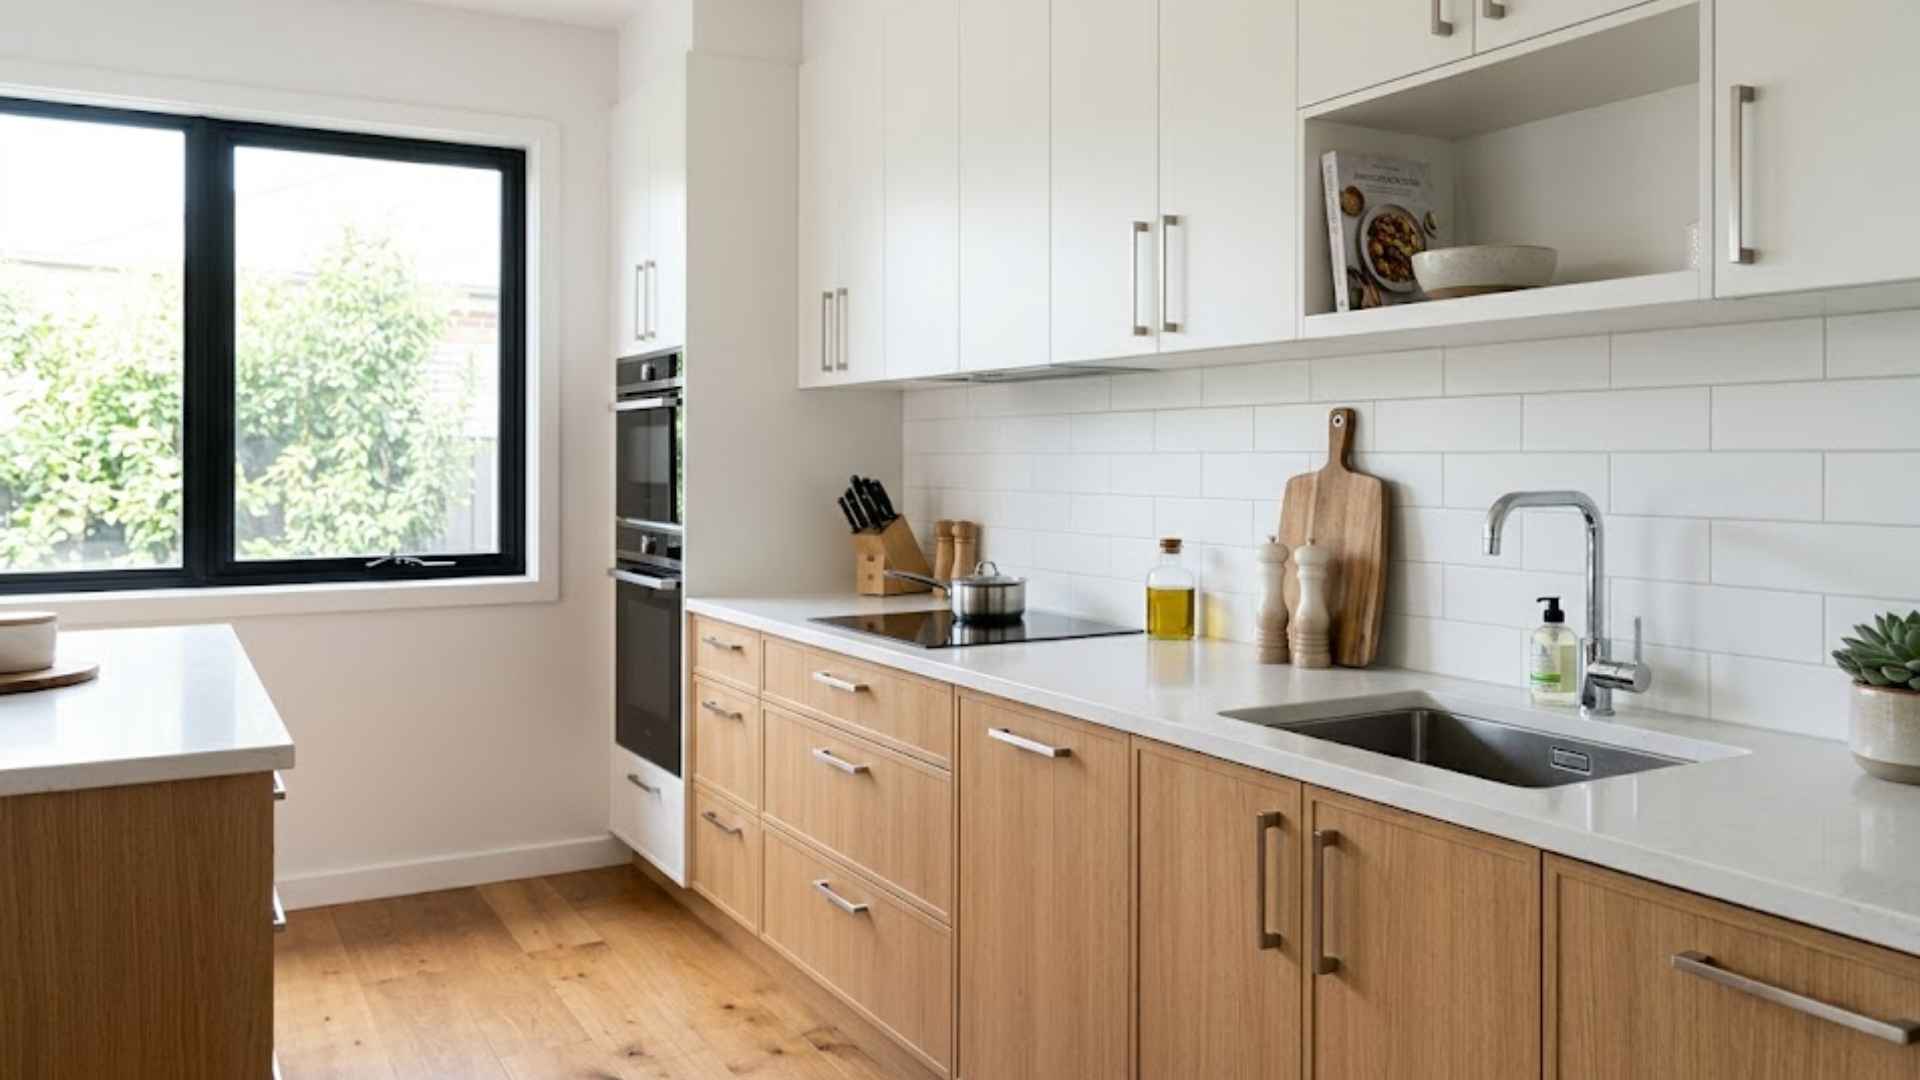
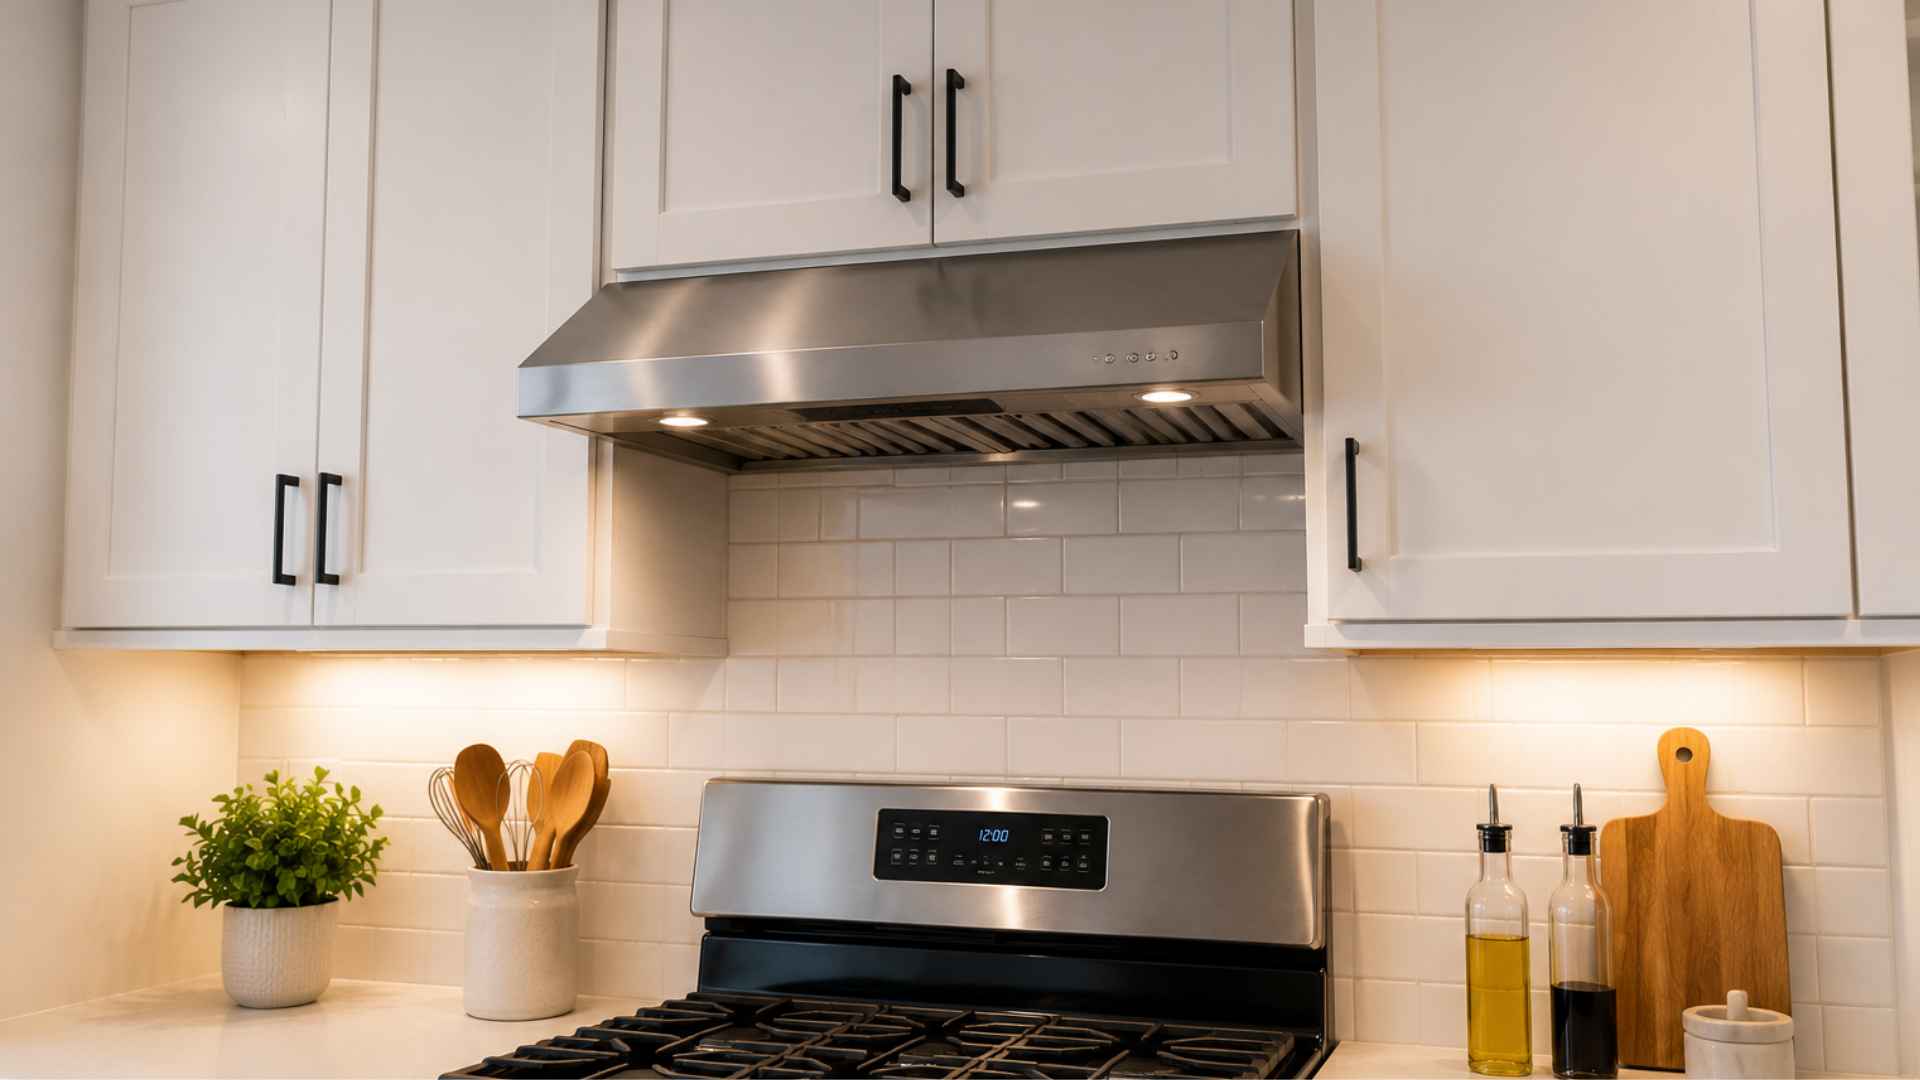
Kitchen cabinets work hard every single day. They hold your plates, your snacks, your spices, and everything in between. But all that use comes with a cost.
Grease from cooking settles on the surface. Dust builds up along the edges. Sticky fingerprints collect around the handles. Over time, even the nicest cabinets start to look tired and grimy.
Cleaning them does not take hours or expensive products. Learning how to clean kitchen cabinets the right way makes a bigger difference than most people expect.
And for anyone with wood kitchen cabinets, knowing how to clean them without causing damage is just as important as the cleaning itself.
Everything from quick daily habits to deep cleaning steps that actually work is covered right here, so keep reading.
What You Must Know Before You Start
Before cleaning your kitchen cabinets, knowing your cabinet type, the right care method, and essential supplies helps prevent damage and makes the process easier and more effective.
- Identify cabinet material: Determine if your cabinets are wood, painted, or laminate, as each requires different cleaning methods to avoid damage.
- Understand wood care: Wood is sensitive to moisture and harsh chemicals; always use gentle solutions and wipe along the grain.
- Check painted finishes: Painted cabinets can chip or dull if scrubbed too hard; use soft cloths and mild cleaners.
- Laminate cleaning tips: Laminate cabinets resist stains but scratch easily; avoid abrasive brushes or harsh chemicals.
- Gather supplies first: microfiber cloths, mild soap, a sponge, vinegar, baking soda, and an optional wood cleaner for efficiency.
Knowing these basics ensures a safe, smooth cleaning process, protecting your cabinets and keeping them looking fresh and polished longer.
Tools and Materials Needed to Clean Kitchen Cabinets
You do not need a cleaning cabinet full of products. Most of what works best is already in your kitchen or costs almost nothing to buy.
class=”overflow-x-auto w-full px-2 mb-6″>
| What You Need | What It Does |
|---|---|
| Dish soap | Cuts through grease and food residue |
| Warm water | Helps loosen dirt and dissolve buildup |
| Microfiber cloths | Wipes surfaces clean without scratching |
| Soft sponge | Scrubs light stains without damaging finishes |
| Baking soda | Breaks down tough grease and sticky spots |
| Spray bottle | Lets you apply cleaning solution evenly |
| Old toothbrush | Reaches grooves, hinges, and tight corners |
Avoid bleach, steel wool, and rough scrubbing pads. These can strip cabinet finishes and scratch surfaces. Stick to the gentle supplies above, and your cabinets will come out clean every time.
How to Clean Kitchen Cabinets
Before you start scrubbing, a little prep goes a long way. Follow these steps in order to get better results without damaging your cabinets.
Step 1: Clear the Cabinet Area
Move anything sitting on the counter near the cabinets you are cleaning. If you are cleaning lower cabinets, take out the items stored inside. Lay a towel on the counter to catch any drips before they make a mess.
Step 2: Dust Before You Wipe
Run a dry microfiber cloth over every cabinet surface before adding any liquid. Skipping this step means you are just pushing dust around with your wet cloth.
Pay extra attention to the top edges of upper cabinets where dust builds up fast and often goes unnoticed.
Step 3: Mix Your Cleaning Solution
Fill a spray bottle with warm water and add a few drops of dish soap. Shake gently to mix. If your cabinets have visible grease buildup, add a teaspoon of baking soda to the bottle before shaking.
That small addition makes a big difference in sticky spots.
Step 4: Wipe Down Cabinet Doors and Drawers
Before anything goes back in, grab a cloth and wipe down every drawer. While you’re at it, don’t forget your cabinet fronts; grease and grime build up there too, and cleaning kitchen cabinets regularly stops dirt from working its way back into your freshly organized drawers.
Starting with a clean surface also helps your organizers sit flat and stay in place. It’s a small step, but skipping it makes the whole thing feel half-done.
Step 5: Tackle Stubborn Grease and Grime
Mix baking soda with a small amount of dish soap and just enough water to form a thick paste. Apply it to the greasy spot using a soft cloth. Let it sit for 2 to 3 minutes, then wipe away.
For grooves or carved details, use an old toothbrush to get into the tight spots without scratching.
Step 6: Rinse and Dry Right Away
Once you are done wiping, go over each surface with a clean damp cloth to remove any leftover soap. Then immediately dry everything with a microfiber towel.
Never leave cabinets wet. Moisture sitting on wood or painted surfaces causes the finish to bubble, peel, or warp over time.
Cleaning Wooden Kitchen Cabinets
Wood cabinets are more sensitive than other cabinet types. Too much water or the wrong cleaner can dull the finish or cause swelling.
Always use a barely damp cloth, and dry the surface immediately after wiping. For everyday cleaning, diluted dish soap and warm water work well. Murphy’s Oil Soap is another good option, specifically made for wood.
For stains or sticky spots, apply a baking soda paste with a soft cloth, rubbing gently in the direction of the grain. Wipe clean and dry immediately.
Once done, buff with a dry microfiber cloth to remove streaks. Every few months, apply a wood cabinet conditioner to protect the finish from kitchen heat and steam.
Note: Always check that your cleaning product is non-toxic and safe for wood before using it on finished cabinets.
How to Clean Different Types of Kitchen Cabinets
Cleaning kitchen cabinets varies by material. Using the right method prevents damage, keeps surfaces fresh, and makes your cleaning routine more effective and long-lasting.
1. Painted Cabinets
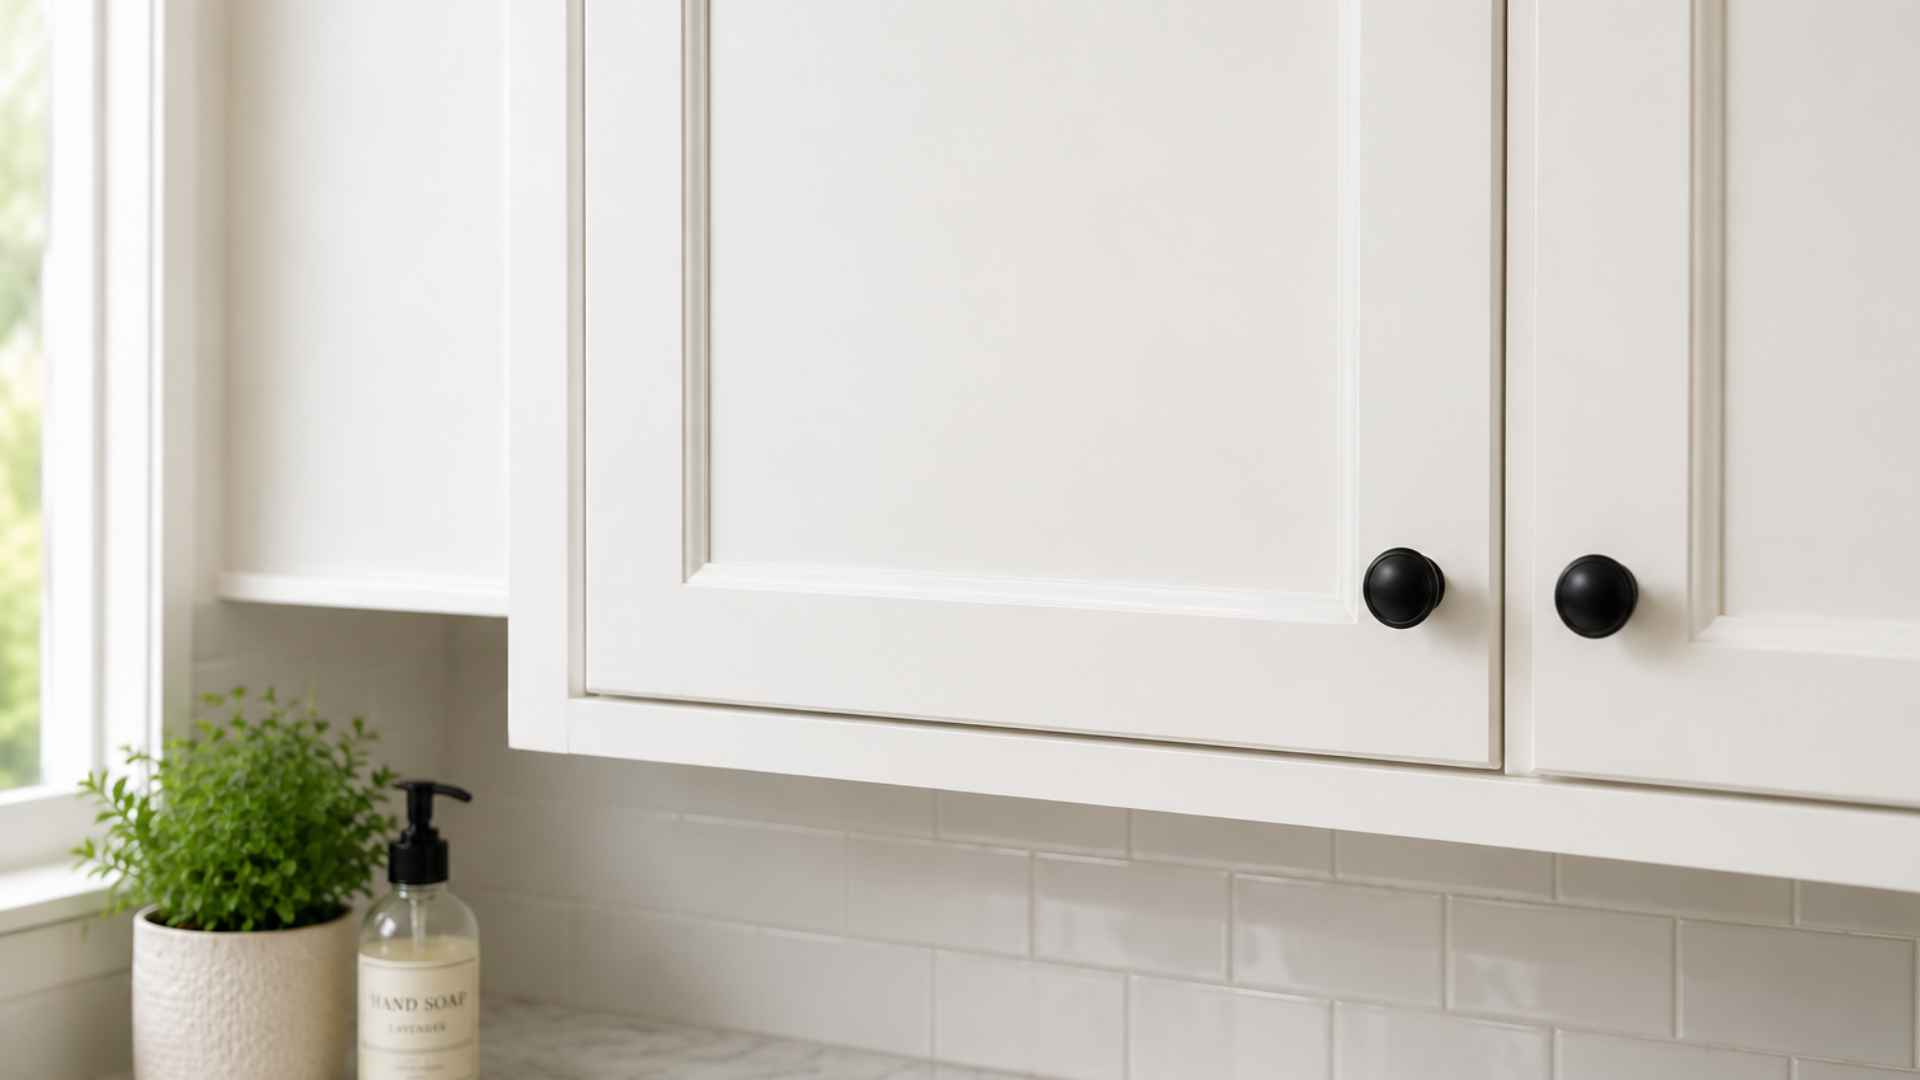
Gentle care protects paint while effectively removing dirt and grease.
Steps:
- Mix warm water with a few drops of mild dish soap.
- Dampen a soft cloth, wring out excess water.
- Wipe cabinet surfaces gently, following the grain of the paint.
- Rinse the cloth and wipe again to remove soap residue.
- Dry immediately with a clean microfiber cloth to prevent streaks.
Pro tip: Avoid harsh cleaners or scrubbing pads to protect painted surfaces from chipping.
2. Laminate Cabinets
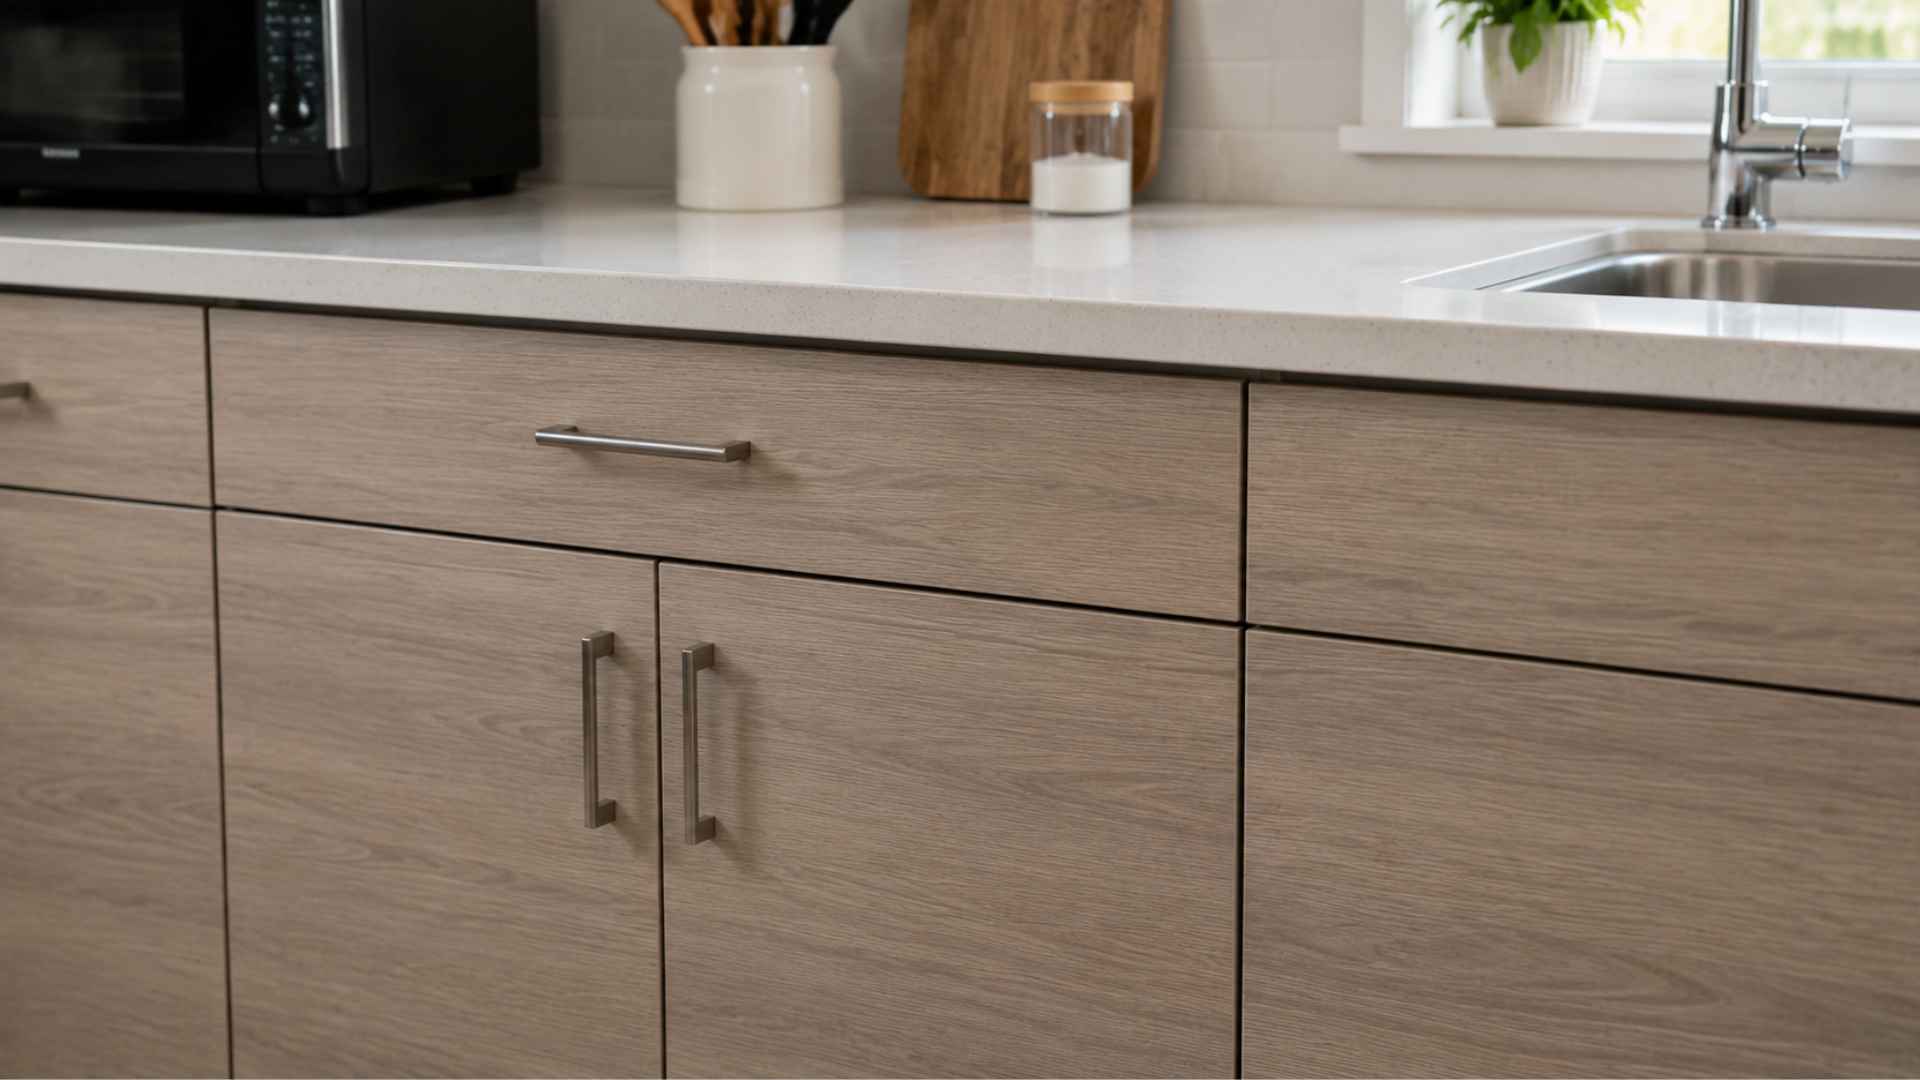
Laminate is durable but scratches easily if cleaned incorrectly.
Steps:
- Prepare warm water with mild soap in a bucket.
- Use a soft cloth or sponge to wipe surfaces.
- Avoid abrasive scrubbers or chemical solvents that can dull or scratch the surface.
- Rinse with a clean damp cloth to remove residue.
- Dry completely to avoid water marks or warping.
Pro tip: Use gentle circular motions for stubborn spots without scratching the laminate.
3. Glass Panel Cabinets
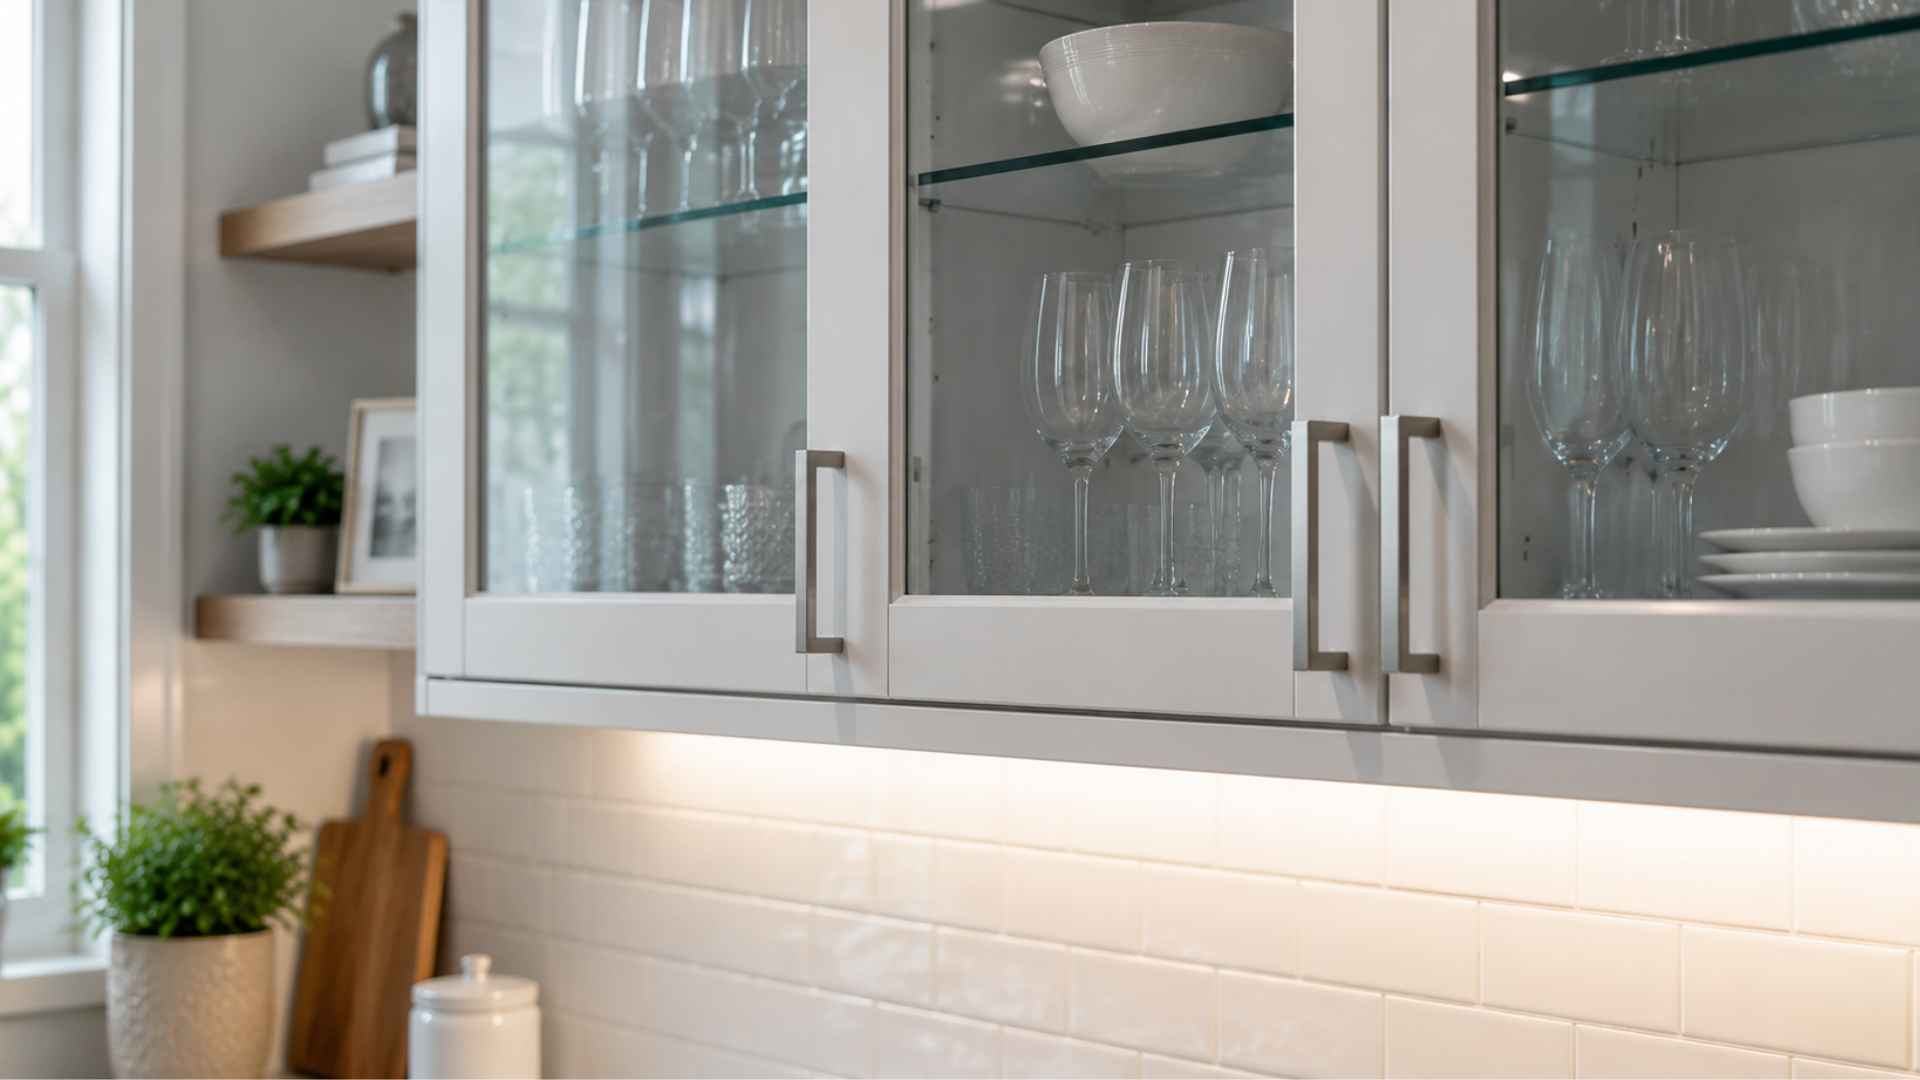
Glass panels need streak-free cleaning for a clear, polished look.
Steps:
- Spray glass cleaner onto a lint-free cloth, not directly onto the glass.
- Wipe the glass evenly, top to bottom.
- Pay extra attention to edges and corners.
- Buff with a dry cloth to remove streaks.
- Clean handles separately with mild soap if greasy.
Pro tip: Microfiber cloths prevent lint and streaks for sparkling glass panels.
4. Cabinets Above the Stove
These accumulate grease and require more frequent cleaning to maintain appearance.
Steps:
- Use hot soapy water to soften grease buildup.
- Apply a soft sponge to scrub gently.
- For tough grease, use a commercial degreaser safely.
- Rinse with a damp cloth to remove residue.
- Dry immediately to prevent moisture damage or streaking.
Pro tip: Clean these cabinets weekly to prevent heavy, stubborn grease buildup.
What Not to Use When Cleaning Kitchen Cabinets
Using the wrong product can do more damage than the dirt itself. Before you start cleaning, know what to keep away from your cabinets.
- Bleach: Too harsh for most cabinet finishes. It strips the coating, discolors wood, and leaves surfaces looking patchy and worn.
- Steel Wool or Rough Scrubbers: These leave behind visible scratches on cabinet doors and drawer fronts, especially on painted or laminate surfaces.
- Ammonia-Based Cleaners: Found in many glass and multi-surface sprays. Ammonia breaks down wood and laminate finishes faster than regular wear does.
- Too Much Water: Excess moisture seeps into wood joints, causing swelling, warping, and peeling over time. Always use a damp cloth, not a wet one.
- Vinegar on Wood: Vinegar can be risky on wood cabinets, especially those with a wax or sealant finish. Stick to mild dish soap and warm water for regular cleaning, and test any new solution on a hidden spot first.
Stick to mild soap, warm water, and products made for your cabinet material. When in doubt, test any new cleaner on a small hidden spot before applying it everywhere.
How Often Should You Clean Kitchen CabinetsKeeping cabinets clean on a schedule prevents buildup and maintains a fresh kitchen environment.
Regular cleaning prevents buildup and keeps your cabinets looking fresh and functioning well. |
Tips to Keep Kitchen Cabinets Clean Longer
Cleaning your cabinets is one thing. Keeping them clean takes just a few small habits. These tips make your next cleaning session much faster and easier.
- Wipe Spills Right Away: Do not let spills dry on the surface. A fresh spill takes seconds to wipe off. A dried one takes much more effort to remove without damaging the finish.
- Clean Handles and Knobs Every Week: Your hands touch these spots dozens of times a day. Grease and oils from cooking transfer directly onto knobs and handles. A quick weekly wipe keeps buildup from hardening.
- Keep a Spray Bottle Under the Sink: Fill a small spray bottle with warm water and a drop of dish soap. Having it ready means you are more likely to wipe things down on the spot instead of letting grime build up.
- Run the Exhaust Fan While Cooking: Cooking grease can float through the air and settle on cabinet surfaces. Running your kitchen exhaust fan reduces how much of that grease lands on your cabinets in the first place.
- Use Shelf Liners Inside Cabinets: Shelf liners catch crumbs, spills, and dust before they reach the cabinet floor. They are easy to remove and wash, which makes cleaning the inside of your cabinets much quicker.
A little upkeep after each cooking session goes a long way. The more consistent you are with these small habits, the less scrubbing you will have to do later.
Wrap Up
Keeping kitchen cabinets clean does not have to be a big chore. With the right supplies and a simple routine, you can handle everything from everyday dust to stubborn grease.
Mild dish soap and warm water cover most situations. Wood cabinets need a little extra care with moisture. Painted and laminate cabinets just need gentle products and a quick dry.
Deep clean every few months, and your cabinets will stay in good shape for years. The biggest tip of all is consistency. A two-minute wipe-down after cooking saves you an hour of scrubbing later.
Got a cabinet cleaning hack that works better than anything else? Drop it in the comments below. Someone else might be dealing with the same stubborn grease spot you just figured out how to fix.
Frequently Asked Questions
What is the Best Homemade Cleaner for Kitchen Cabinets?
Warm water mixed with a few drops of dish soap is the easiest and most effective homemade cabinet cleaner.
Can You Use Vinegar to Clean Wood Kitchen Cabinets?
Vinegar can damage wood cabinets with a wax or sealant finish. Diluted vinegar may be used cautiously on finished wood, but mild dish soap and warm water are the safer option to avoid any risk to the coating.
How Do You Remove Grease From Kitchen Cabinet Doors?
Apply a baking soda and dish soap paste to the greasy area, let it sit, then wipe clean.
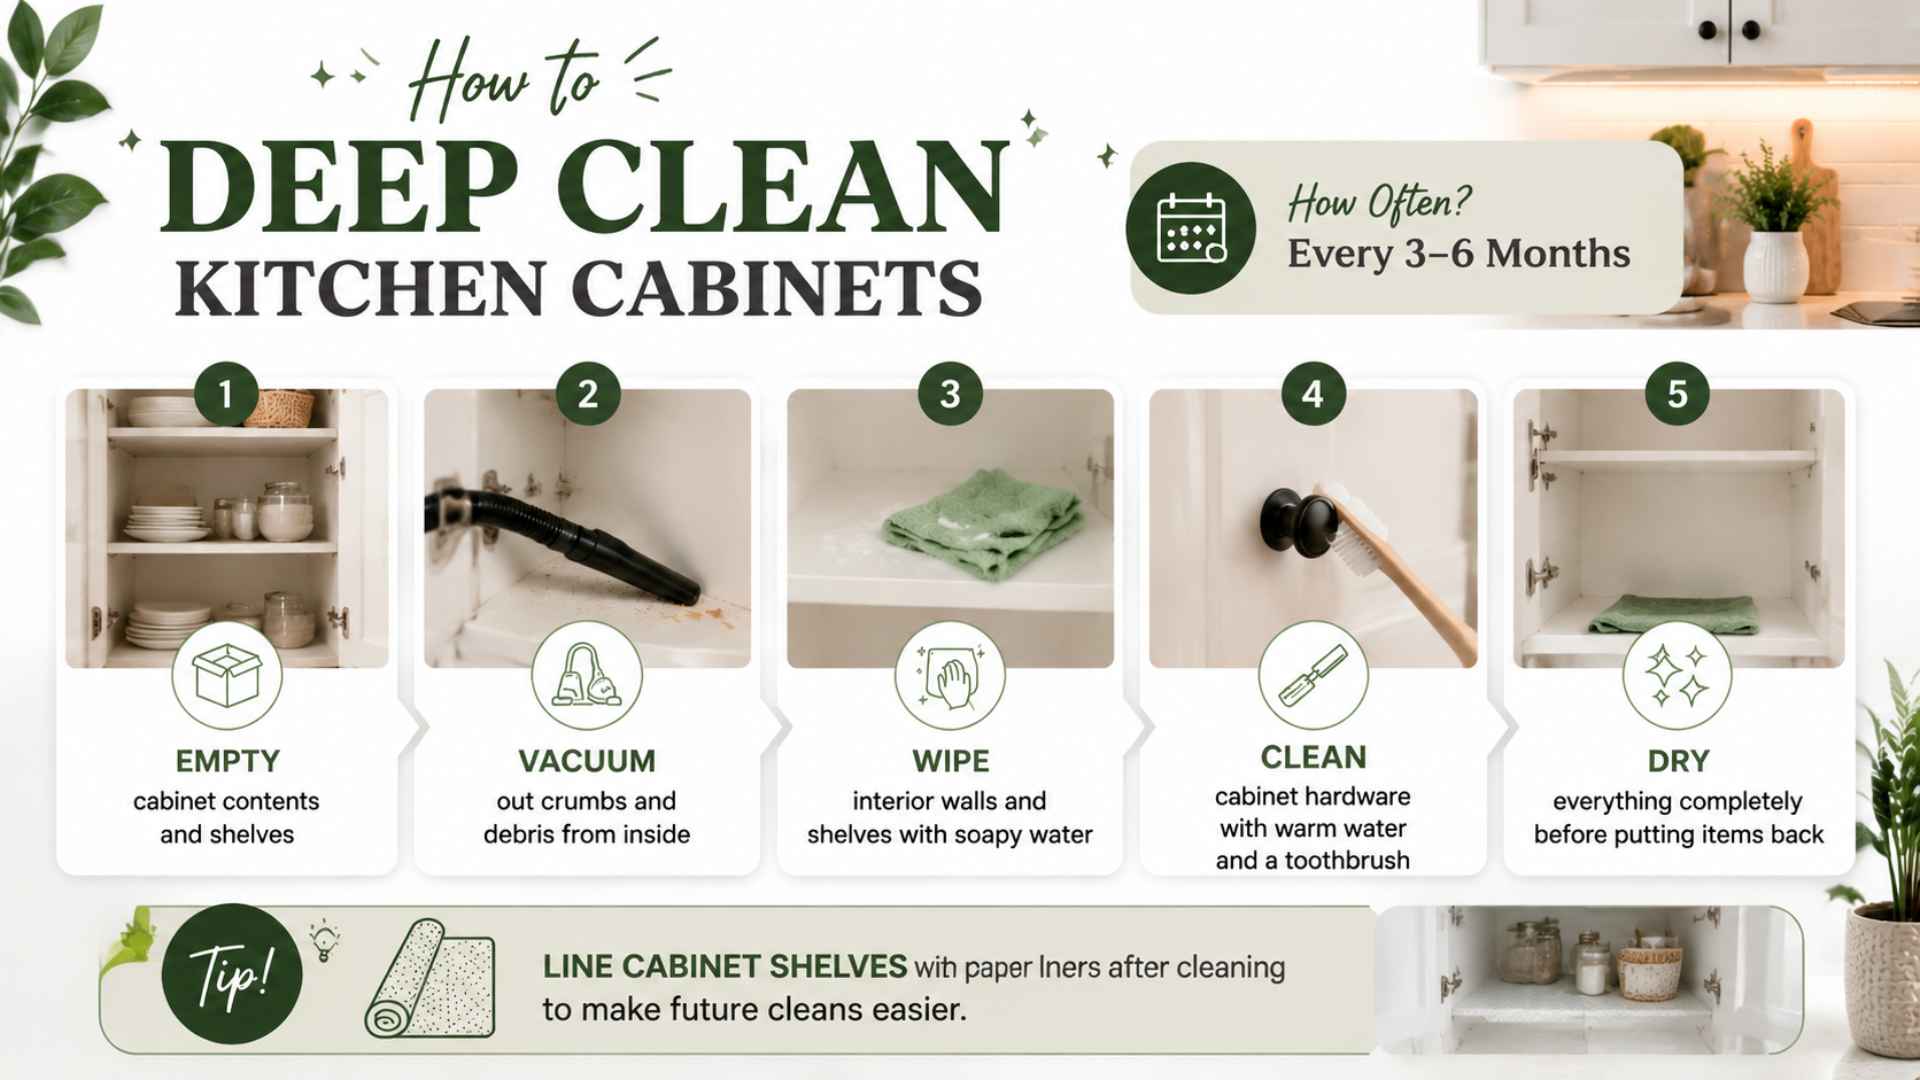
How Do You Clean the Inside of Kitchen Cabinets?
Empty the cabinet, wipe the interior with a damp soapy cloth, and dry everything completely before putting items back.
How Often Should Kitchen Cabinets Be Cleaned?
Wipe handles weekly, clean exterior doors monthly, and deep-clean the inside of cabinets every 3 to 6 months.