You’ve been scrolling nail inspo for an hour. Now you need to pick a side. Do you go with acrylics or dip powder nails? It’s one of the most common nail questions out there, and for good reason.
Both give you long-lasting, polished nails. But they’re not the same. The look is different. The upkeep is different, and the removal process is different as well. That’s where the acrylic vs dip nails debate really matters.
Choosing the wrong one can mean more trips to the salon, more damage, or nails that just don’t hold up. Everything gets covered right here.
Look, wear time, upkeep, and removal. So you can pick the right fit for your nails and your lifestyle.
Acrylic Vs Dip Nails: Key Differences At A Glance
Not sure which one suits you better? Here’s a simple side-by-side comparison of these two nail types.
| Feature | Acrylic Nails | Dip Nails |
|---|---|---|
| Best For | Length and shape control | Fast, natural-looking strength |
| Look | Bold and sculpted | Light and more natural |
| Wear Time | About 2 to 3 weeks before the fill | Typically, 2 to 4 weeks |
| Application | Liquid and powder are mixed at the nail | Nails dipped into colored powder |
| Biggest Risk | Damage from over-filing or peeling | Damage from over-filing or peeling |
| Ideal For | Those who want dramatic length | Those who want stronger, everyday nails |
Both options can give you beautiful, long-lasting nails. The right pick really comes down to your lifestyle, your nail goals, and how much upkeep you’re comfortable with.
What Are Acrylic Nails?
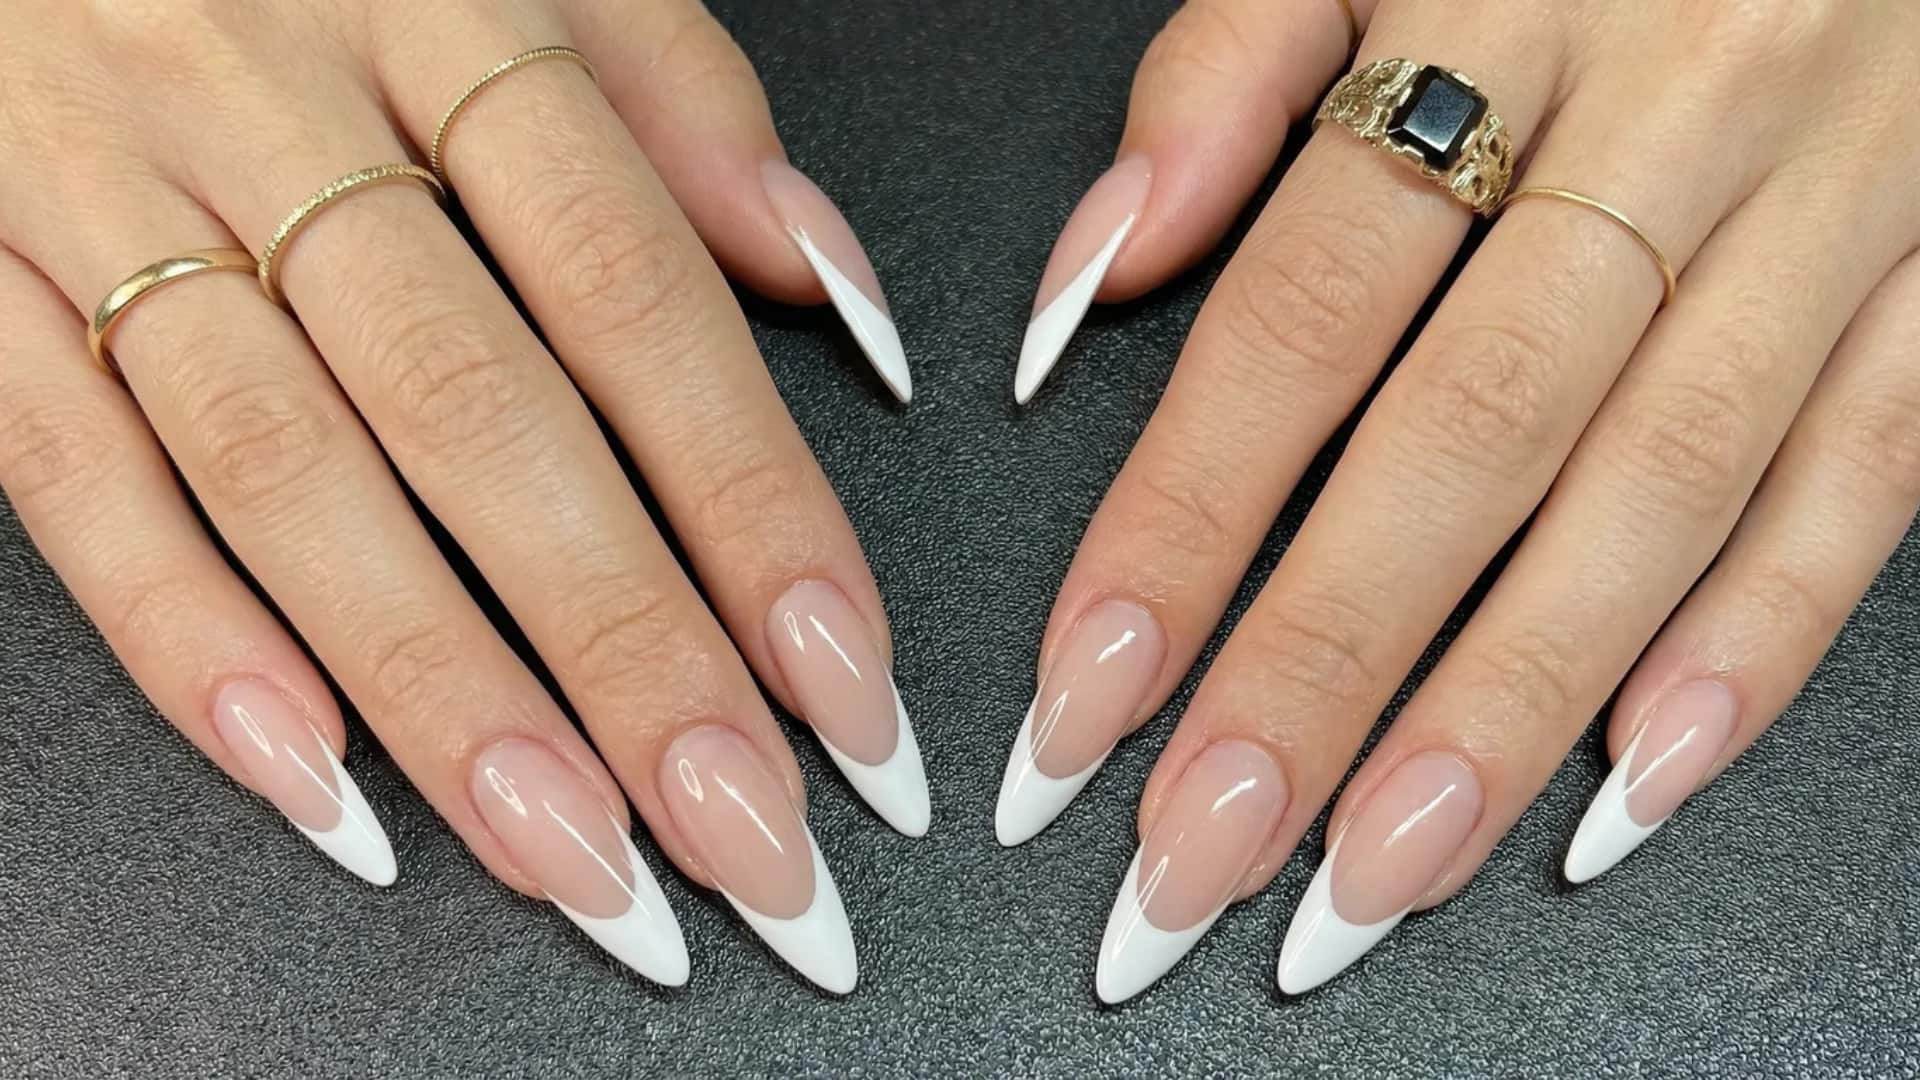
Acrylic nails are one of the most popular nail options at salons. They’re made by combining two products that harden into a strong layer over your natural nail. They’ve been around for decades and are loved for their durability and versatility.
How Acrylic Nails Work?
If you’ve ever wondered what actually goes into making acrylic nails, it’s simpler than it sounds. Two basic ingredients come together to create that hard, polished finish you see at the salon.
A liquid called a monomer and a powder called a polymer are mixed together at the nail. This creates a soft bead that hardens as it dries.
The result is a tough, solid layer on top of your natural nail. Nail tips can also be added underneath to give extra length before the acrylic is applied. Once set, the nail is shaped and finished.
Acrylic Nail Application Process
Getting acrylics done involves more steps than most people think. Knowing what happens at each stage helps you understand why the process takes the time it does.
- Prep: The natural nail is cleaned and lightly buffed to help the acrylic stick better to the surface.
- Tips: Plastic nail tips are added for extra length and then blended smoothly into the natural nail.
- Acrylic Application: A small bead of acrylic is placed on the nail and shaped before it hardens completely.
- Filing and Smoothing: Once dry, the nail is filed and smoothed down to the desired shape and thickness.
- Finishing: A polish or top coat is applied to seal everything and give the nails a clean, finished look.
Acrylic Nails Pros And Cons
Every nail option has its strengths and its drawbacks. Here’s a quick look at what’s great about acrylics and what to keep in mind before booking your next appointment.
| Pros | Cons |
|---|---|
| Strong and durable structure | Strong odor during application |
| Lots of shape and length options | Filing dust can be messy |
| Easy to repair if one breaks | Can feel thick if applied too heavily |
Acrylic Nails Cost Breakdown
Acrylic nails can fit a range of budgets, but the final price depends on what you’re getting done. Knowing the average costs upfront helps you plan better and avoid any surprise charges at checkout.
- Most full sets fall around $50 to $95, though basic options can start at $35, and high-end salons or heavy designs can push costs to $150 or more
- Fill-ins are cheaper, typically ranging from $20 to $45, and are done every 2 to 3 weeks to keep the look fresh
- Extra length is commonly charged as an add-on fee, usually around $5 to $15 or more, depending on the salon and how much length is added
- Nail art is typically priced separately. Simple designs may only be a small upcharge, while detailed or 3D work can add $10 to $30 or more, and premium sets can go much higher
- Repairs for a broken nail usually cost around $5 to $10 per nail at most salons
Who Are They Best For?
Acrylics aren’t for everyone, but for the right person, they’re hard to beat. If you’ve been wanting dramatic length, crisp shapes, or a nail look that turns heads, acrylics might be exactly what you need.
Acrylics work really well for people who want a bold, dramatic look or have short nails to work with. If nails are bitten or naturally short, acrylics can add serious length.
They’re also a great fit for anyone who loves crisp shapes like coffin or stiletto, or someone who likes switching up nail art designs often. The strong structure makes them easy to reshape and redo without starting over completely.
What Are Dip Powder Nails?
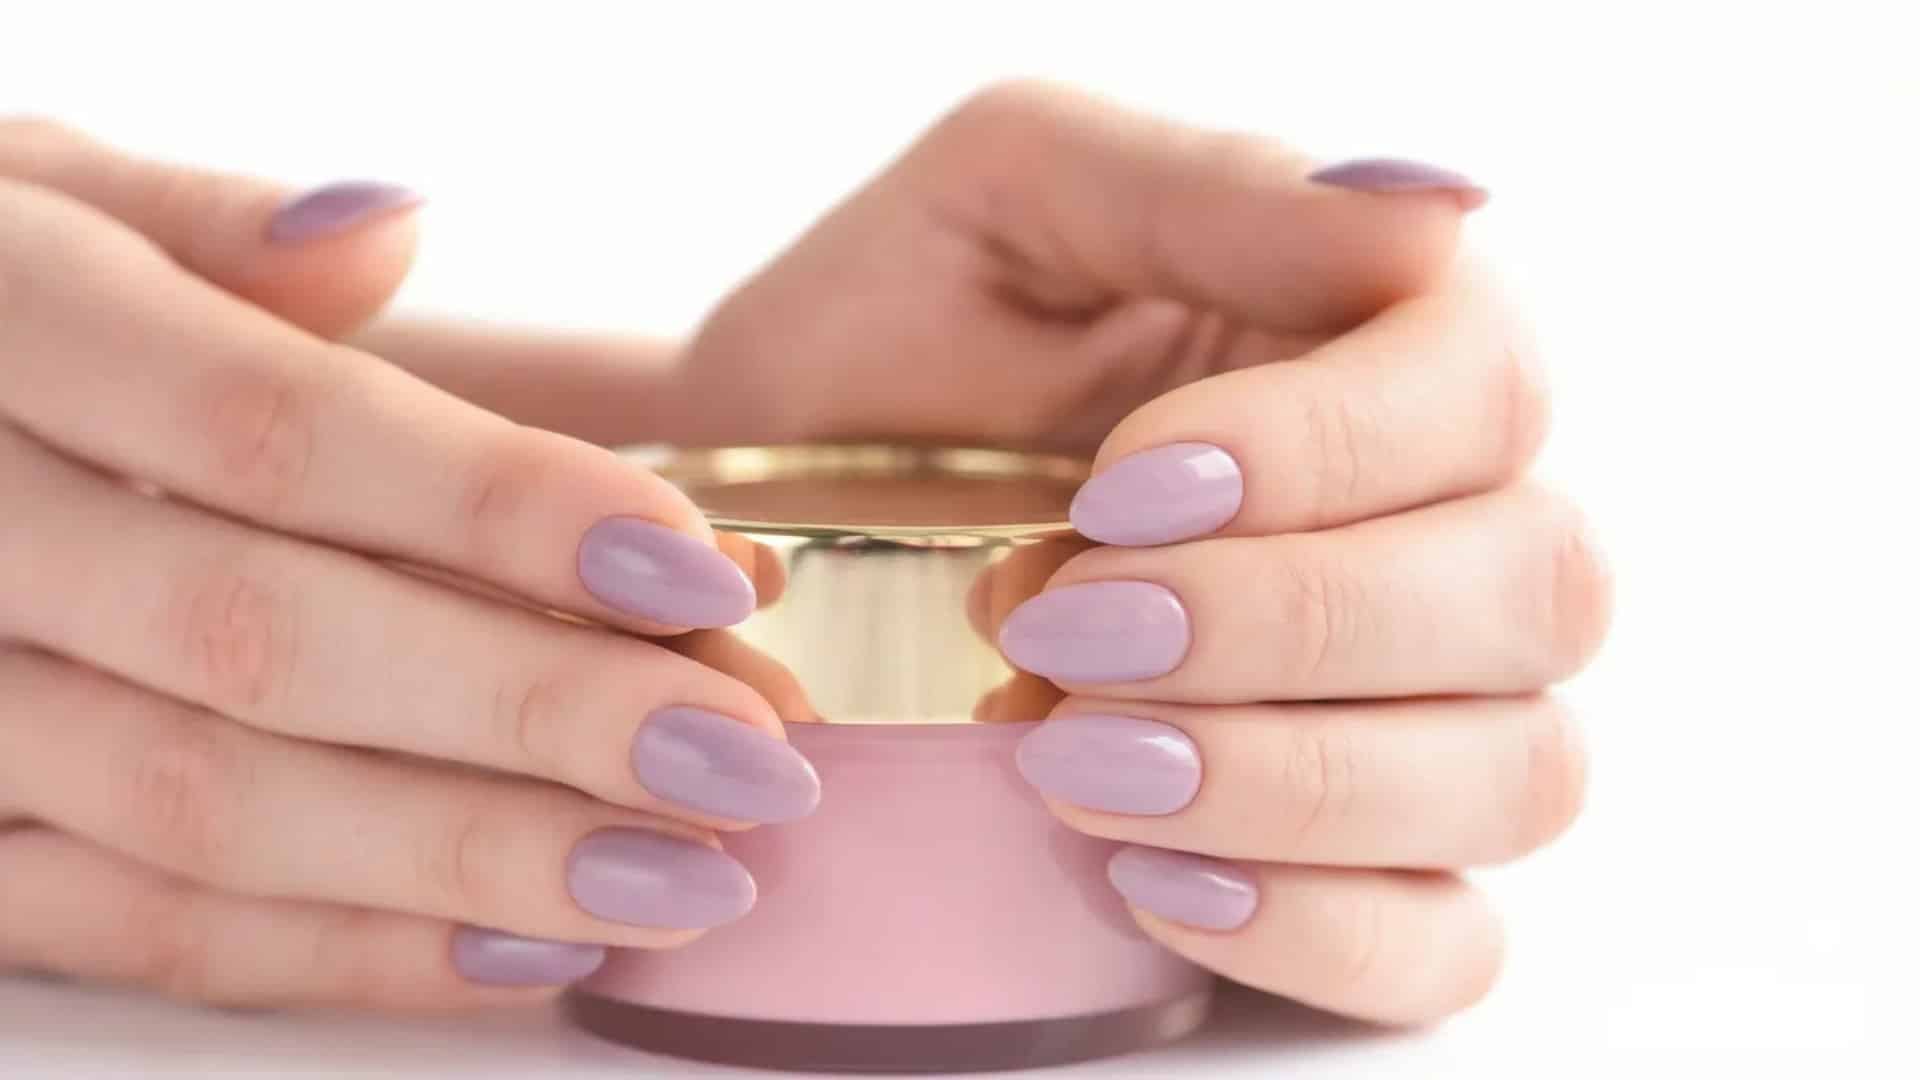
Dip powder nails have become a go-to choice for people who want strong, long-lasting color without a lot of fuss. They use a simple layering process that skips the need for UV light and dries faster than most other nail options.
How Dip Nails Work?
Dip nails might sound complicated, but the process is actually pretty straightforward. Once you understand the basic steps, it all makes a lot of sense.
A base coat is applied to the nail first, then the nail is dipped into colored powder. This is repeated a few times to build up strength and color.
An activator is then brushed onto harden everything in place. Finally, a top coat is added for shine and protection. No UV light is needed, which makes the whole process quicker and simpler than gel nails.
Dip Powder Nail Application Process
The dip powder process is quick once you know what to expect. Here’s how it goes from bare nail to finished look.
- Prep: The natural nail is cleaned and lightly buffed to ensure the base coat adheres properly to the nail surface.
- Base Coat and Dip: A thin base coat is applied, and the nail is dipped into colored powder to build color and strength.
- Repeat Layers: The base coat and dip steps are repeated one or two more times to create a thicker, more durable finish.
- Activator: A liquid activator is brushed onto the layers to harden the powder and securely lock everything in place.
- File and Top Coat: The nails are filed and buffed smooth, then sealed with a shiny top coat for a polished finish.
Dip Powder Nails Pros And Cons
Dip nails come with some real advantages, but there are a few things worth knowing before you commit. Here’s a simple breakdown to help you weigh your options.
| Pros | Cons |
|---|---|
| Quick application compared to other nail types | Can look bulky if too many layers are applied |
| Strong and resistant to chips and cracks | Shared dipping jars can be a hygiene concern |
| Rich, vibrant color payoff with minimal effort | Removal can weaken nails if not done properly |
Dip Nails Cost Breakdown
Dip powder nails are generally affordable, but the final price can vary depending on the extras you add. Knowing what to expect before you sit in the chair makes the whole experience a lot smoother.
- A basic dip powder set typically costs between $30 and $55 at most salons, making it one of the more budget-friendly nail options
- High-end salons or those in larger cities can charge $60 or more, with premium sets often running $70 to $100 or higher
- Tips or extra length often come with an added fee, commonly around $5 to $15 or more, depending on the salon and length chosen
- French tip or ombré designs are popular add-ons that commonly add around $10 or more, and can go up to $25 or higher based on complexity
- Removal fees, if charged separately, usually fall around $10 to $20, though some salons waive this fee when you book a new set
Who Is It Best For?
Dip nails are a solid pick for anyone who wants low-maintenance, everyday nails that hold up well. If you prefer simple, low-maintenance looks, dip powder is worth considering.
Dip nails are a great fit for busy schedules, shorter to medium nail lengths, solid color lovers, and anyone who just wants nails that look good without the extra effort.
The Removal Process For Dip Vs Acrylic Nails
Removing your nails the right way is just as important as how they’re applied. Skipping steps or rushing the process are among the biggest causes of nail damage.
How To Remove Acrylic Nails Safely?
Removing acrylics at home is doable, but it requires patience and the right steps. Rushing this process is what causes the most damage to your natural nails.
- File Down First: Use a nail file to remove the bulk of the acrylic on top before starting the soaking process.
- Acetone Soak: Soak nails in pure acetone for 20 to 30 minutes until the acrylic softens enough to gently push off.
- Be Gentle: Never force or scrape the acrylic off. If it’s not lifting easily, soak for a little longer before trying again.
- Moisturize After: Acetone dries out the skin and nails, so apply cuticle oil or hand cream immediately after the removal process.
- Go To A Salon If Unsure: If the acrylic feels too thick or stubborn to remove at home, a professional removal is always the safer choice.
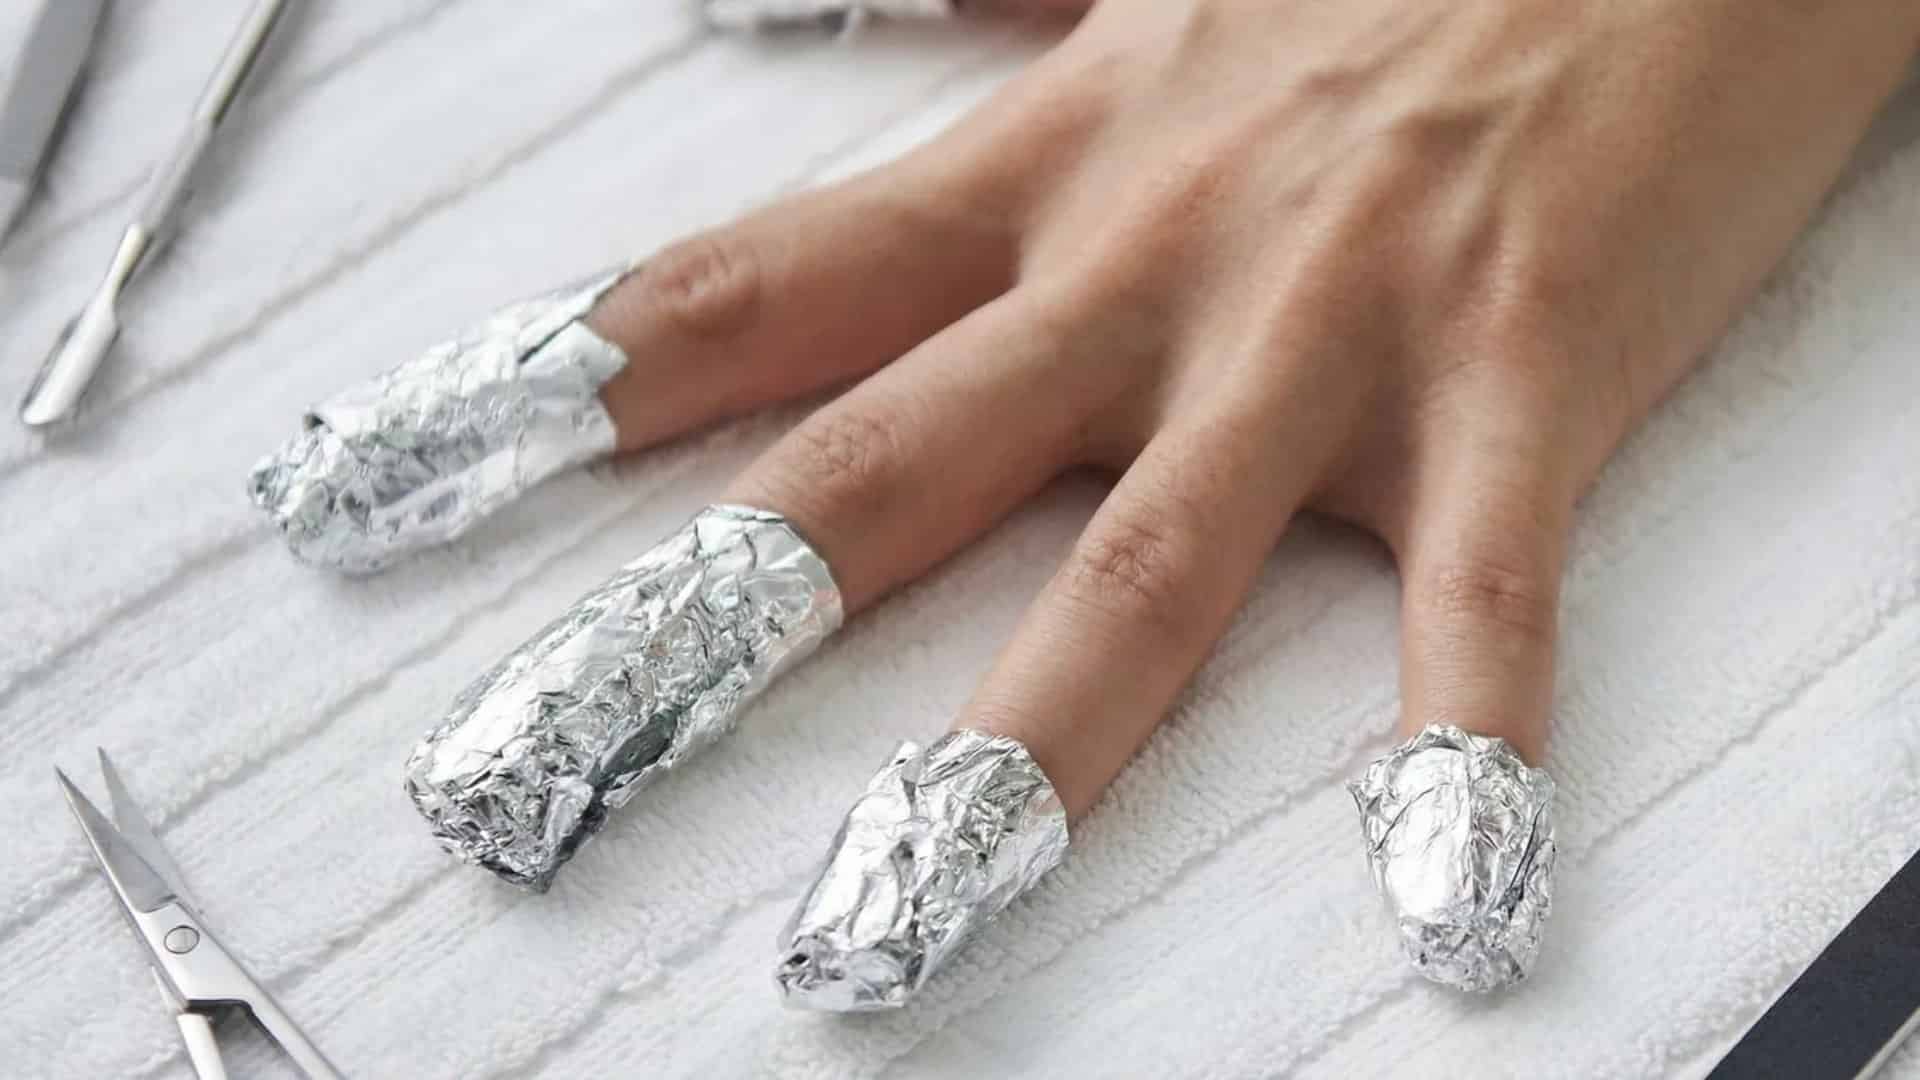
How To Remove Dip Powder Nails Safely?
Dip powder removal is fairly simple when done right. The key is letting the acetone do the work instead of forcing anything off too soon.
- File The Top Layer: Lightly file the shiny top coat off first so the acetone can soak into the powder layers more effectively.
- Soak In Acetone: Wrap nails in acetone-soaked cotton and foil, or soak in a bowl for 10 to 15 minutes until powder softens.
- Gently Push Off: Use a cuticle stick to gently push the softened powder off. Never scrape hard or force anything that isn’t ready.
- Never Peel: Peeling dip powder off skips the process entirely and pulls layers of your natural nail off with it, causing real damage.
- Finish With Care: Once removed, gently buff away any residue, then apply a nourishing oil or cream to restore moisture to the nails.
Taking the time to remove your nails properly keeps your natural nails healthy and strong for the next set. A few extra minutes of patience go a long way.
What Should You Choose?
Choosing between acrylics and dip nails really comes down to what you want out of your manicure.
If maximum length, sculpted shapes, dramatic nail art, or easy fixes between appointments matter to you, acrylics are the better fit.
If you want faster salon visits, strong everyday wear, simple, solid colors, and less upkeep, dip powder is the way to go.
Before booking, think about your nail goal, your daily routine, and how much you can tolerate, including odor, filing time, and added thickness. Once you know those answers, the right choice becomes pretty clear.
How To Maintain Your Manicure For Longer?
Getting your nails done is just the first step. How you care for them every day makes a big difference in how long they actually last.
- Apply cuticle oil daily to keep the skin around your nails hydrated and prevent lifting or cracking around the edges.
- Wear gloves when doing dishes, cleaning, or using harsh products, since water and chemicals are among the fastest ways to shorten wear time.
- Avoid using your nails to open cans, peel stickers, or pick at things, as this can put pressure on the nail and cause breaks or lifting.
- Book acrylic fill-ins every 2 to 3 weeks and get dip nails redone or filled on a similar schedule to keep them looking fresh and intact.
- Skipping prep, applying too many dip layers, or leaving poor structure in acrylics are common mistakes that cause chips, lifts, and breakage much sooner than expected.
A little daily care goes a long way. The better you care for your nails between appointments, the longer your manicure will last.
Conclusion
At the end of the day, the acrylic vs dip nails debate does not have a single right answer. It comes down to what works for your nails, your lifestyle, and your schedule.
Want dramatic length and bold shapes? Go acrylic. Want something quick, strong, and low fuss?
Dip powder has you covered. Both can give you beautiful, long-lasting results when applied well and removed with care.
The product matters less than the prep, the skill, and how gently you take them off.
Treat your nails right between appointments, and they will thank you. Have you tried both? Drop a comment below and share which one worked best for you.