
Shiplap walls have become one of the most popular home design trends, and it’s easy to see why. With their clean lines and rustic charm, they can turn any plain wall into a cozy, farmhouse-style feature.
The good news is you don’t need to spend a lot of money or hire a contractor to get this look. A DIY shiplap wall is a project most beginners can handle with a little time, patience, and the right tools.
If you’re looking to create an accent wall in your living room, update your entryway, or add warmth to a bedroom, shiplap is a budget-friendly option.
This post will walk you through planning, preparing, and installing your own shiplap wall with ease, step by step.
Get Ready for Your Shiplap Project
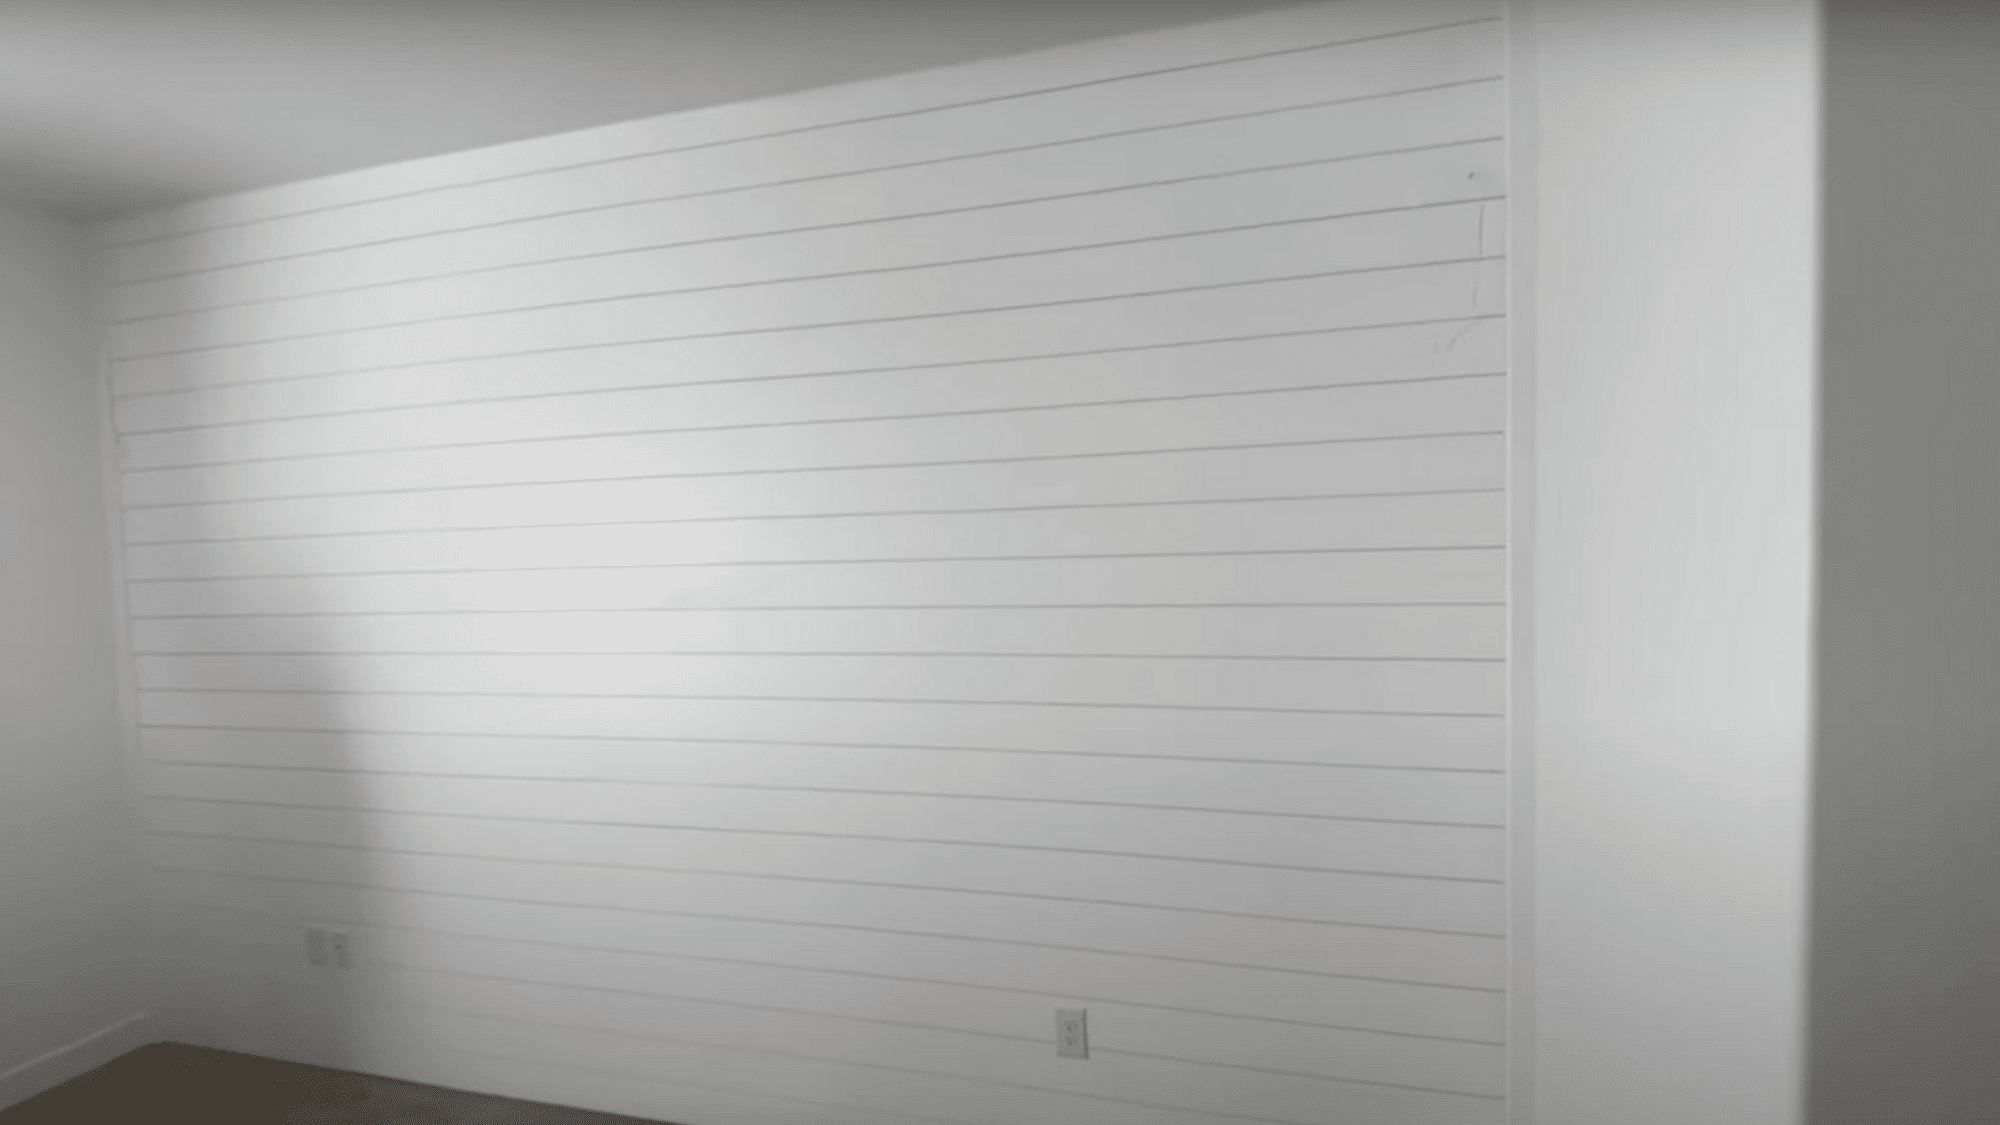
Every great DIY starts with a clear vision, and shiplap is no different. Before making a purchase, take a moment to consider the look you want to achieve.
Do you prefer a clean, modern wall painted crisp white, or a rustic design with natural wood tones? Also, consider where you will place your shiplap.
A full wall can make a bold statement, while a smaller accent wall, such as one behind a bed or fireplace, creates a cozy focal point.
Lighting matters, too. Bright rooms highlight the crisp lines of shiplap, while darker spaces may benefit from lighter paint colors.
Finally, consider your existing décor to ensure the wall complements your furniture and style well. Making these choices early helps you create a shiplap wall that feels intentional, polished, and perfect for your home.
What You’ll Need for Your Shiplap Wall
Before you get into your DIY shiplap wall project, it’s helpful to have everything ready. The right tools and materials will make the process smoother and faster.
Here’s a simple list with average prices to help you plan your budget.
| Item | Purpose | Average Price (USD) |
|---|---|---|
| Shiplap boards (wood, MDF, or plywood) | Main material for your wall | $2–$4 per square foot. |
| Trim boards | Finishing edges and corners | $10 – $15 each |
| Stud finder | Locating studs in the wall | $15 – $25 |
| Level (or laser level) | Keeping boards straight | $20 – $40 |
| Measuring tape | Accurate measurements | $10 – $15 |
| Nail gun (or brad nailer) | Fastening boards | $60 – $120 |
| Nails (brad nails) | Securing boards to studs | $5 – $10 per pack |
| Circular or miter saw | Cutting boards to size | $80 – $150 |
| Paint/primer | Finishing touch for boards | $25 – $40 per gallon |
| Spacers (nickels or tile spacers) | Even gaps between boards | $2 – $5 |
| Caulk & spackle | Filling gaps and nail holes | $5 – $10 each |
| Sandpaper | Smoothing rough edges | $5 – $10 per pack |
Note: These are average prices and may vary depending on your location and store.
Having these essentials ready will save you multiple trips to the store and keep your project stress-free. Even if you already own some of the tools, double-checking before you begin is always a good idea.
Step-by-Step for Installing a Shiplap Wall
Installing a shiplap wall may look tricky, but the process is actually very straightforward when broken into steps.
With a few basic tools, careful measuring, and some patience, you can turn an ordinary wall into a stylish feature. Let’s walk through the process, one step at a time.
Step 1: Remove Baseboards
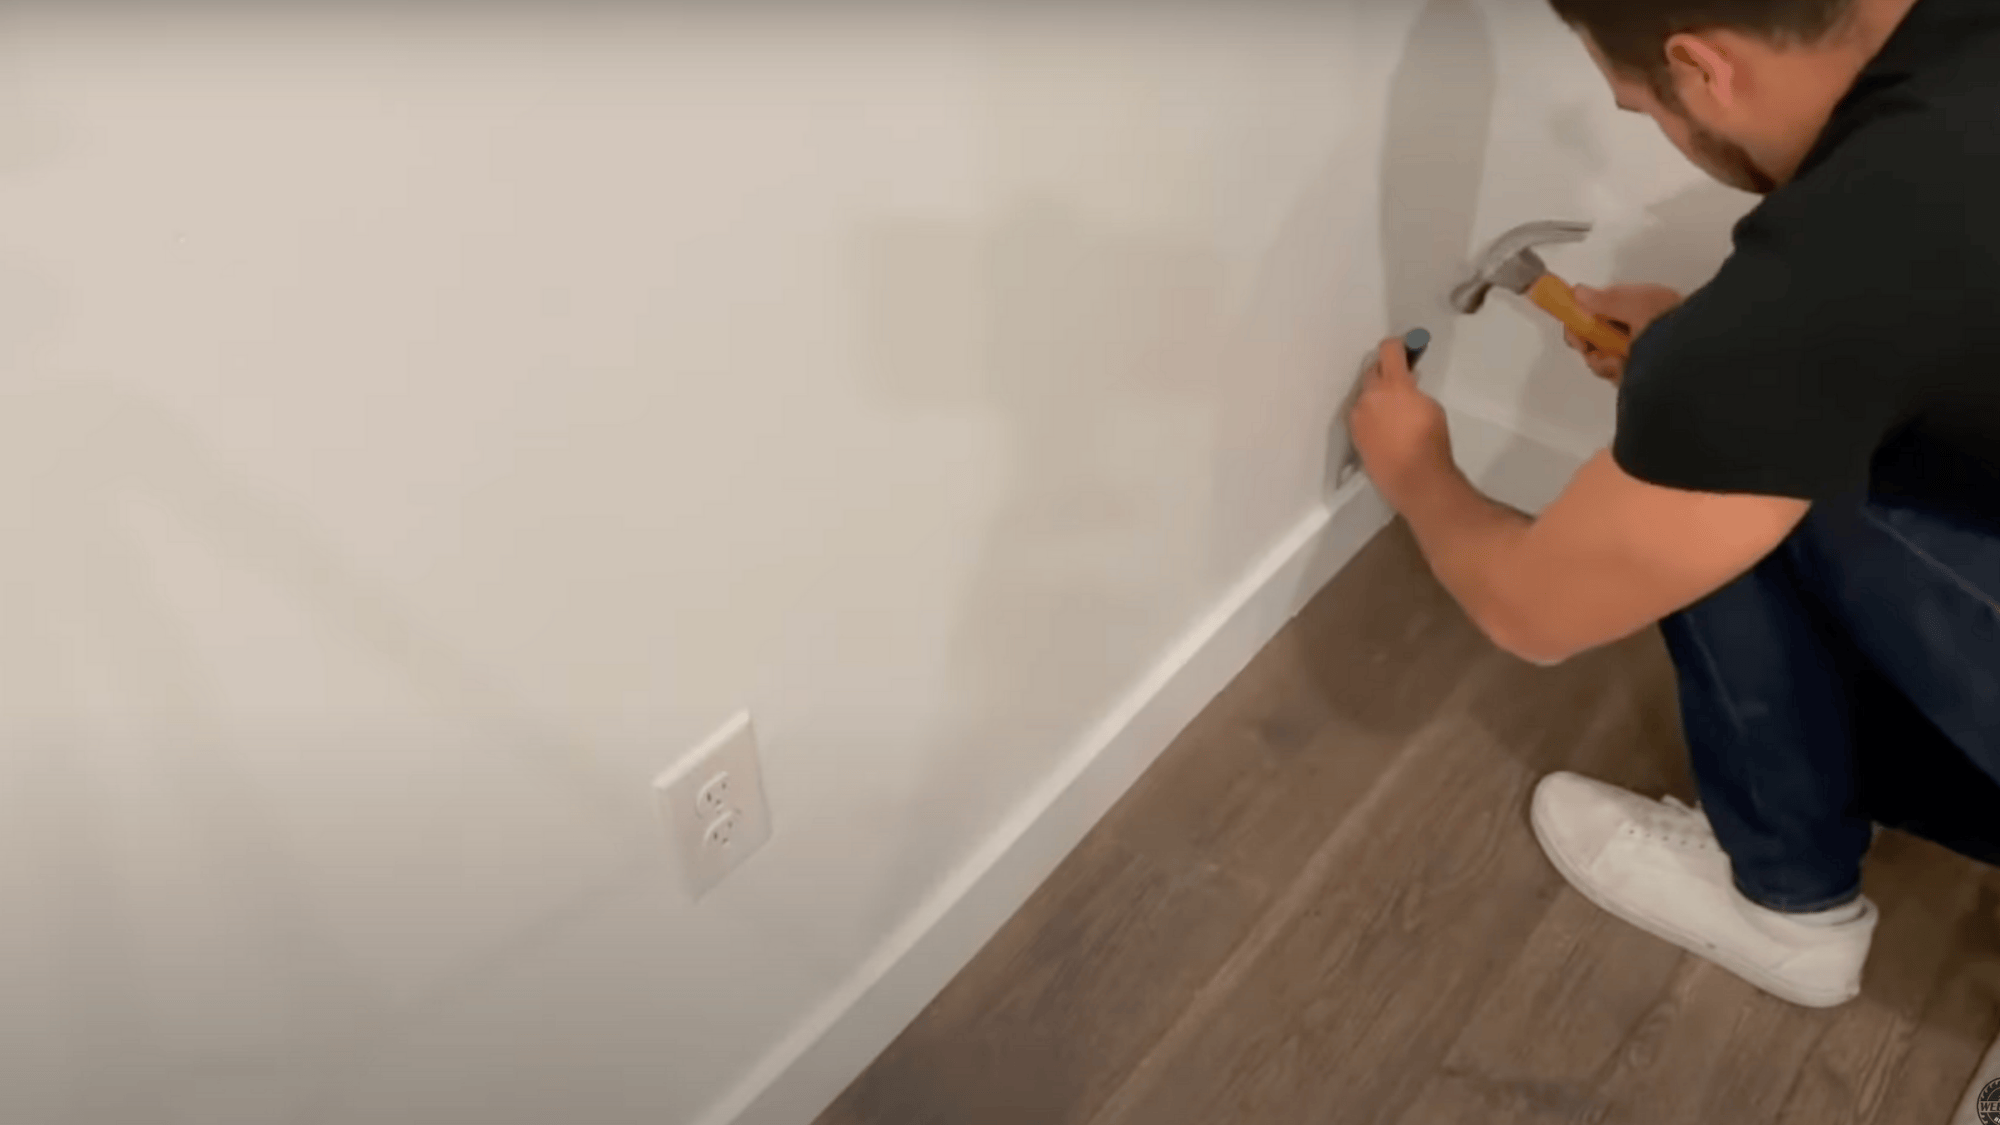
Start by carefully removing the baseboards along your wall. This creates a flat, clean surface, allowing your shiplap boards to sit flush against the wall.
Use a pry bar and work slowly to avoid damaging the wall. Save the baseboards if you plan to reattach them later for a neat finish.
Step 2: Install Speakers

If your wall will include built-in speakers or outlets, now is the time to install or adjust them. Cut openings in the drywall as needed and make sure wires are properly positioned before adding shiplap boards.
Completing this step early ensures your wall appears seamless without leaving large gaps later.
Step 3: Cut Corners
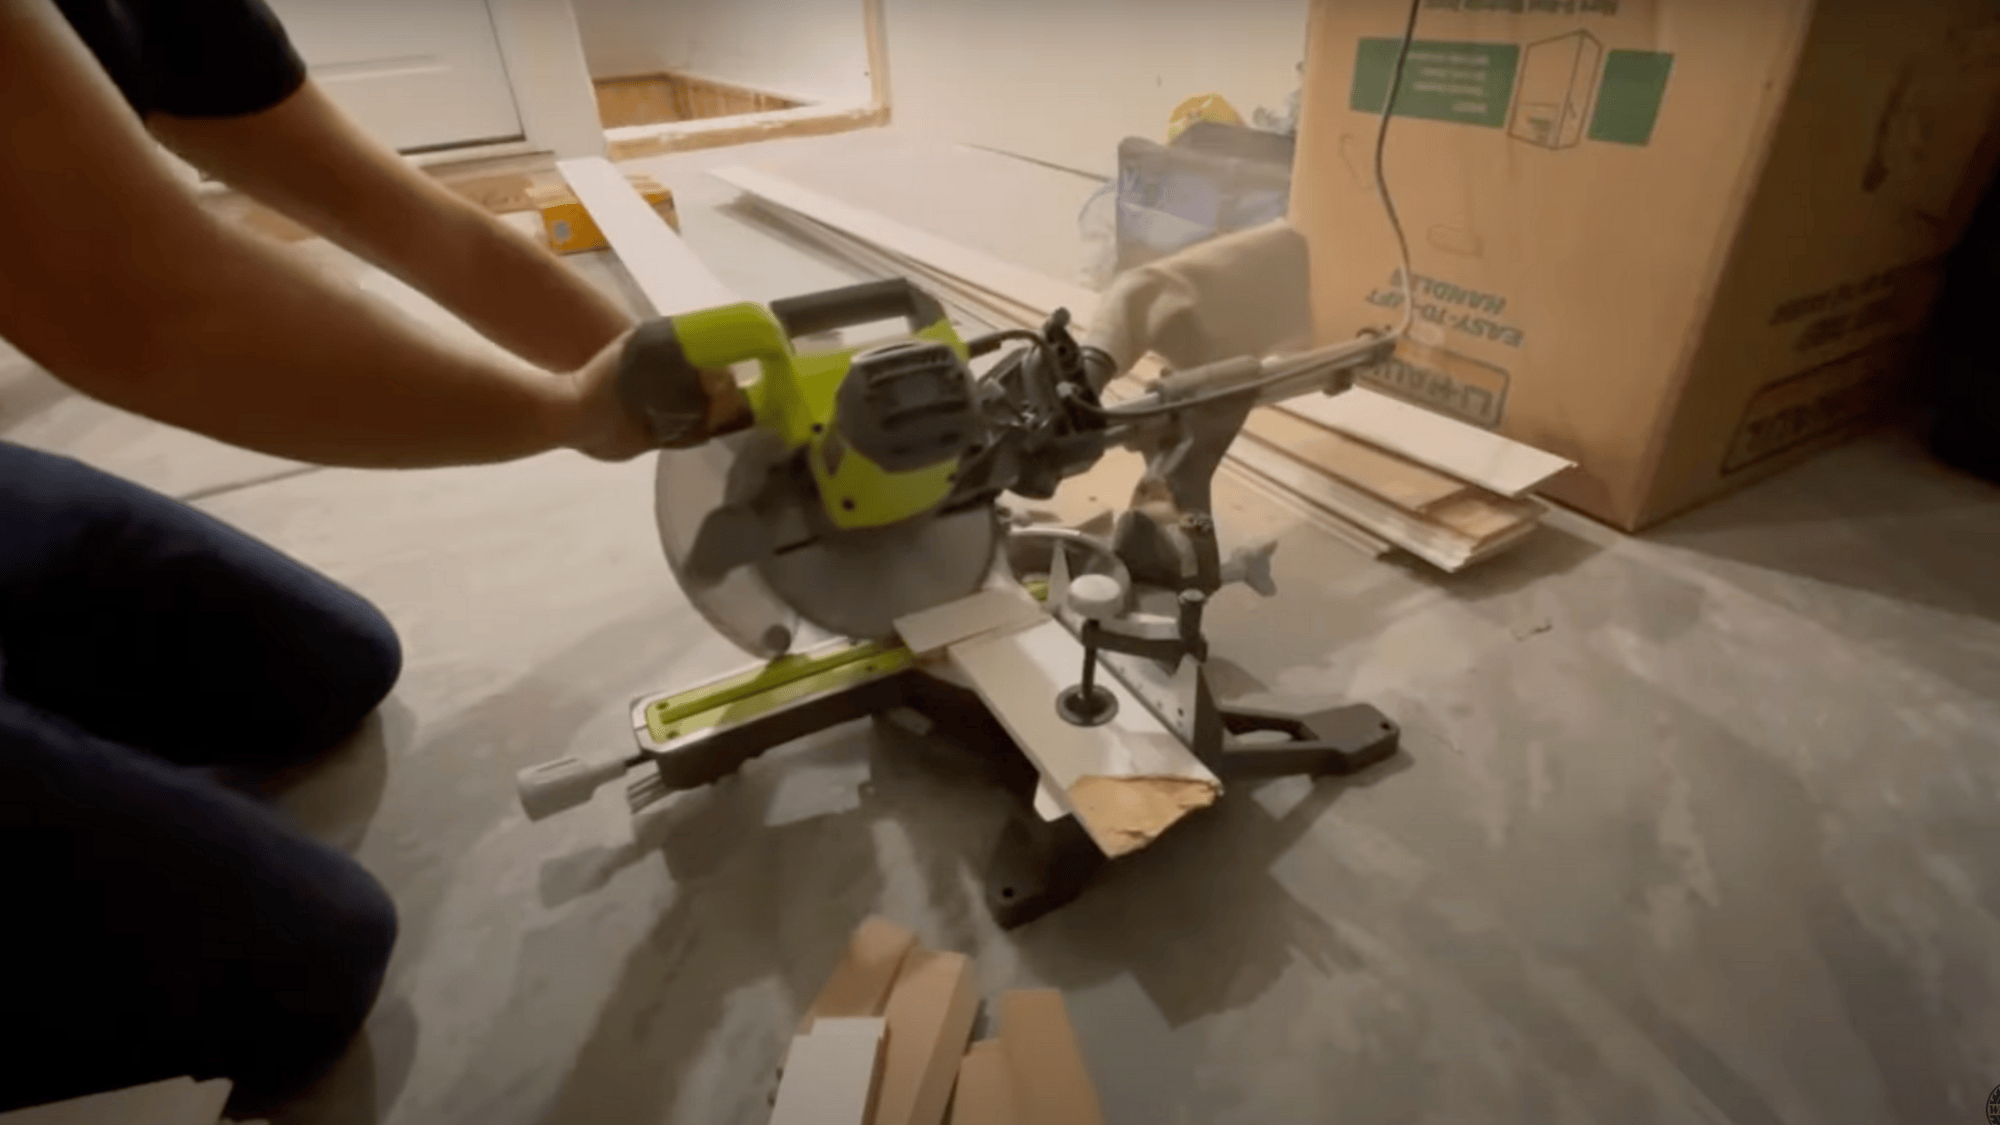
Measure and cut your shiplap boards to fit snugly around corners, windows, or outlets. A circular or miter saw works best for clean edges.
Taking time to fit corners properly gives your wall a professional look and prevents uneven gaps. Always double-check measurements before cutting to avoid wasted boards.
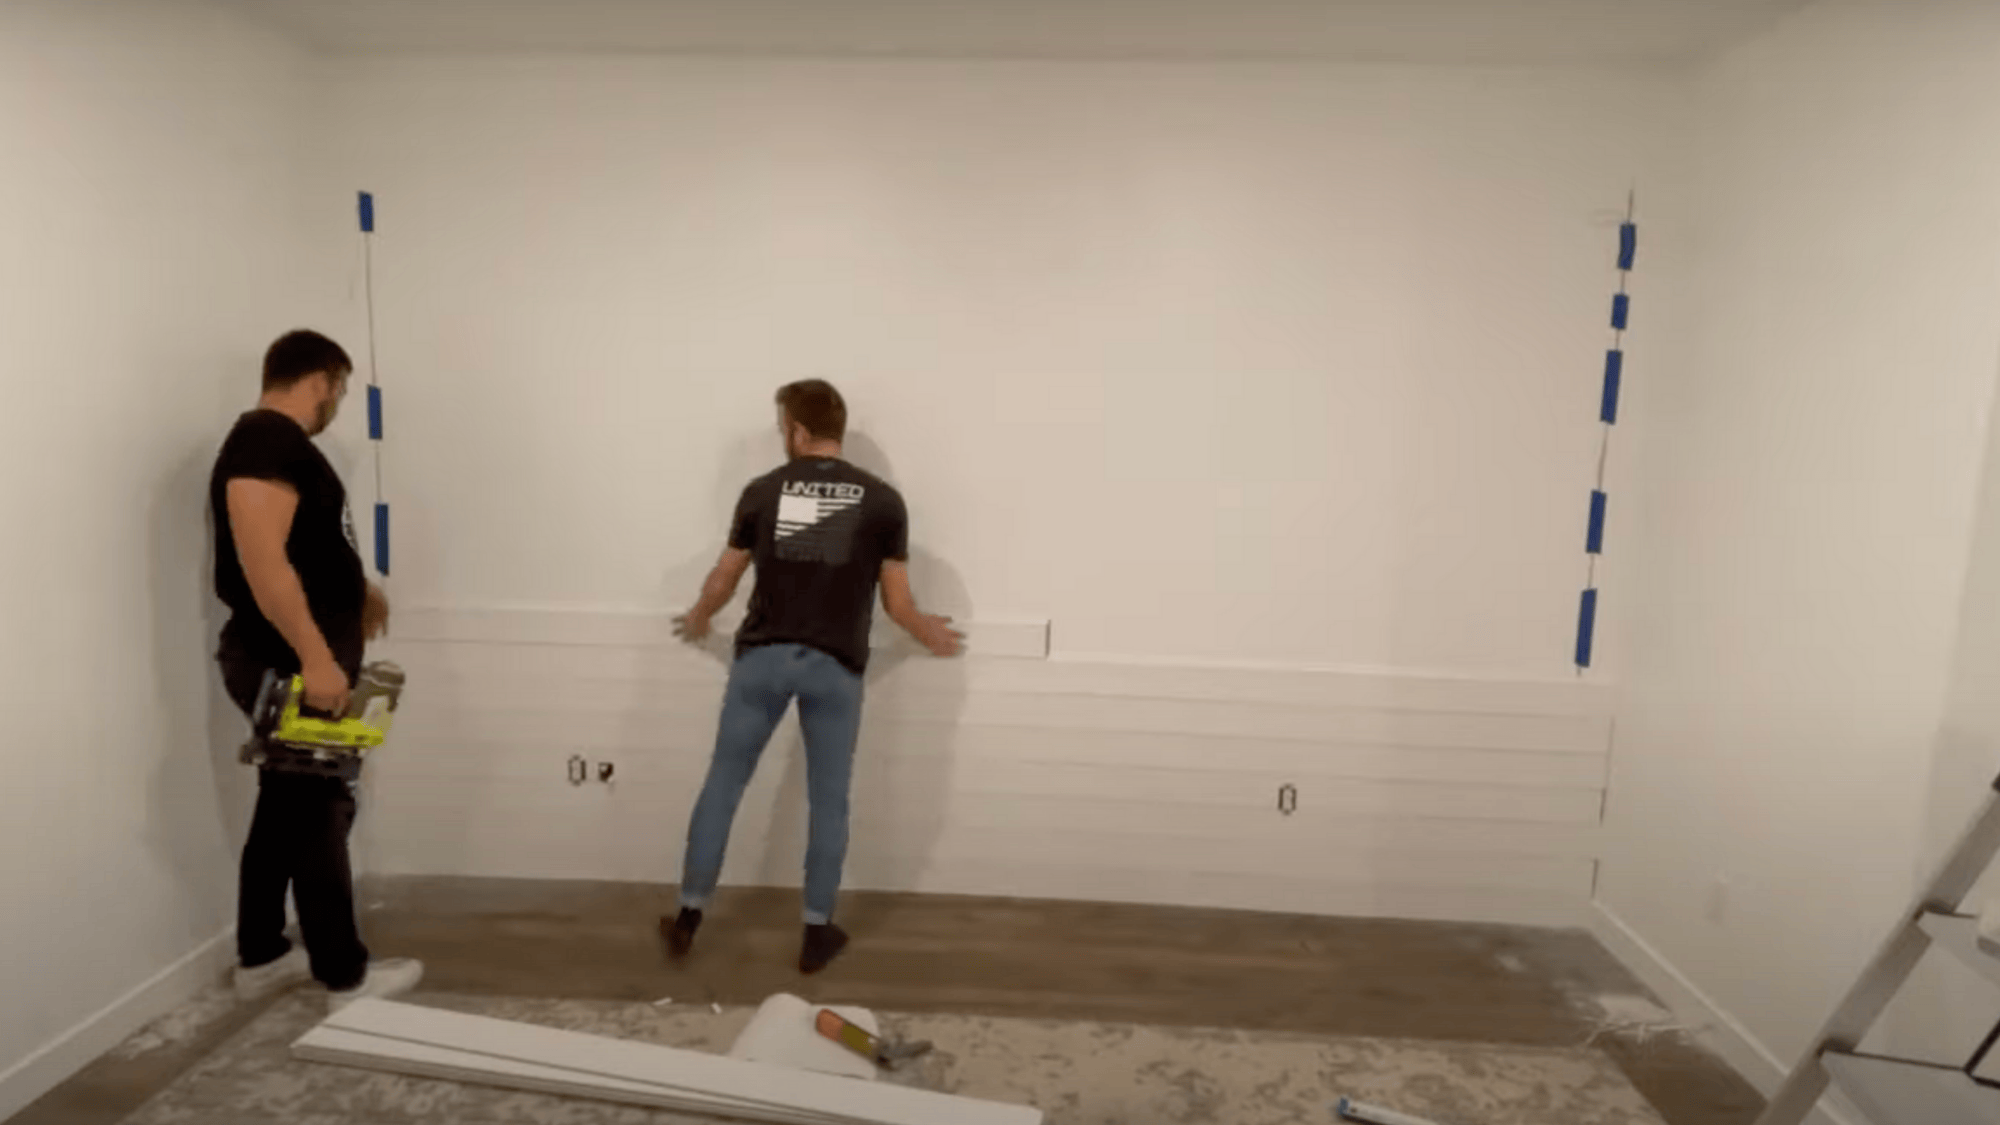
Step 4: Level the Bottom Row
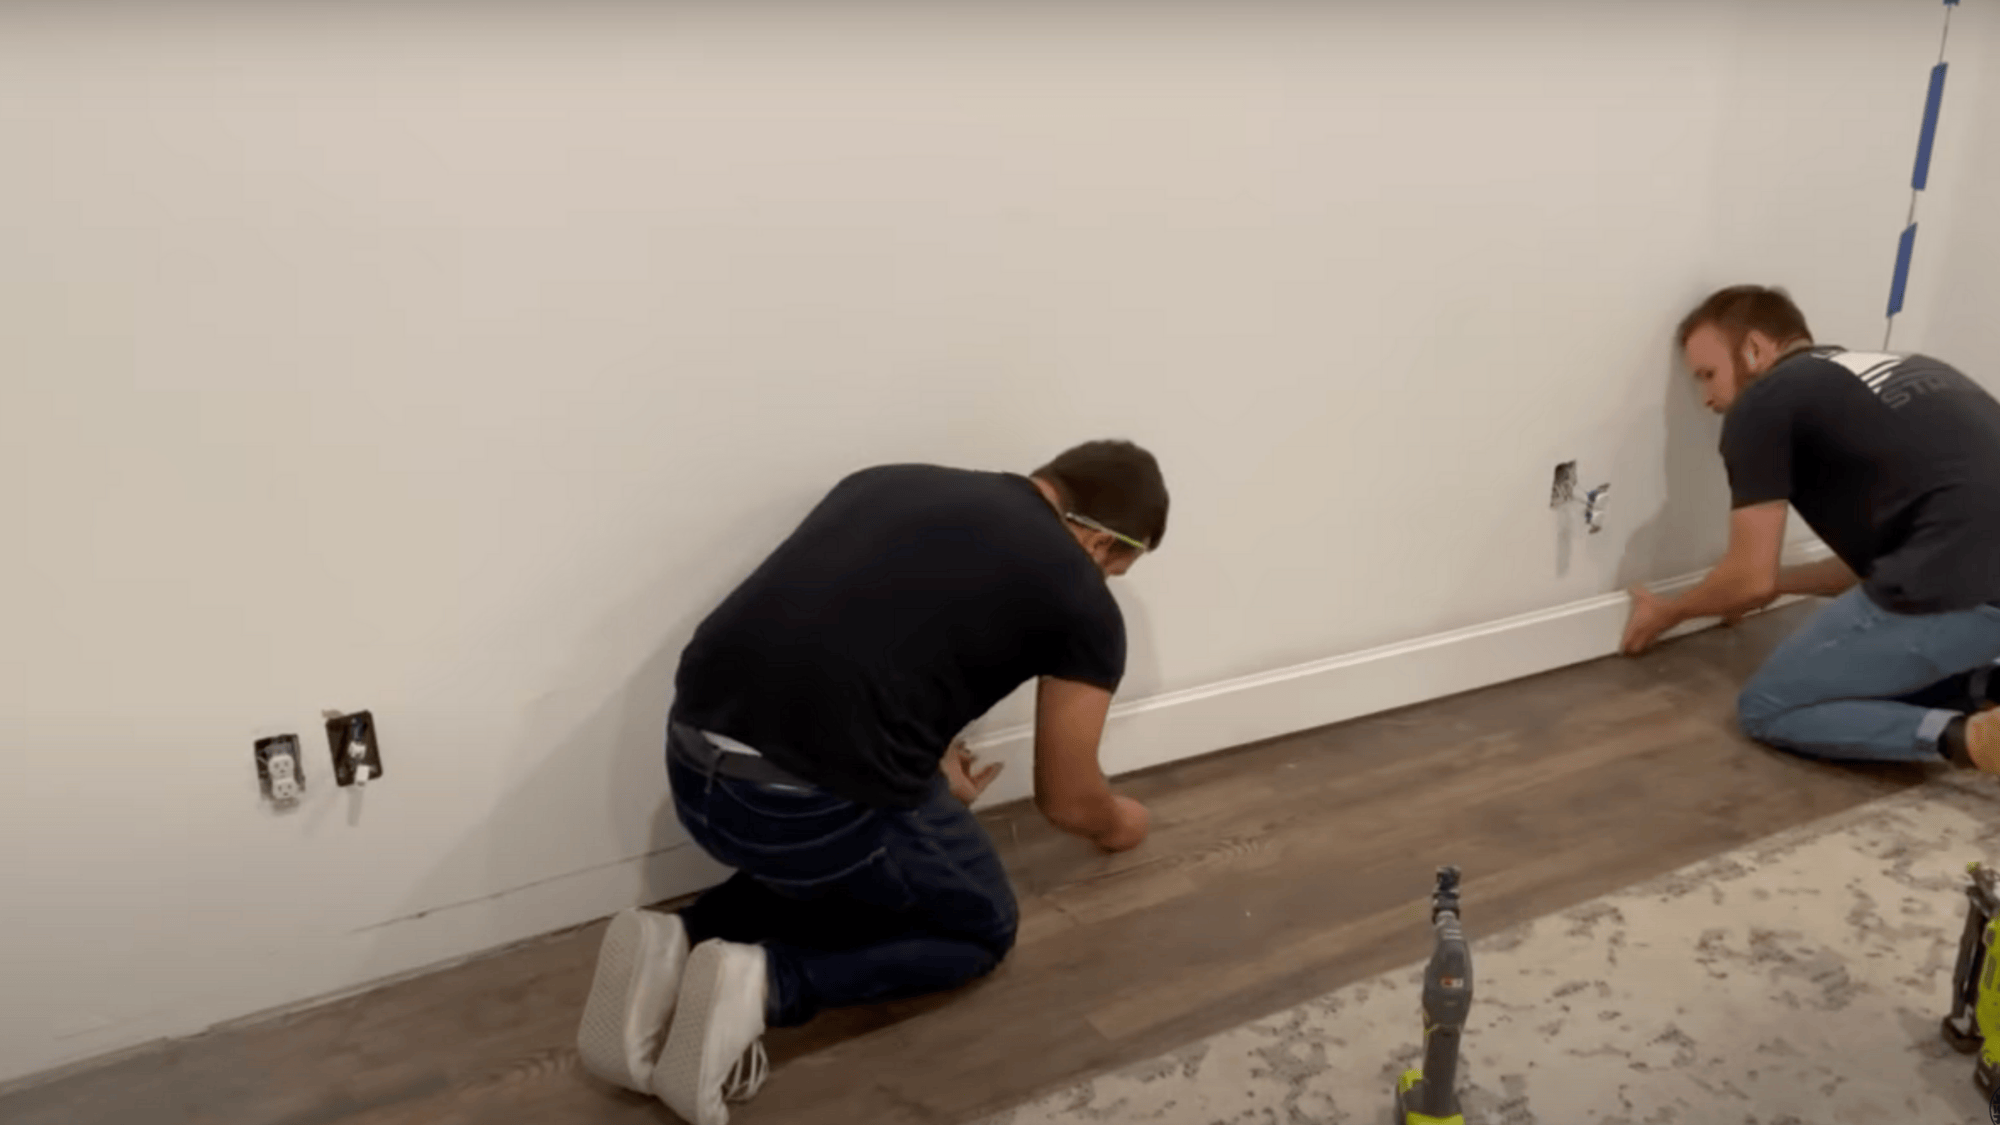
Begin laying your first row of boards at the bottom of the wall. Use a level to ensure they are perfectly straight—this step is crucial because every row above depends on it.
Nail the boards securely into studs. Adding spacers between each board helps create even gaps for a clean design.
Step 5: Choose Your Route
There are two main ways to proceed: the “easy way out,” which involves stacking boards directly without making tricky cuts, or the “second route,” where you carefully cut around obstacles for a tighter, seamless look.
Beginners may prefer the first option, but for a flawless finish, the second approach is worth the effort.
Step 6: Cutting, Trimming & Finishing Touches
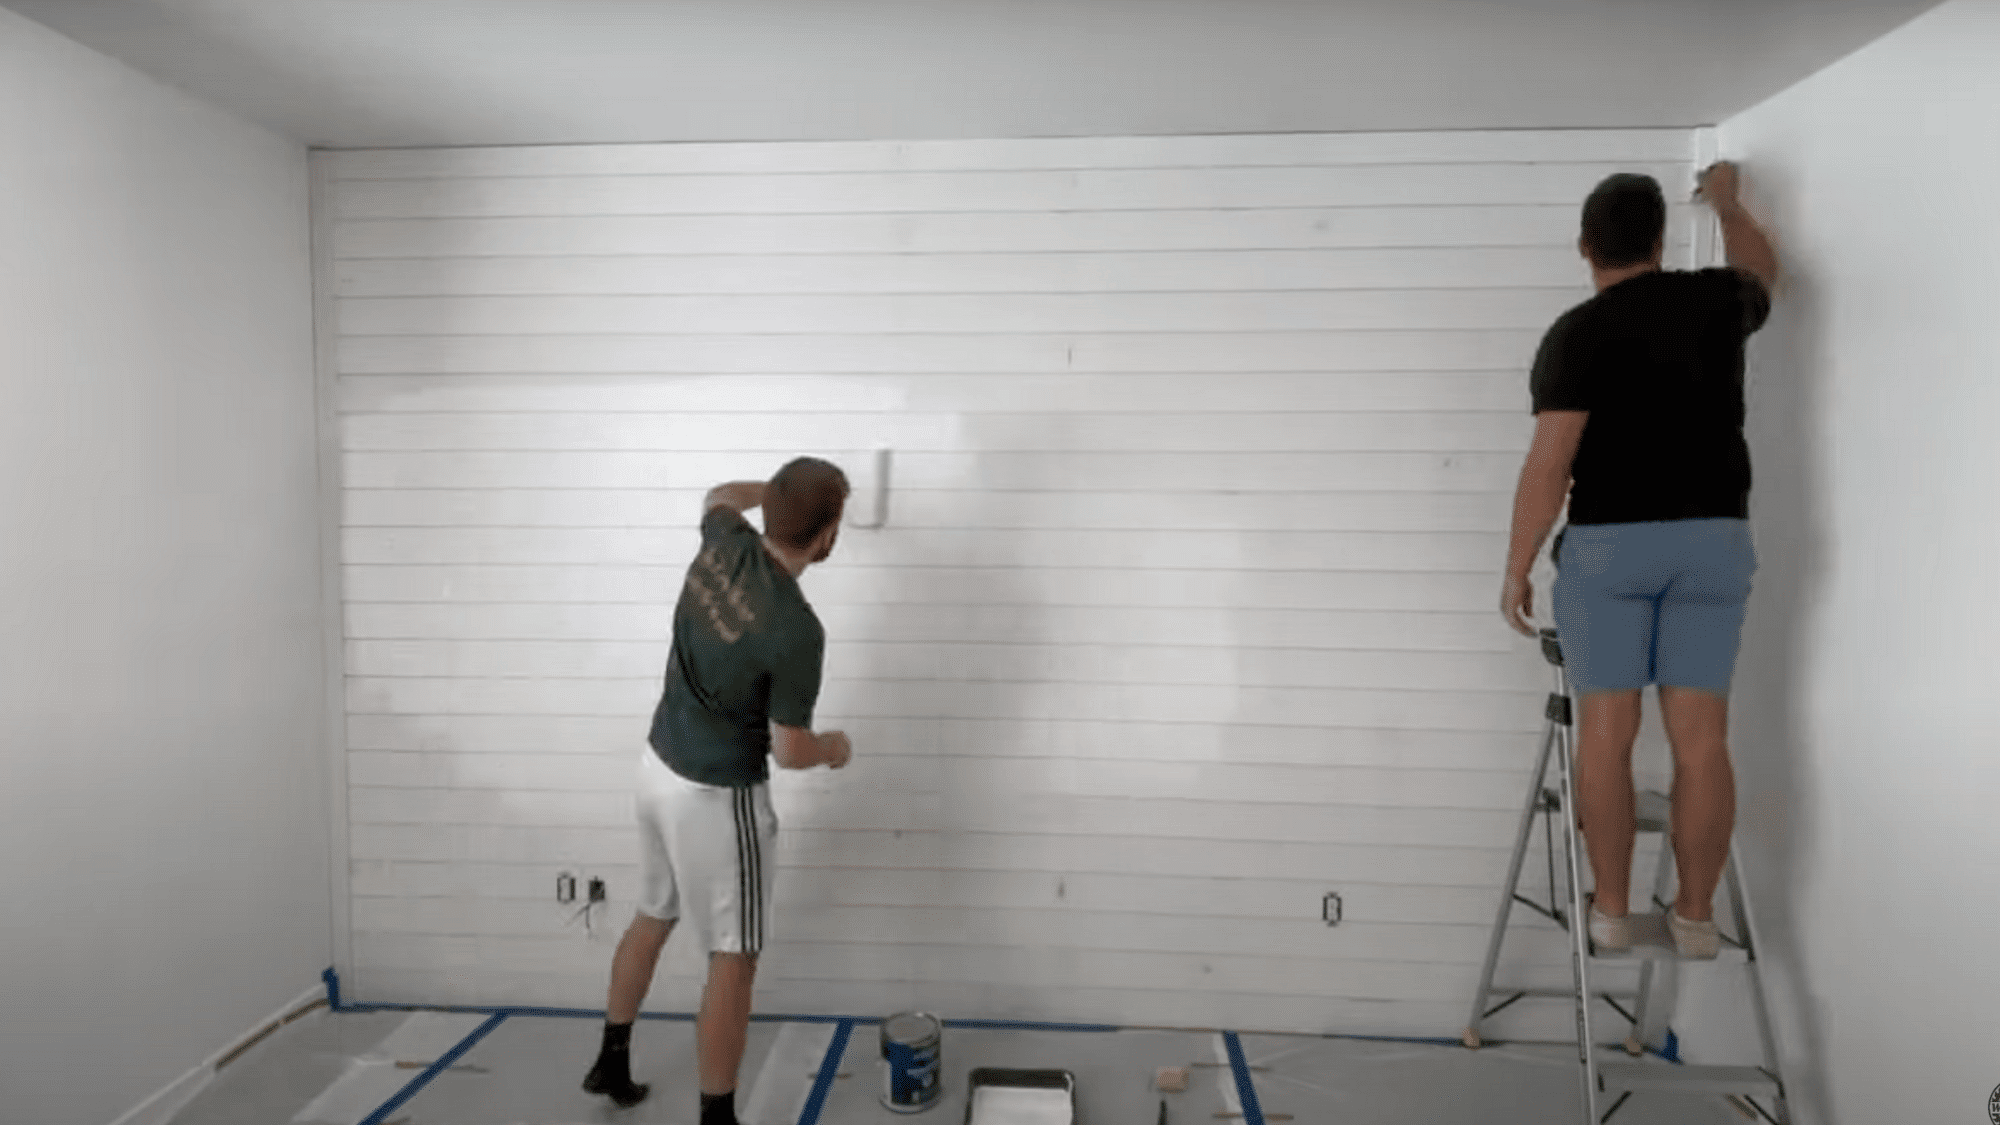
Finally, cut trim pieces to frame the edges of your shiplap wall and cover any raw cuts. Use caulk to seal gaps and spackle for nail holes.
Once dry, sand lightly and paint or stain as desired. Reattach baseboards if needed. This last step gives your DIY shiplap wall a polished, professional appearance.
Need More Clarity? Check Out the Video Below!
The Weekend Builder is a DIY channel that makes home projects simple and doable. In the video “How to Install Shiplap | DIY Accent Wall,” the host provides clear steps to turn a plain wall into a stylish shiplap feature.
Handy Tips for a Smooth Shiplap Project
Taking on a DIY shiplap wall is exciting, but a few simple tricks can make the process much easier and yield better results. Here are some handy tips to keep in mind before and during your project:
- Pre-paint your boards before installation to save time and avoid messy edges later.
- Use spacers (nickels or tile spacers) to keep even gaps between boards.
- Mark your studs clearly so you always nail into solid support.
- Start with a level first row; every row above depends on it being straight.
- Cut boards carefully around outlets and corners for a polished look.
- Keep leftover pieces to start new rows and reduce waste.
- Caulk and fill holes at the end for a clean, professional finish.
These small steps may seem simple, but they make a significant difference in the final appearance of your wall. Follow these tips, and your DIY shiplap project will not only be easier but also look like it was done by a pro.
DIY vs. Professional Shiplap Installation
When planning a shiplap wall, one big question is whether to hire a professional or take the DIY route. Both options can give you a beautiful result, but they come with different costs, timelines, and experiences.
Here’s a quick comparison to help you decide what’s best for you.
| Aspect | DIY Shiplap | Professional Installation |
|---|---|---|
| Cost | $2–$4 per sq. ft. (materials only) | $8–$12 per sq. ft. (materials + labor) |
| Time | 1–3 days, depending on wall size | Usually 1–2 days |
| Skill Level | Beginner-friendly with tutorials | No effort required on your part |
| Tools Needed | Saw, nail gun, level, spacers | Professionals bring all the tools |
| Customization | Total control over style, color, and layout | May be limited to the installer’s options |
| Satisfaction | Great sense of accomplishment | Peace of mind with expert finish |
If you enjoy hands-on projects and want to save money, DIY is a rewarding choice. But if you’re short on time or prefer a flawless finish without the effort, hiring a professional may be worth the extra cost.
The Final Word on DIY Shiplap Walls
A DIY shiplap wall is one of the easiest ways to bring charm, texture, and warmth into your home. With some basic planning, the right tools, and a little patience, you can completely turn a plain wall into a stunning feature.
The best part is that this project is beginner-friendly and budget-conscious, so you don’t need to be a professional carpenter to get professional-looking results.
If you choose crisp white boards for a modern farmhouse vibe or natural wood for a rustic feel, shiplap instantly adds character and personality to your space.
Now it’s your turn to pick a wall, gather your supplies, and give it a try! Don’t forget to share your finished project or any questions you may have in the comments below. We’d love to see how your DIY shiplap wall turns out.