
Have you noticed a small chip in your tile and wondered if you need to replace the whole thing? A tiny piece of missing glaze can make an otherwise clean floor or wall look worn out.
Many homeowners try quick fixes that leave visible patches or repairs that do not last. The right method depends on the tile type, the size of the chip, and the finish you want.
This post explains how to fix chipped tile, choose the right repair materials, and restore the damaged area with a cleaner finish.
Identify the Type of Tile Damage You Have
The right repair depends on whether you’re dealing with a chipped, cracked, or broken tile. Choosing the wrong fix can mean the repair fails within a few months.
Here’s how to tell the difference:
| Damage Type | What It Means | How Serious It Is |
|---|---|---|
| Chip | A chip affects only the surface layer of the tile. A small piece of glaze or the top finish has broken away, but the tile underneath remains strong and attached. | Usually a cosmetic issue that can be fixed with tile filler or a touch-up product. |
| Crack | A crack goes deeper into the tile and can range from a small hairline mark to a sign of movement underneath the surface. | Needs closer attention, especially if it widens, crosses grout lines, spreads to nearby tiles, or returns after repair. |
| Broken Tile | A broken tile has lost its structural strength and cannot be restored with a simple patch. |
Requires tile replacement because the damage affects the tile’s ability to support weight. |
Before buying a repair kit or starting any work, tap the damaged tile with your knuckle. A solid sound usually means the tile is still bonded. A hollow sound suggests it has started to loosen, and a quick patch may only hide the problem for a short time.
How to Fix Chipped Tile: Step-By-Step
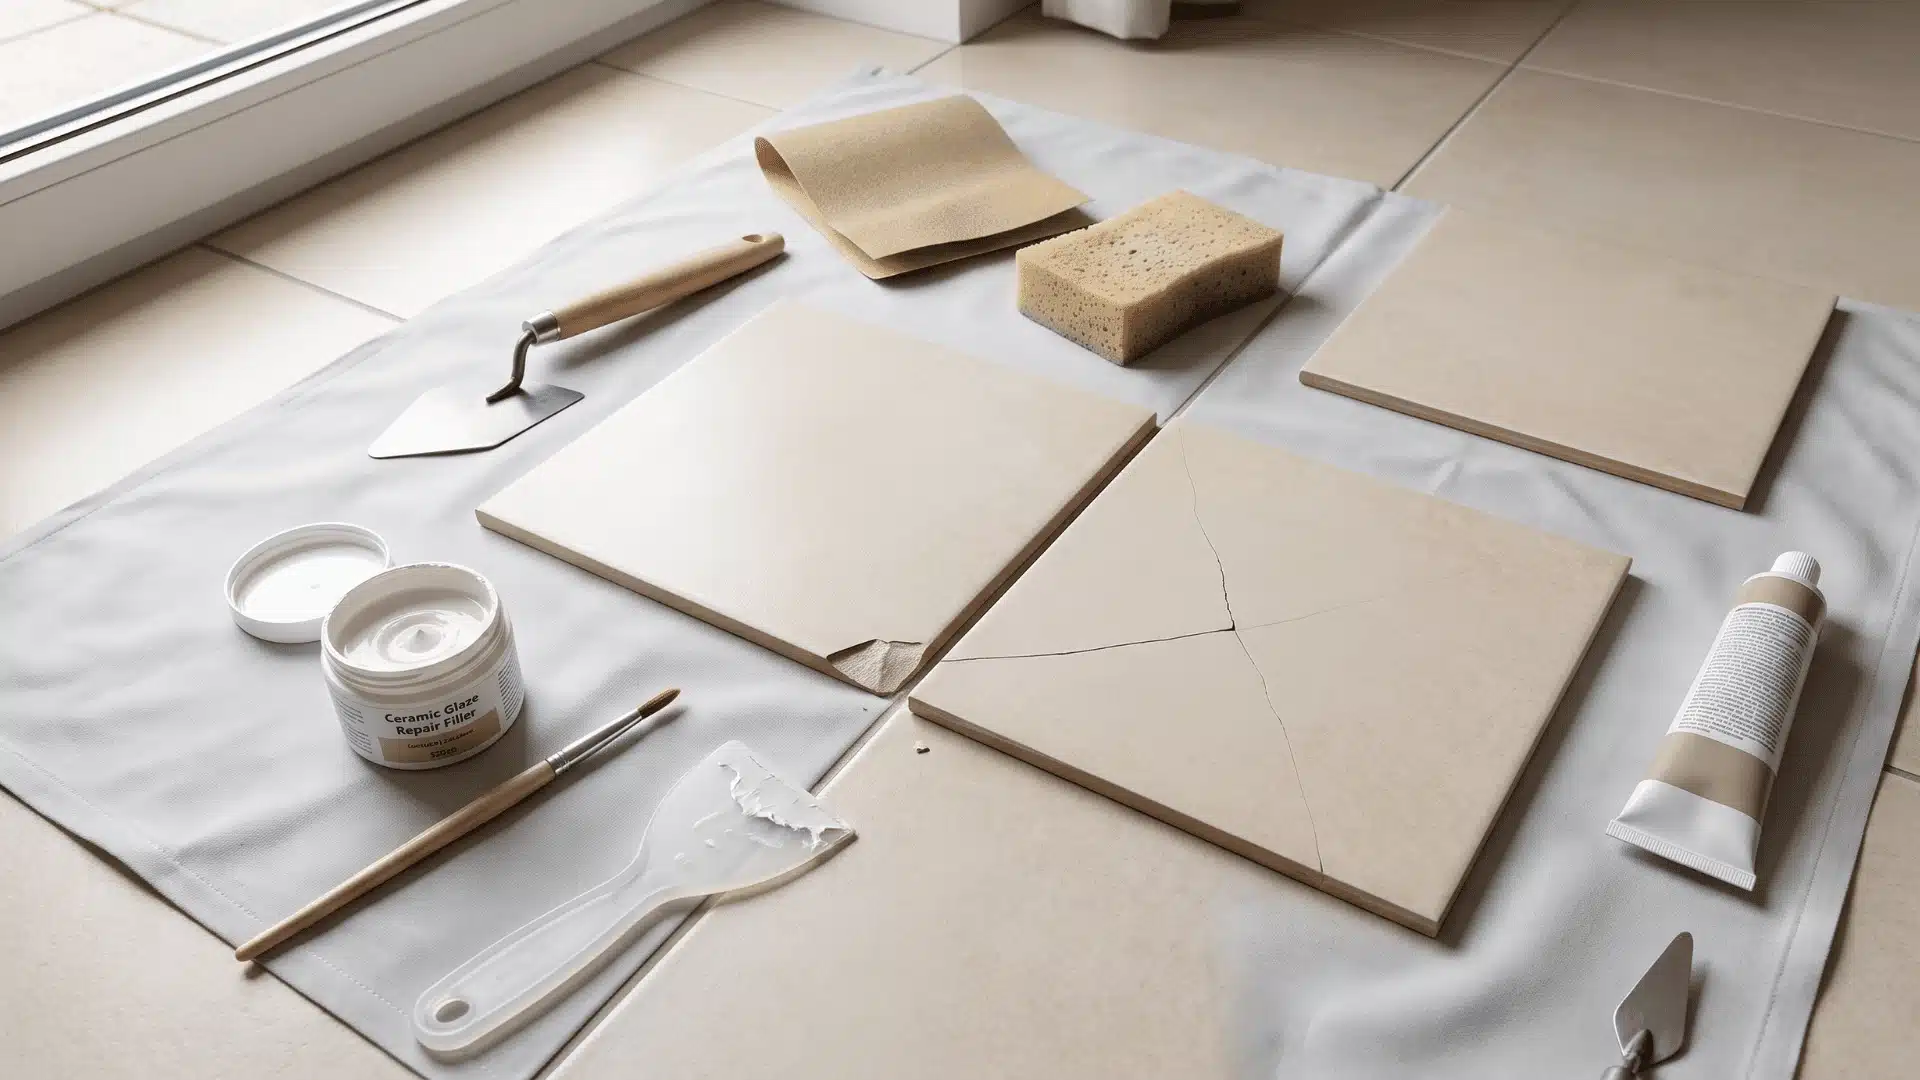
A chipped tile may only need a simple repair, but the right approach depends on the size of the chip, the tile material, and how noticeable you want the fix to be. With the right filler, a color-matched glaze, and a few thin coats, chips smaller than a quarter are often undetectable from standing height.
Tools and Materials You Need
- Porcelain glaze repair kit
- Oil-based paint or stain for color matching
- Paint stir stick or small tool
- Artist brush for detailed touch-ups
- Painter’s tape
- Sandpaper, 400–600 grit (often included with repair kits; finer grit for glossy tile finishes)
- Paper towel
- Flat tool or scraper
A note on repair materials: For small, shallow chips, a porcelain glaze repair kit works well. For deeper chips, anything more than a millimeter or two, a two-part epoxy gives a stronger fill because it hardens to a rigid surface rather than shrinking as it dries.
If you are unsure which you have, press a fingernail gently into the damaged edge: a shallow chip has a thin, flaky edge, while a deep chip has a visible cavity. Most hardware stores carry both options near the tile or paint section.
Step 1: Mix the Glaze to Match the Tile Color
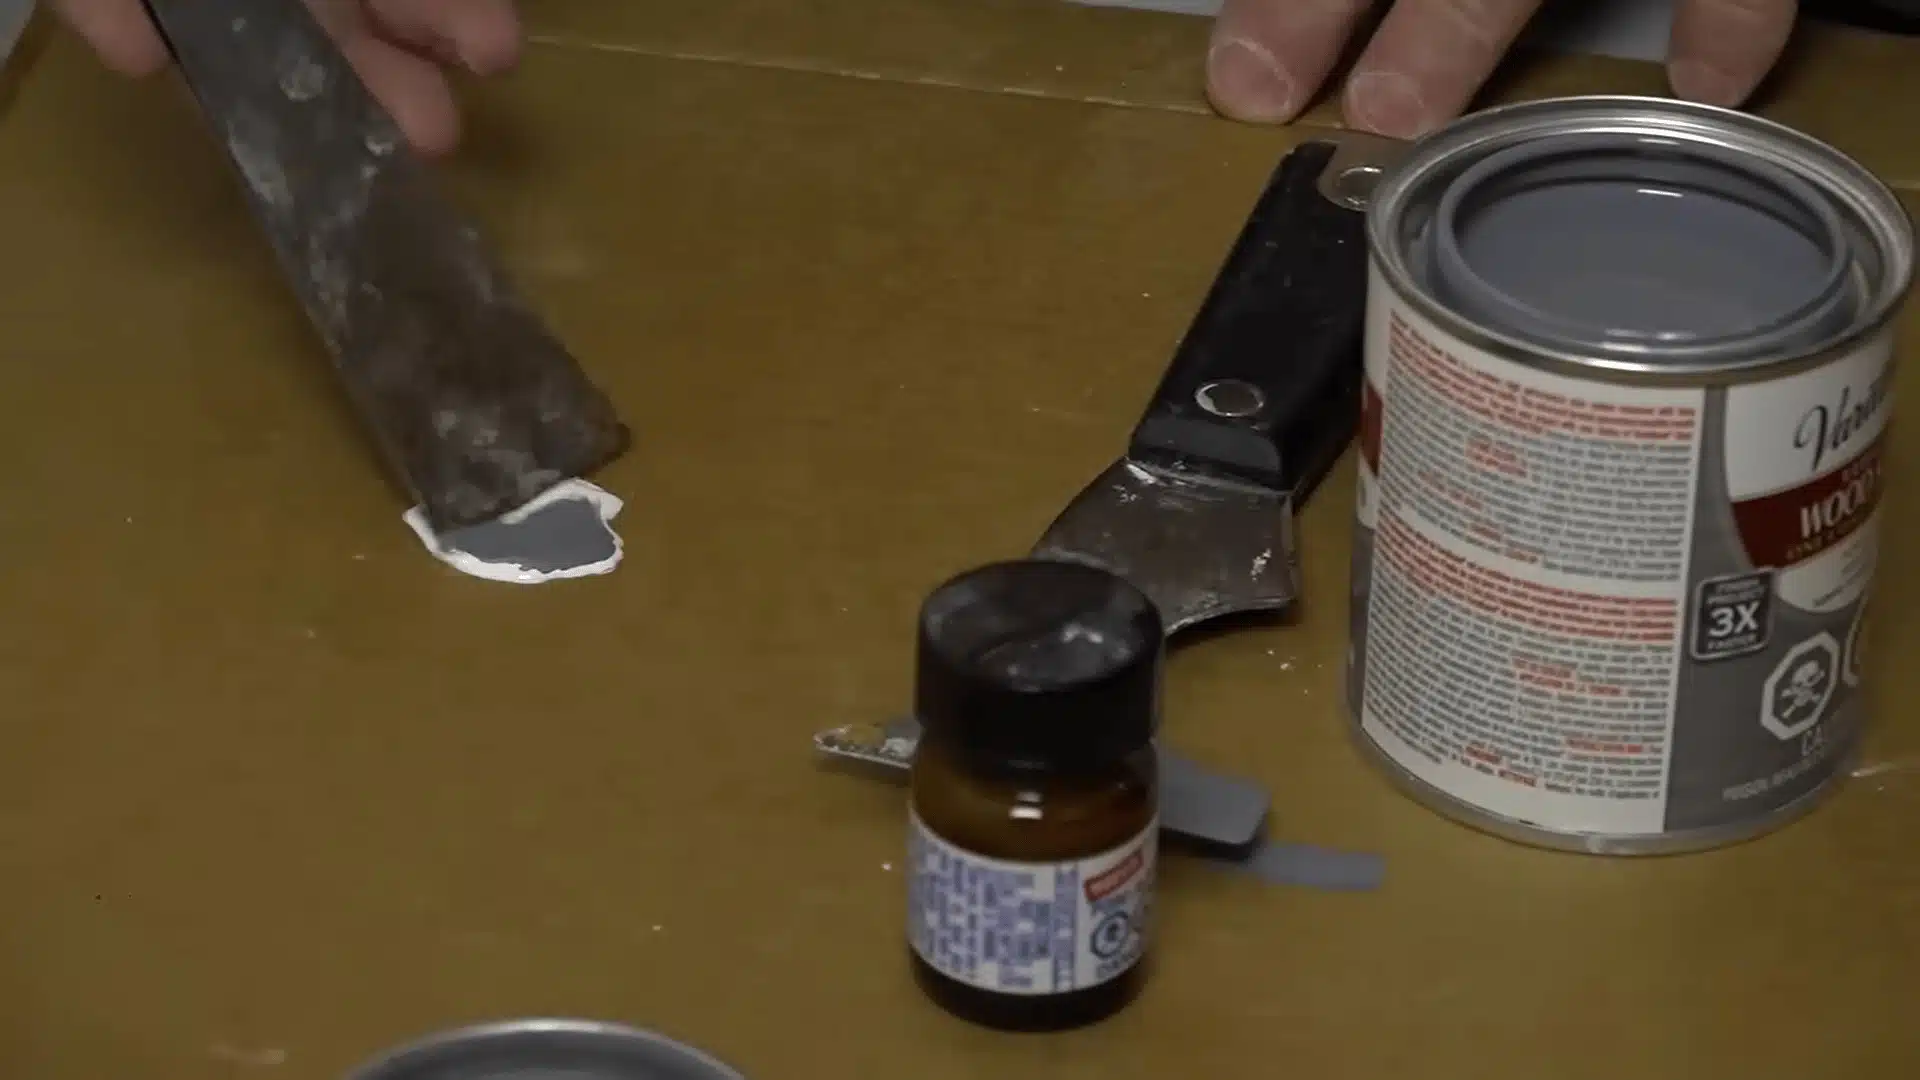
Start by cleaning the chipped area thoroughly. Remove any loose pieces, then wipe the chip and the surrounding surface with a cloth dampened with rubbing alcohol or acetone.
This removes soap residue, grease, and dust that would prevent the repair material from bonding properly. Skip this step and the filler is likely to pop out within a few months. Let the area dry completely before mixing your repair material.
Take a small amount of porcelain glaze or epoxy filler and mix it with oil-based paint or stain until the color matches your tile.
Do not worry if it is not perfect at first. Add small amounts of color slowly and test the shade until it blends with the surrounding surface.
One important detail: repair filler and glaze always dry lighter than they look when wet.
Mix your color, apply a small test amount to a piece of cardboard or tape, and let it cure completely before deciding the shade is right.
Check the dried color in natural daylight, indoor lighting makes most tile colors look warmer and darker than they are. Once the cured test matches your tile in daylight, you are ready to apply. If the repair still looks too light after drying, build the color with a second thin coat rather than trying to mix a darker starting shade.
Step 2: Apply the Glaze to the Chipped Area
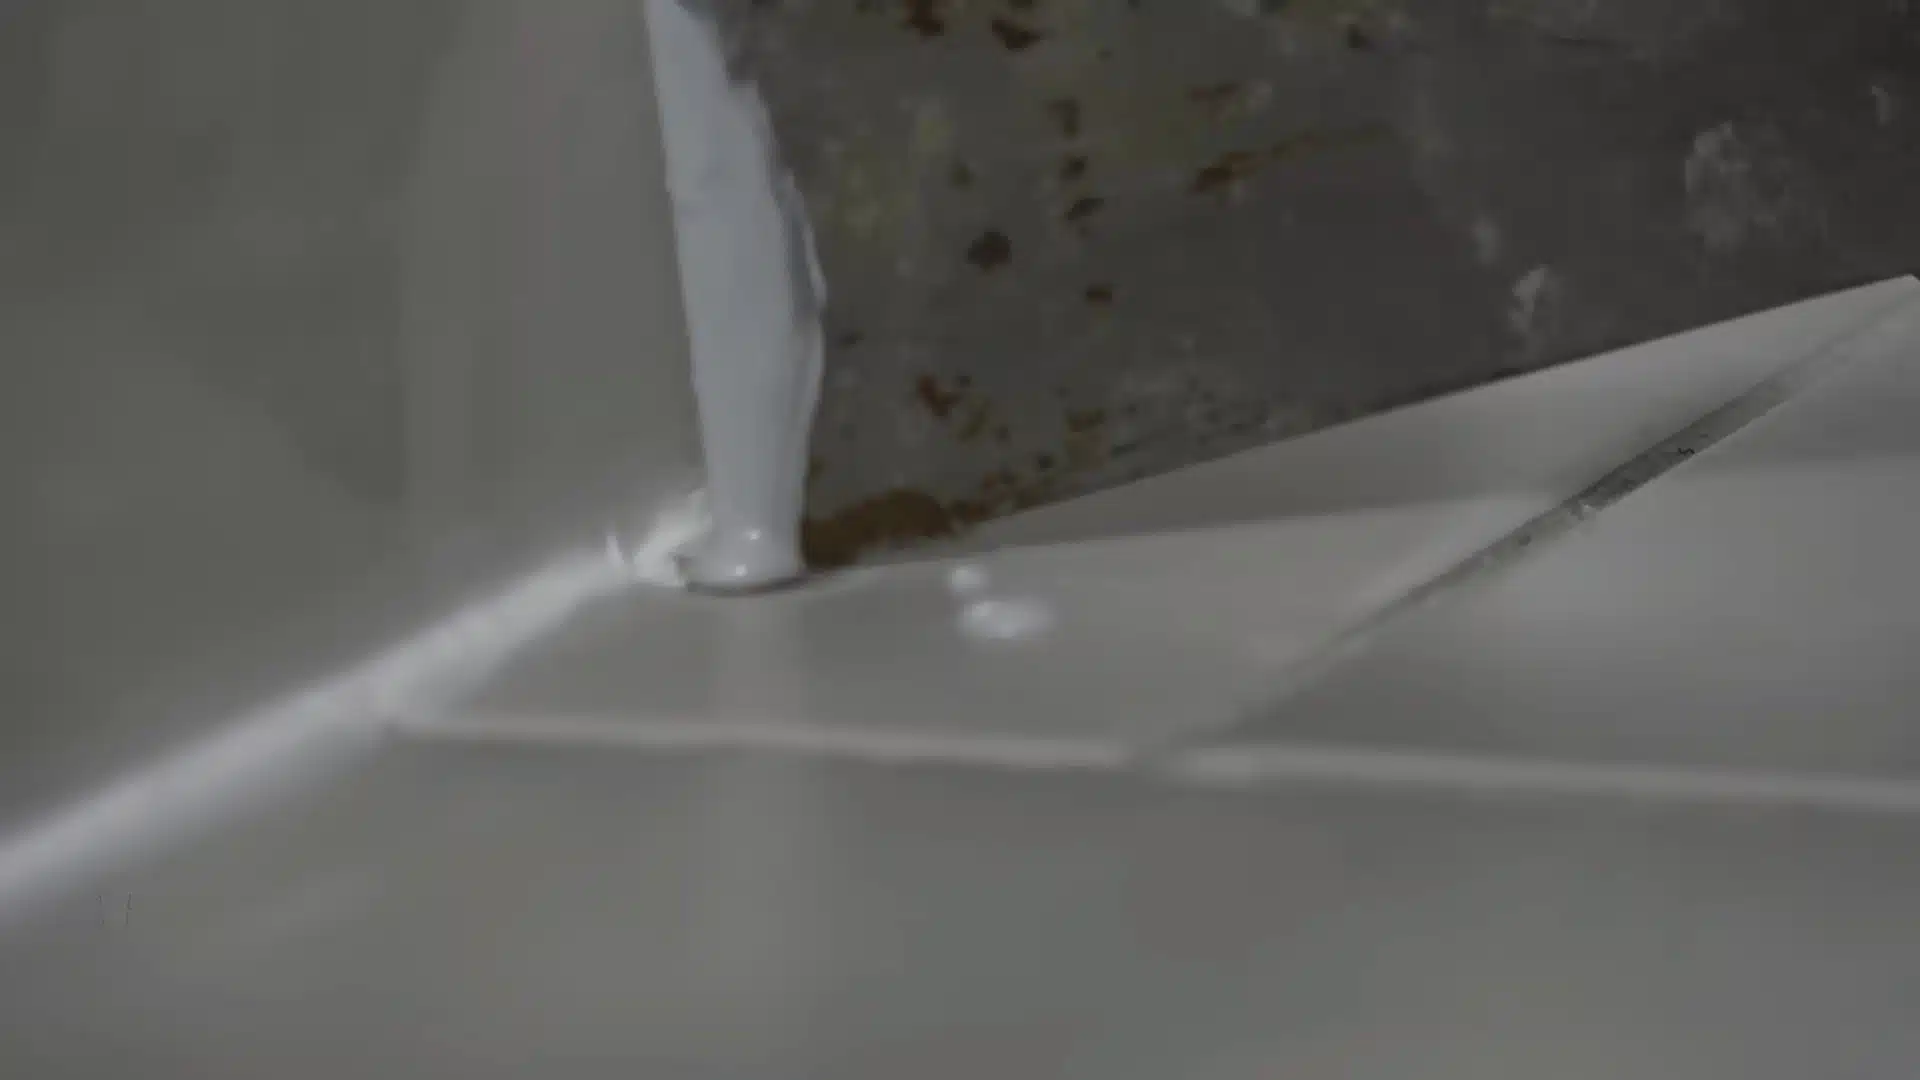
Use a small tool or brush to dab the glaze mixture directly into the chipped section. Fill the damaged area carefully, bringing the glaze right up to the edges.
Before applying anything, press painter’s tape along the edges of the surrounding tiles. Porcelain glaze and epoxy can run, and tape keeps the repair contained so you do not have to scrape hardened material off tiles that were not damaged.
Avoid adding too much at once. Applying a thin layer helps you control the finish and prevents the repair from standing out.
Step 3: Smooth and Clean the Repair Area
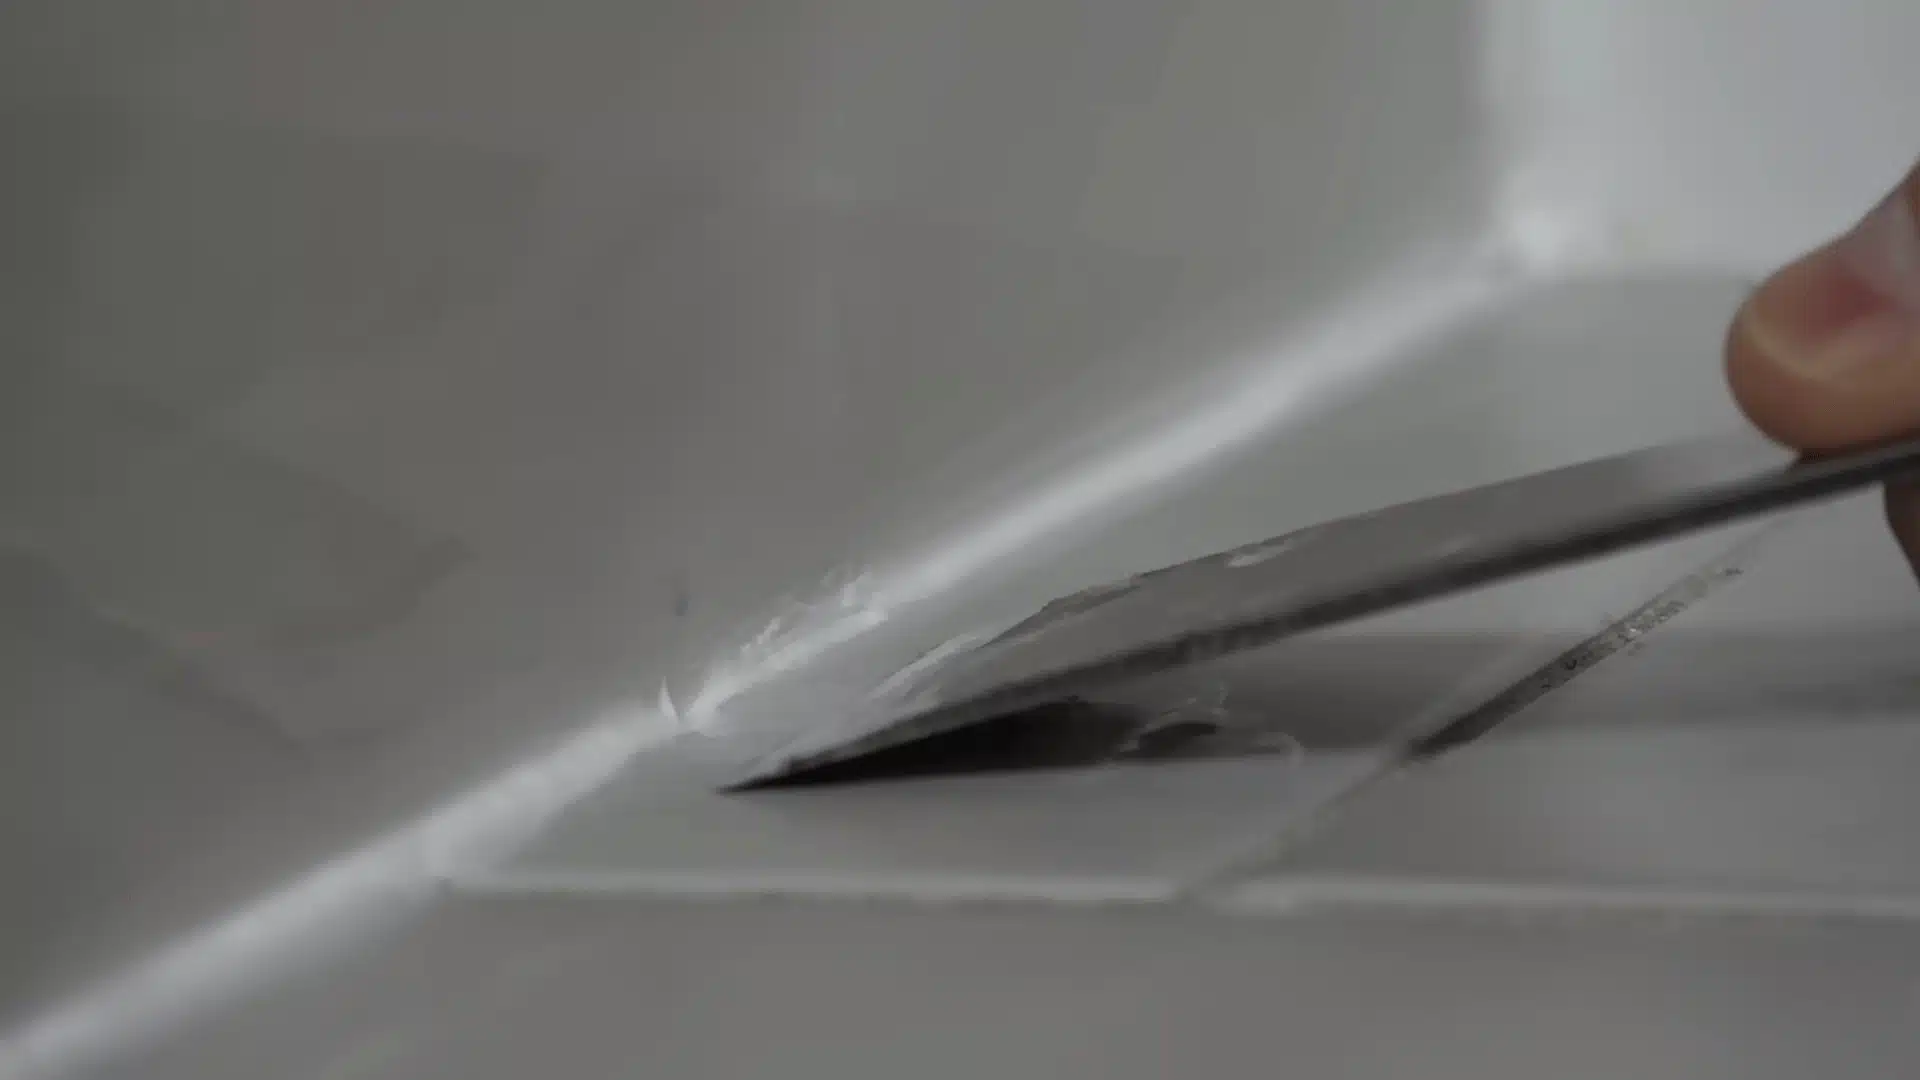
While the glaze is still wet, use a flat tool or putty knife to scrape away any material sitting above the tile surface.
Work from the outside of the chip inward so you do not drag filler out of the cavity. Then wipe the surrounding tile with a paper towel, any residue left on the surface will harden and show up as a faint ring around the repair.
The goal at this stage is level, not smooth. Getting the filler flush with the tile face is more important than perfecting the finish. Sanding in the next step handles the rest.
Step 4: Let It Dry and Add Final Touches
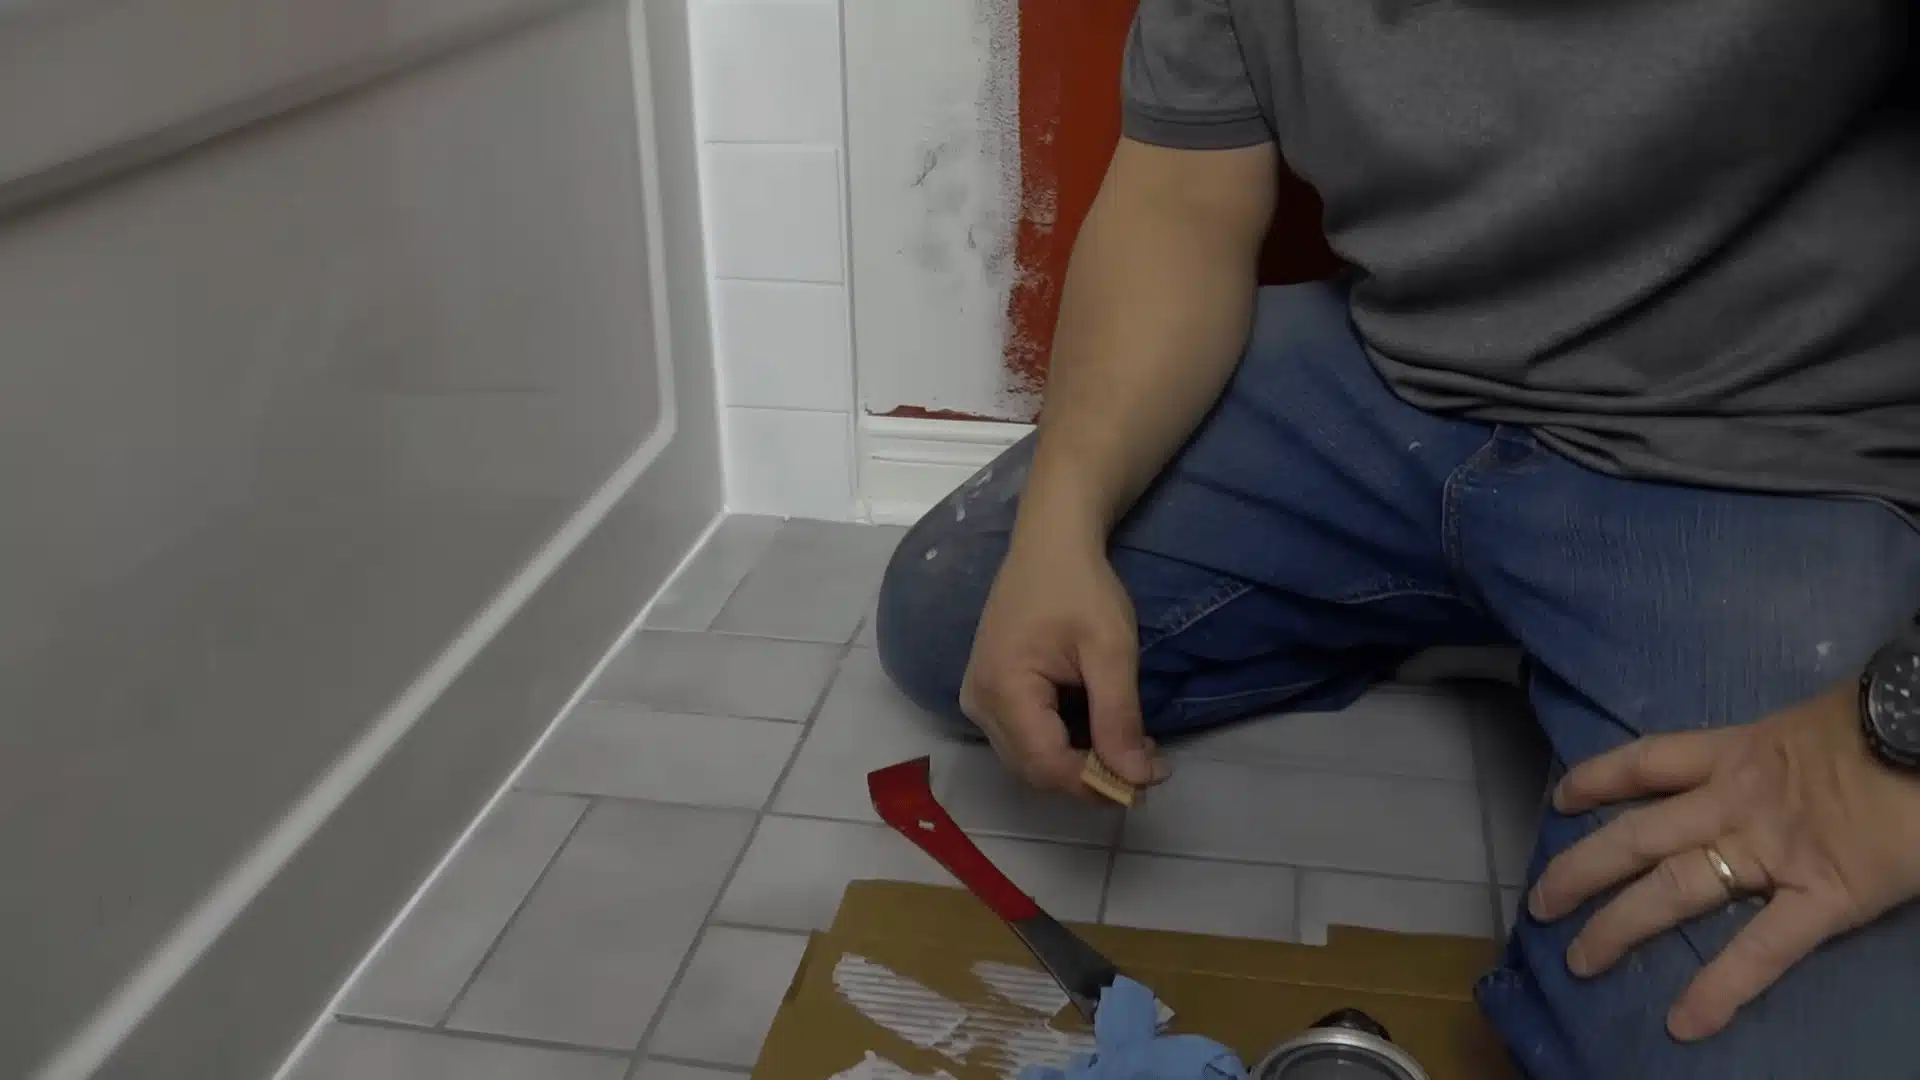
Allow the glaze to dry for about an hour before sanding the area smooth. If needed, add another thin coat or use a small brush to create a more natural tile pattern.
Once you are happy with the repair, let it fully cure. The sealed surface will help protect the tile from future moisture damage.
Once the repair has fully cured, apply a thin coat of clear acrylic tile sealer over the patched area using a small brush. The sealer locks in the color and protects the repair from moisture, which matters especially in bathrooms and kitchens. Let it dry fully before using the area.
Finish by brushing a thin coat of clear acrylic tile sealer over the painted area. This protects the paint layer from moisture and foot traffic and extends how long the repair holds before it needs touching up.
For a complete walkthrough of the process, check out the video tutorial below:
How to Repair a Cracked Tile: Step-By-Step
A cracked tile can spread or collect dirt if it is left untreated. With the right materials and careful steps, you can seal the damage and improve the tile’s appearance.
Tools and Materials You’ll Need
- Tile repair filler or epoxy repair kit
- Hardener (usually included with the repair kit)
- Stirring stick
- Plastic scraper
- Clean cloth
- Fine-grit sandpaper (around 220 grit)
- Palm sander (optional)
- Tile paint or matching waterproof paint
- Small paintbrush
- Black acrylic paint (optional for stone effects)
Step 1: Clean and Fill the Crack
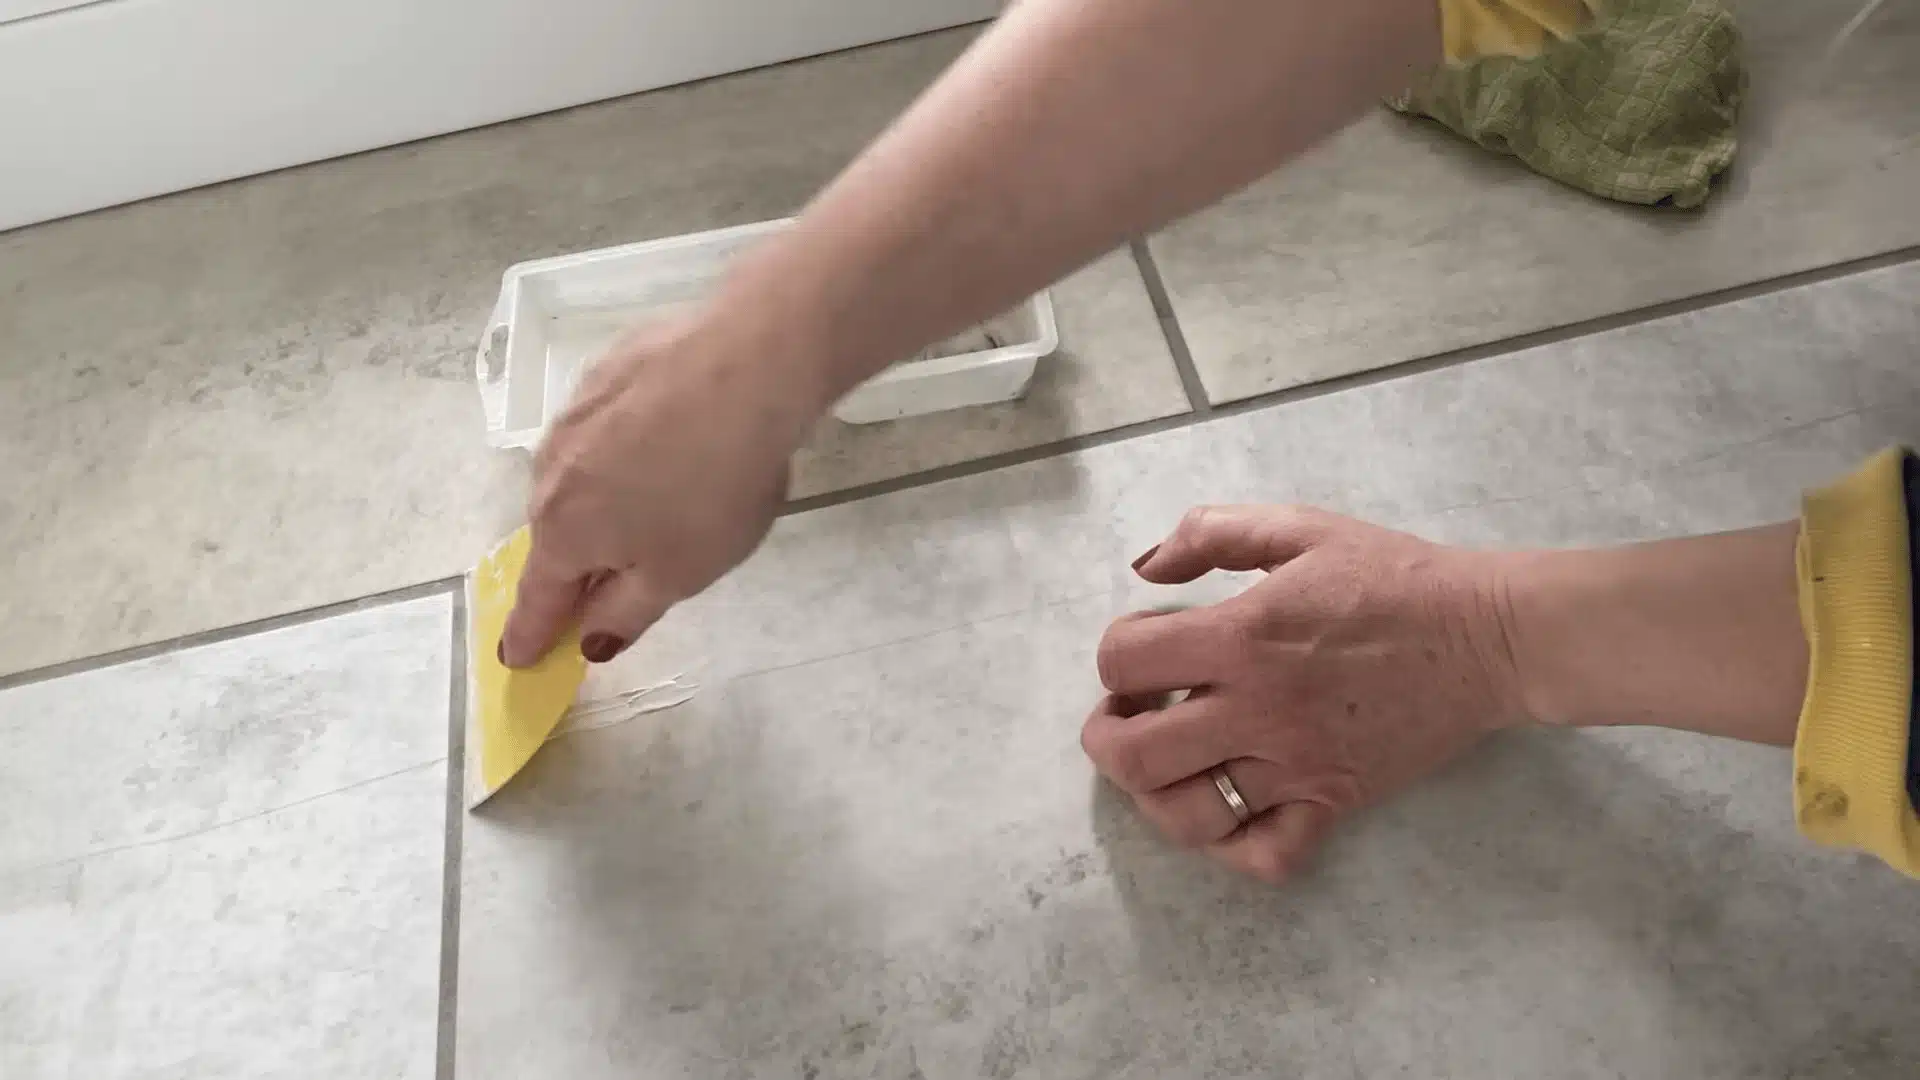
Start by cleaning the cracked area and removing any loose pieces from the tile surface. Mix the filler and hardener according to the kit instructions. Work quickly because most repair fillers start setting within a few minutes.
Apply a small amount of filler directly into the crack using a stirring stick. Use a plastic scraper to push the filler deeper and smooth out the surface. Wipe away extra filler with a damp cloth before it hardens.
Step 2: Sand the Repaired Area Smoothly
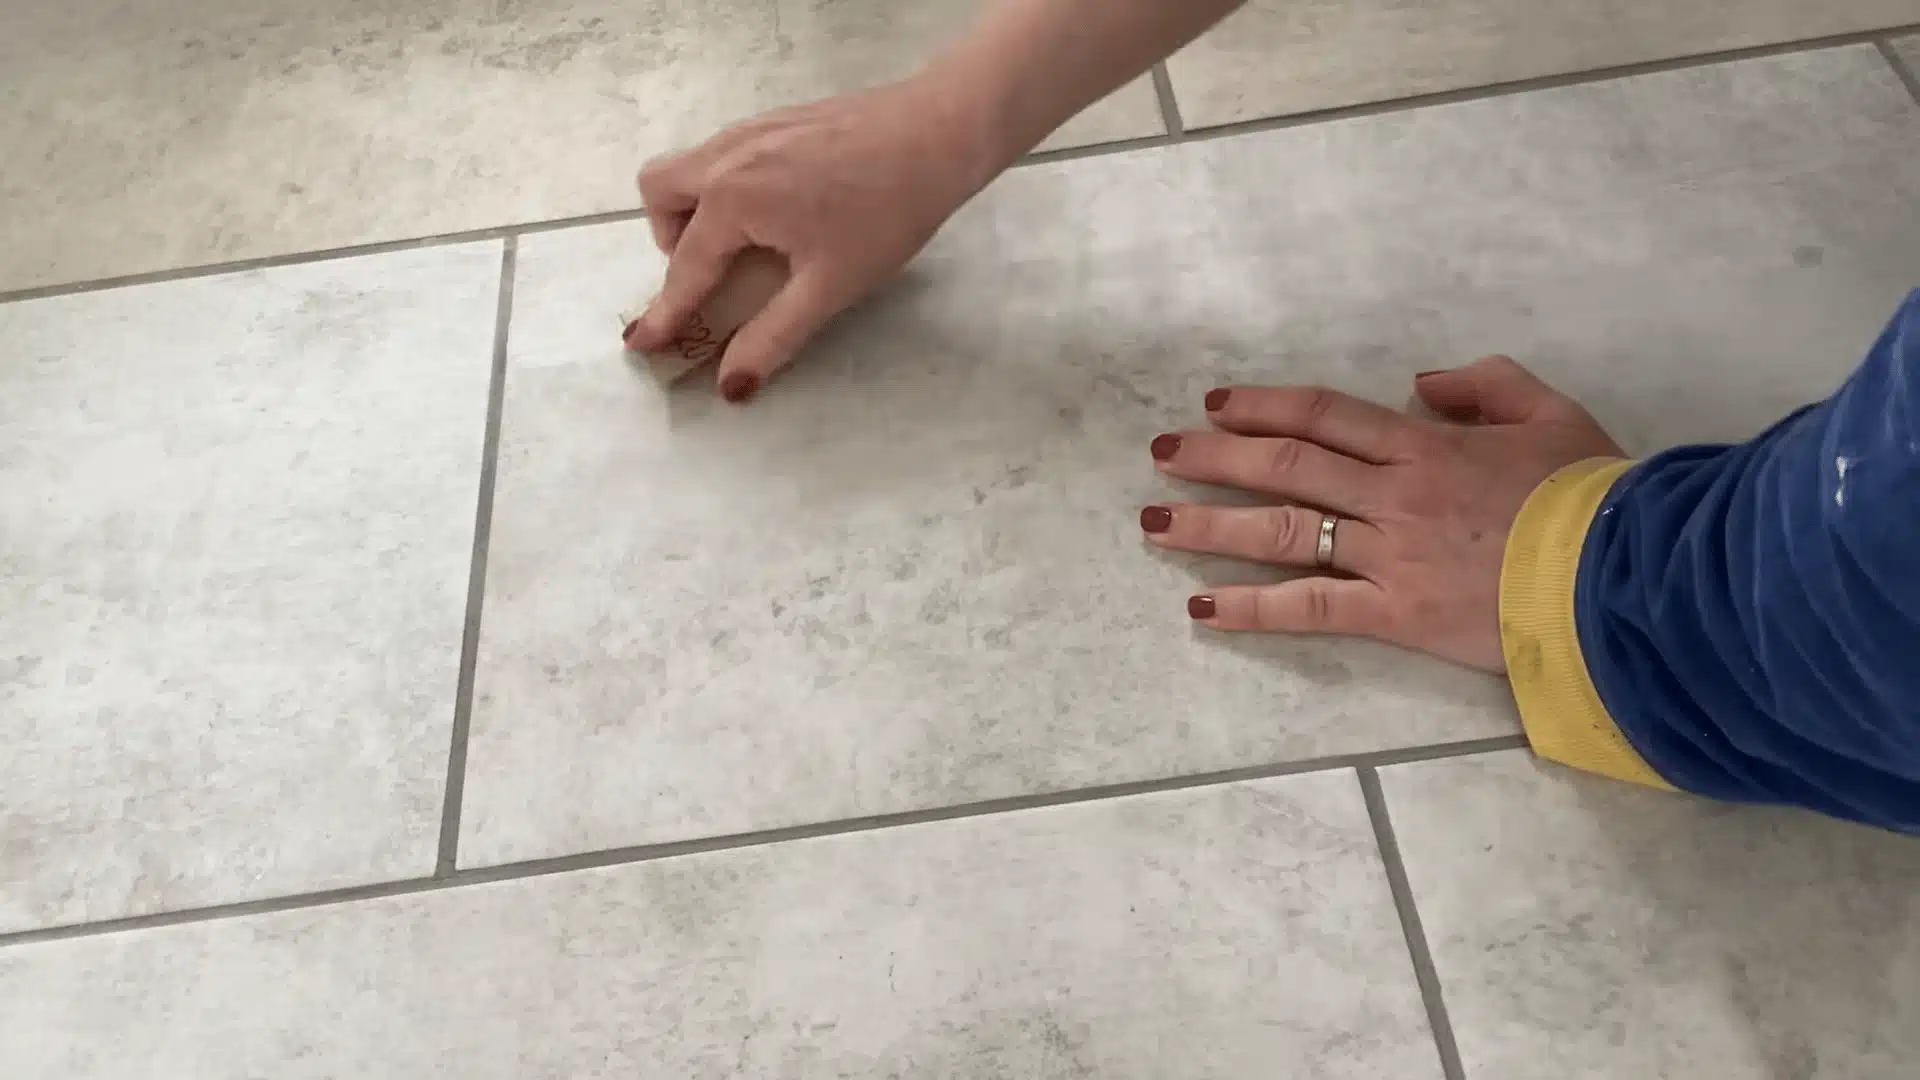
Once the filler has fully dried, sand the repaired section until it feels completely smooth. Start with the sandpaper included in the kit and keep working until the raised areas blend with the surrounding tile.
For larger repairs, a small palm sander can speed up the job. Be gentle while sanding because you only need to level the filler, not remove the tile surface.
Step 3: Paint and Match the Tile Finish
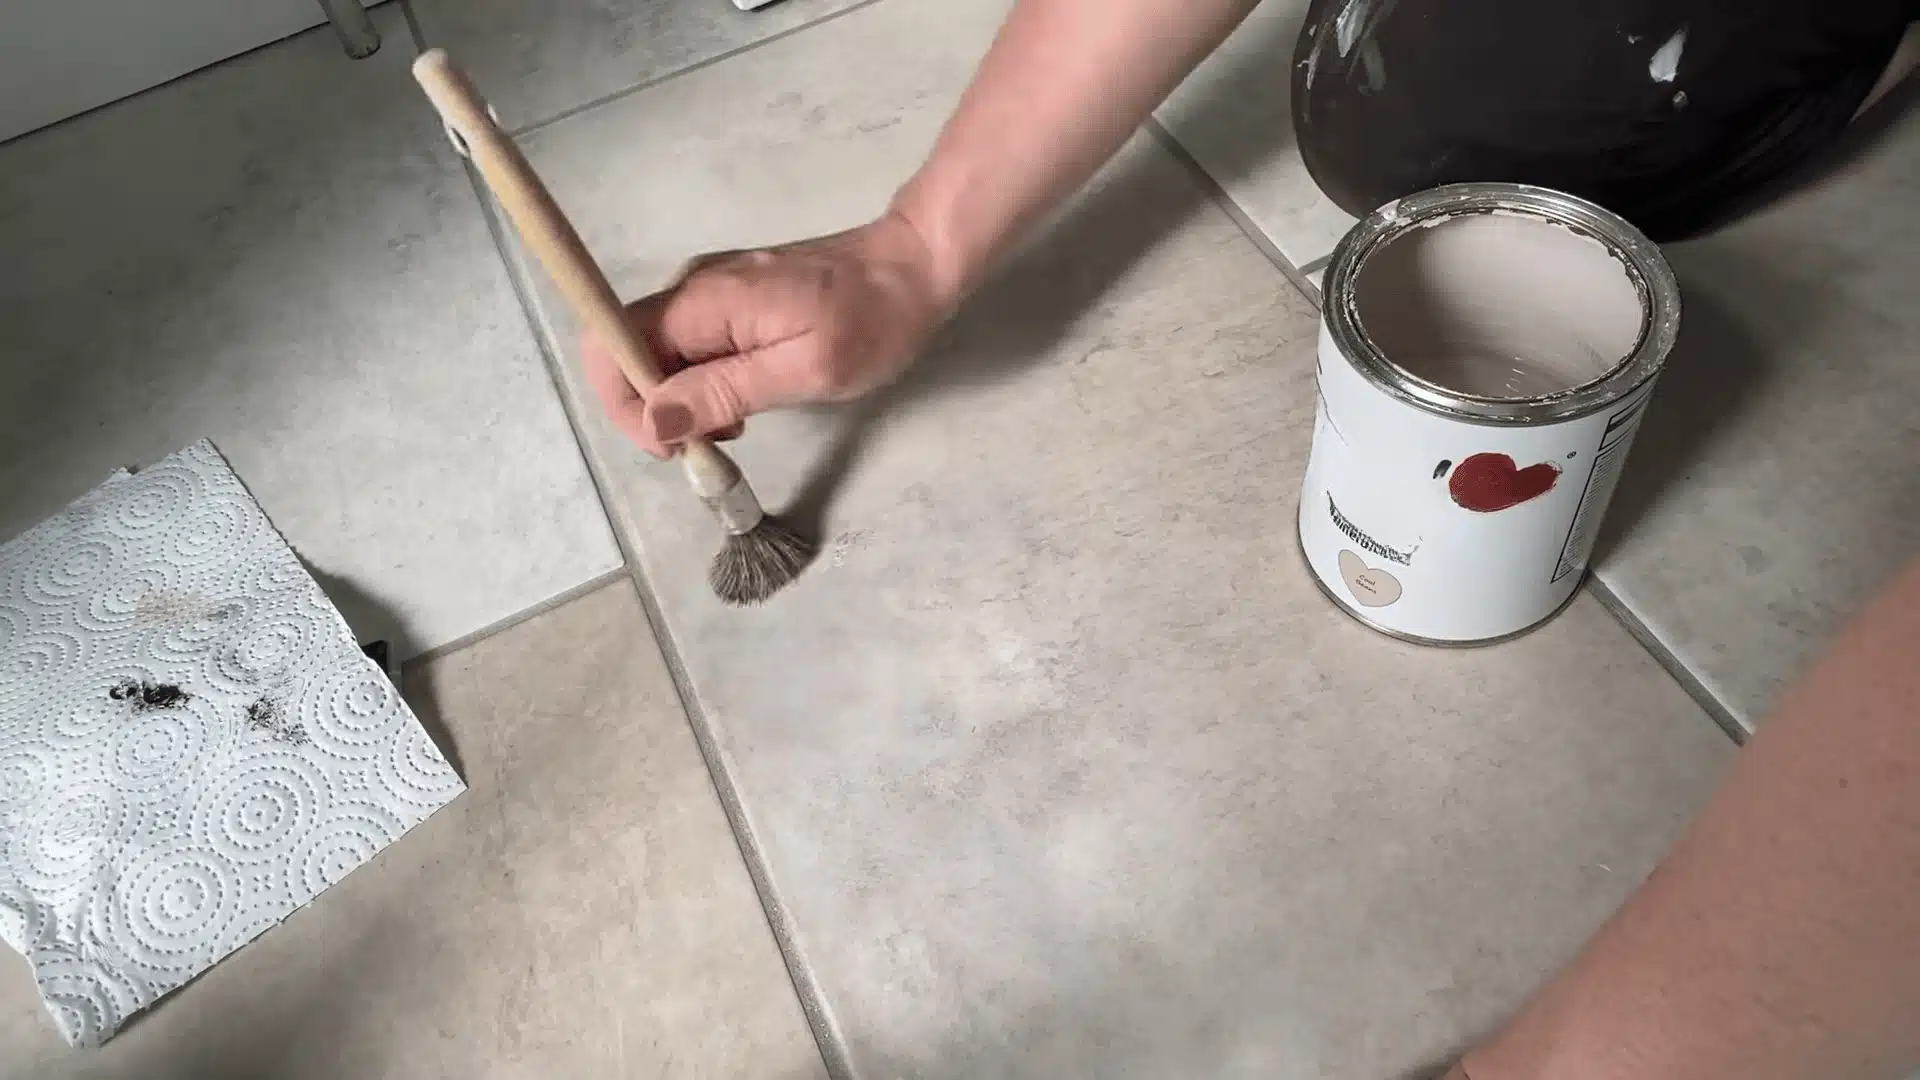
Sanding creates a fine powder that will show through paint if you skip this. Wipe the area with a barely damp cloth and let it dry for a few minutes before picking up a brush.
Choose a waterproof paint or tile paint that matches your existing tile color. Apply a small amount with a nearly dry brush to slowly build the color.
If your tile has a stone or textured pattern, add small touches of darker paint to recreate the effect. Let each layer dry before adding more details.
Step 4: Check the Repair and Make Final Touches
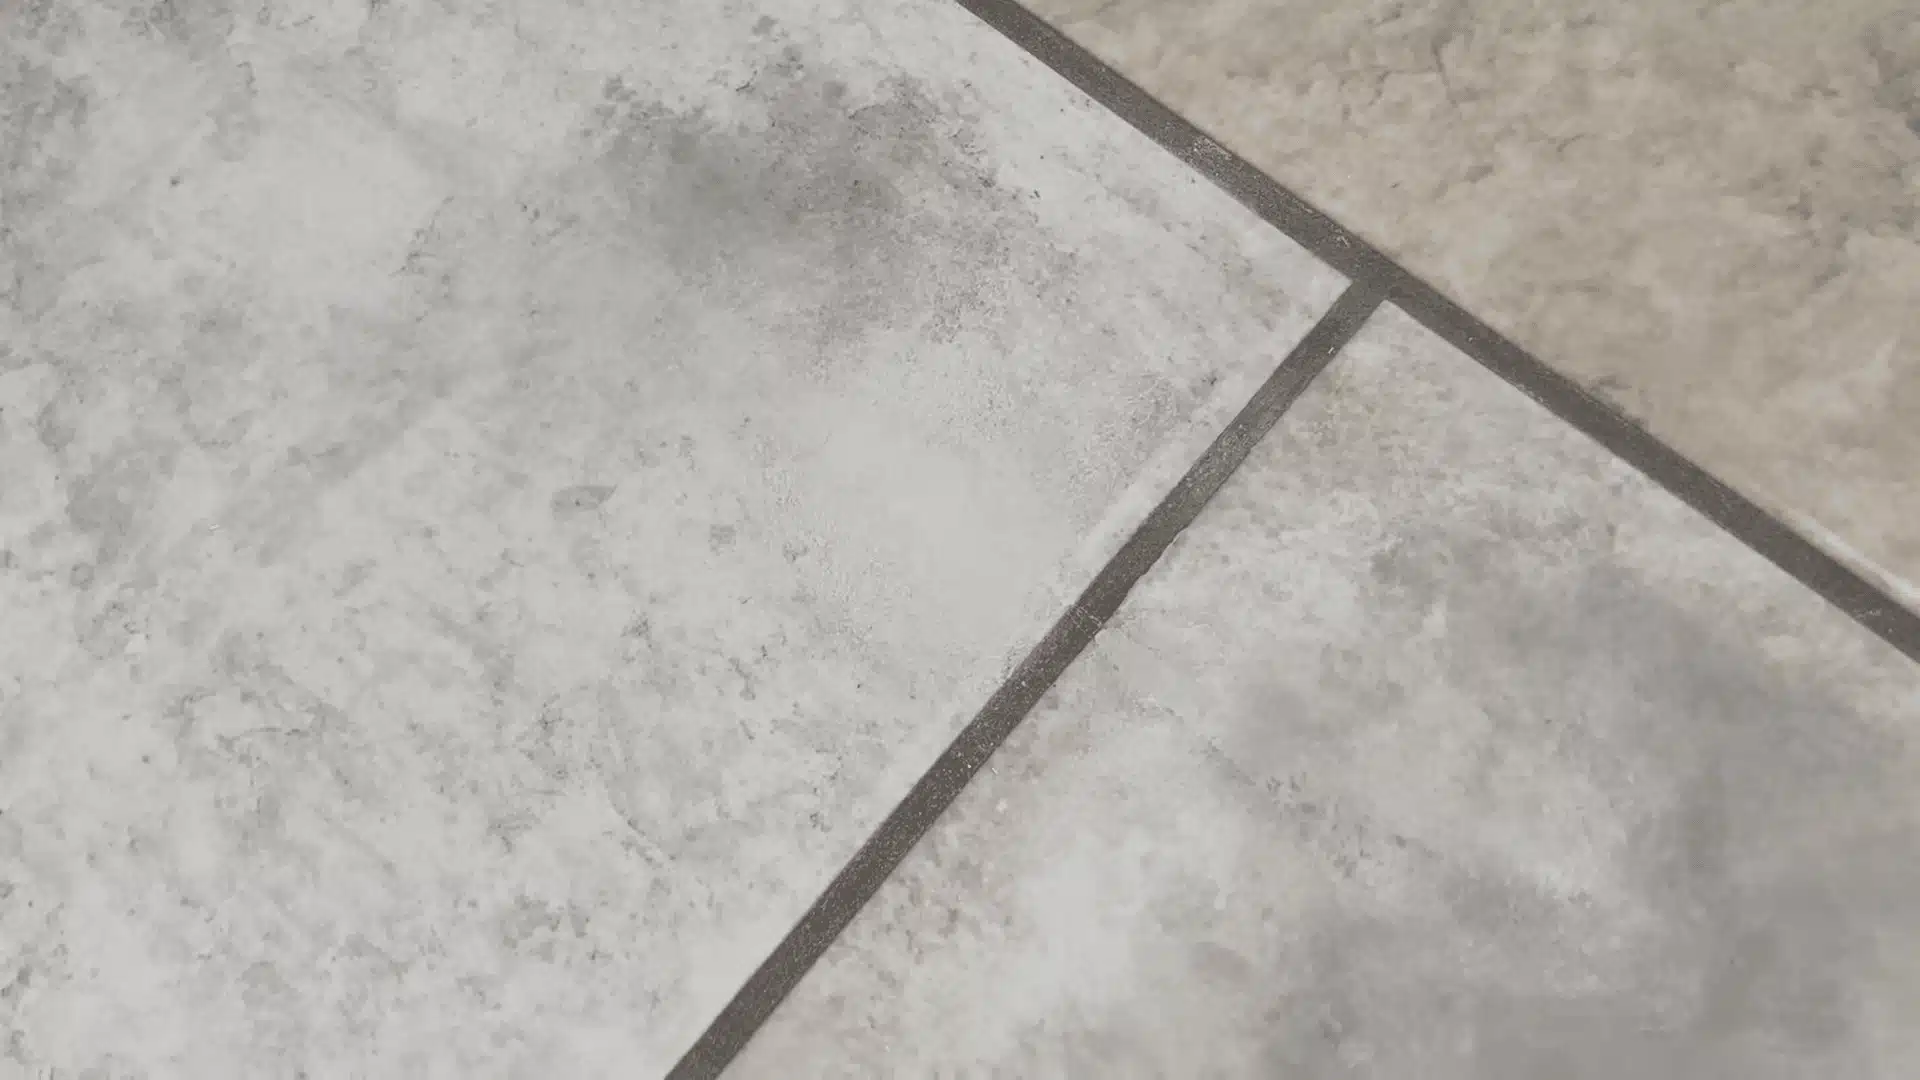
Allow the paint to dry completely and inspect the repaired area from different angles. Add small paint adjustments if the patch still stands out from the rest of the tile.
A well-blended repair can make the crack almost disappear. Keep in mind that this works best for small cracks and cosmetic damage. Severely damaged or loose tiles may still need to be replaced.
See how the filler and paint blending looks in real time before you pick up your tools.
How to Fix a Broken Tile: Step-By-Step
A broken tile can look like a major repair. I’ve found the hardest part is usually removing the damaged tile without affecting the nearby ones. But with careful work, the right tools, and some patience, replacing one piece can restore the floor without replacing everything.
Tools and Materials You Need
- Replacement tile that matches the existing floor
- Safety glasses and work gloves
- Hammer and chisel
- Utility knife or grout removal tool
- Vacuum or brush for cleanup
- Notched trowel
- Tile adhesive or thin-set mortar
- Rubber float
- Matching grout
- Sponge and clean water
Step 1: Remove the Broken Tile Carefully
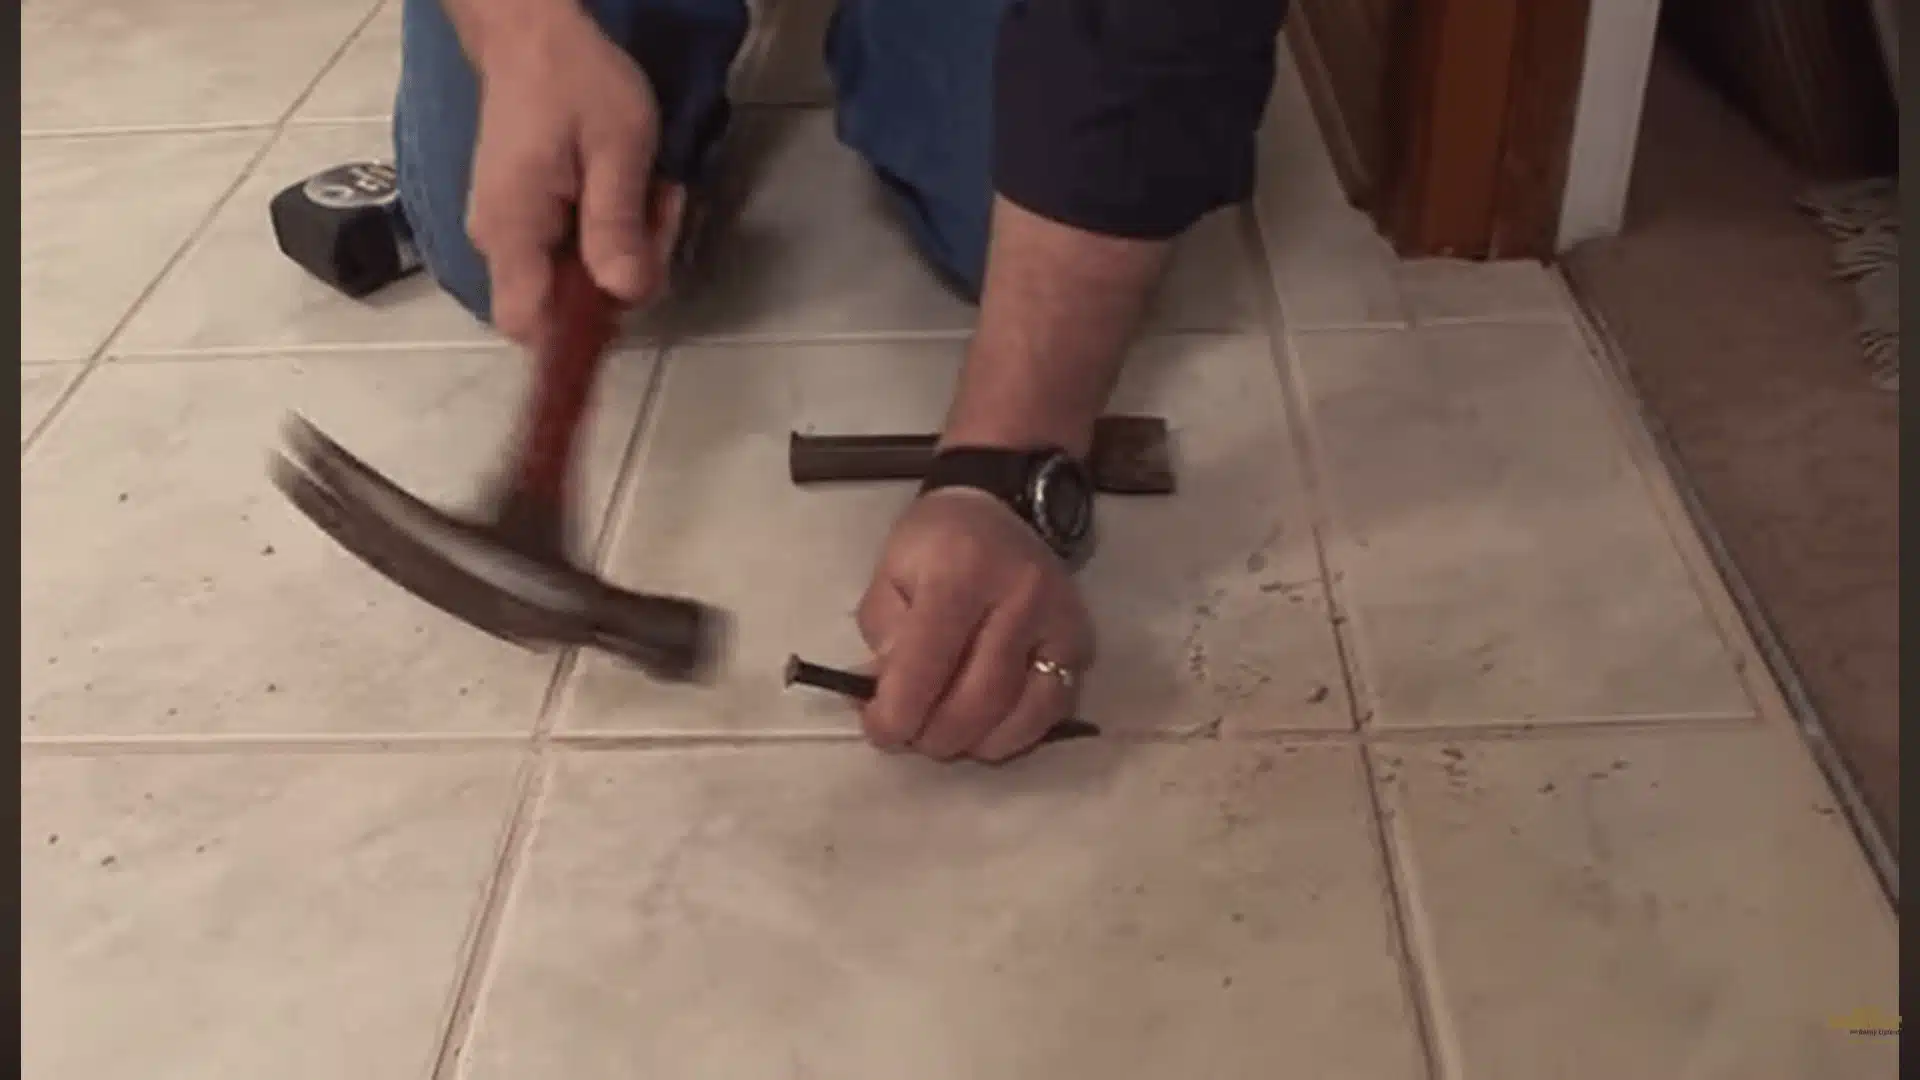
Start by removing the grout around the damaged tile. This separates it from the surrounding tiles and reduces the chance of cracks spreading.
Once the edges are clear, use a hammer and chisel to break the tile into smaller pieces. Remove the pieces slowly and clean the old adhesive from the surface.
Step 2: Prepare the Area for the New Tile
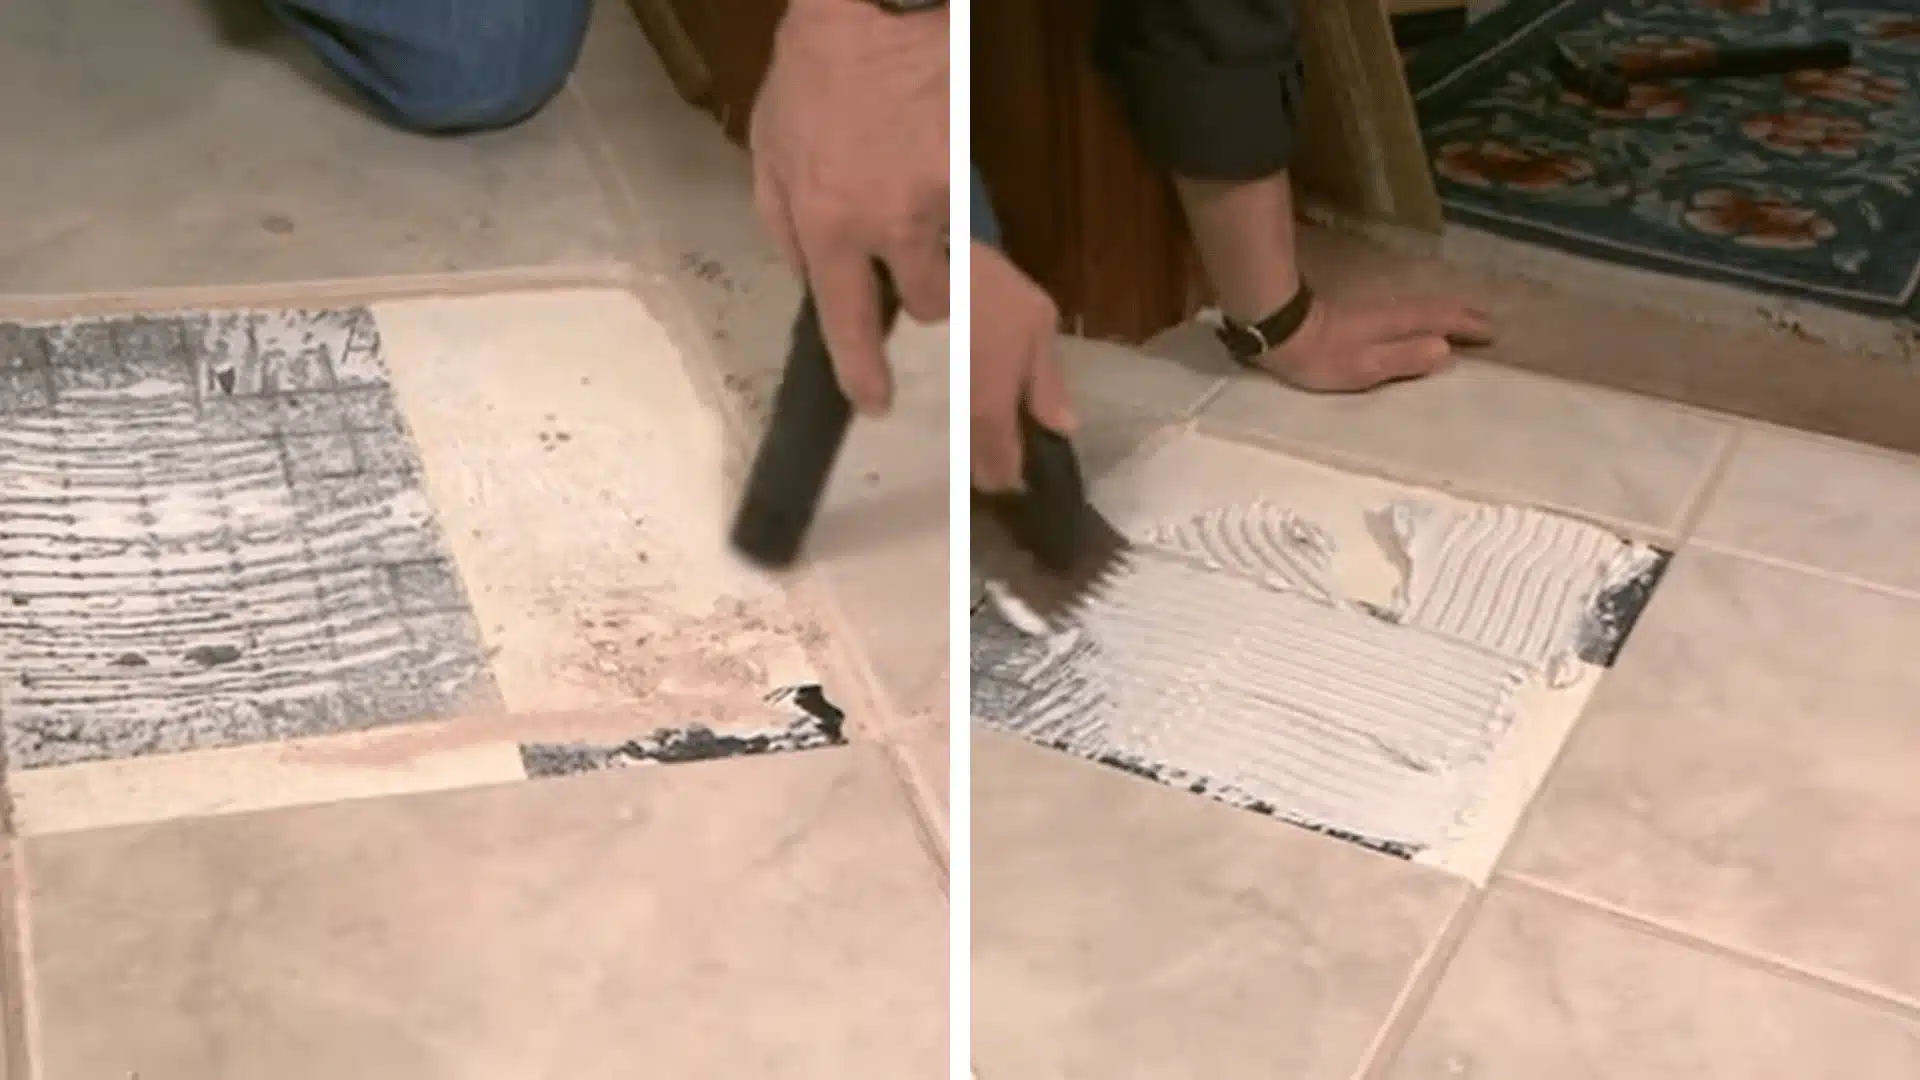
After removing the broken tile, make sure the space underneath is clean and flat. Any leftover adhesive or debris can stop the new tile from sitting properly.
Apply a thin layer of tile adhesive or thin-set using a notched trowel. You do not need a large amount, just enough to create a strong bond.
Step 3: Install the Replacement Tile
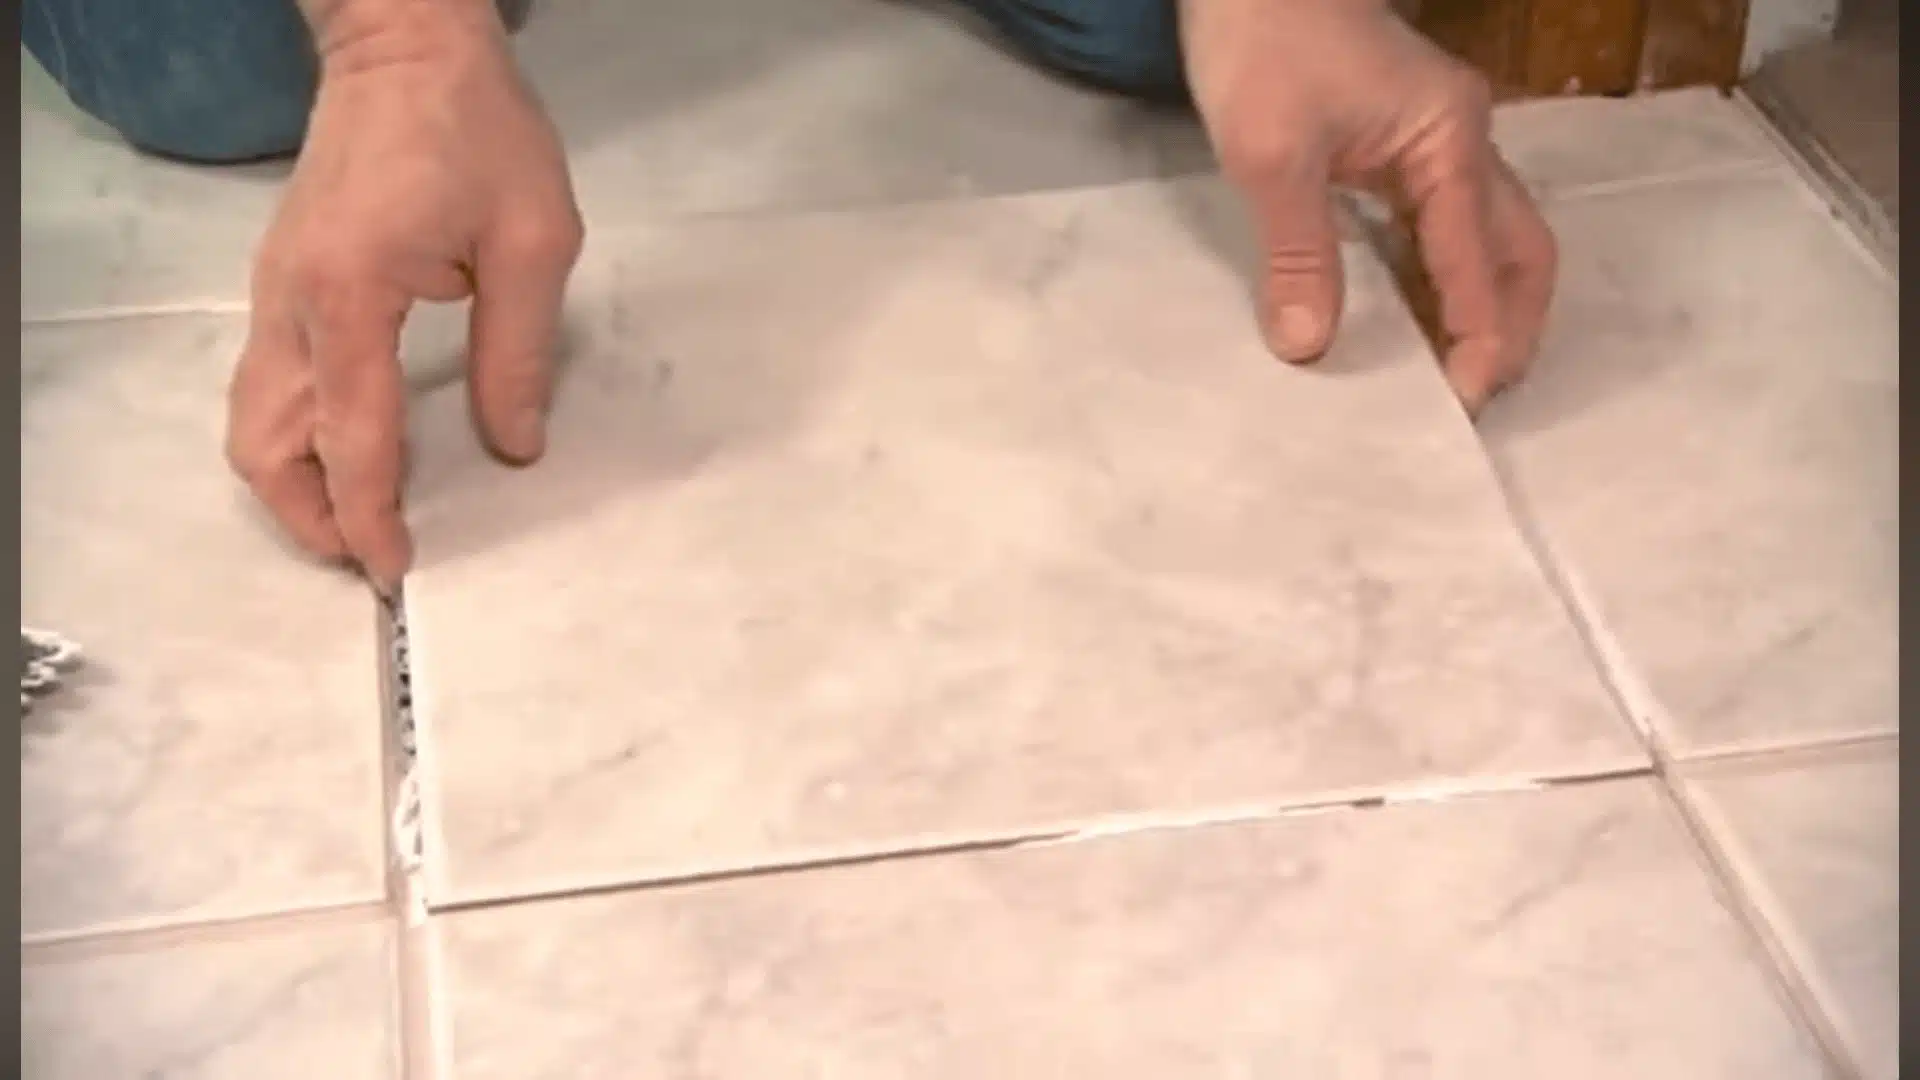
Place the new tile into the space and gently press it down until it sits level with the surrounding tiles. Check the gaps on all sides to keep the spacing even.
Let the adhesive dry according to the product instructions before adding grout. Moving too soon can shift the tile and ruin the alignment.
Step 4: Apply New Grout and Finish the Repair
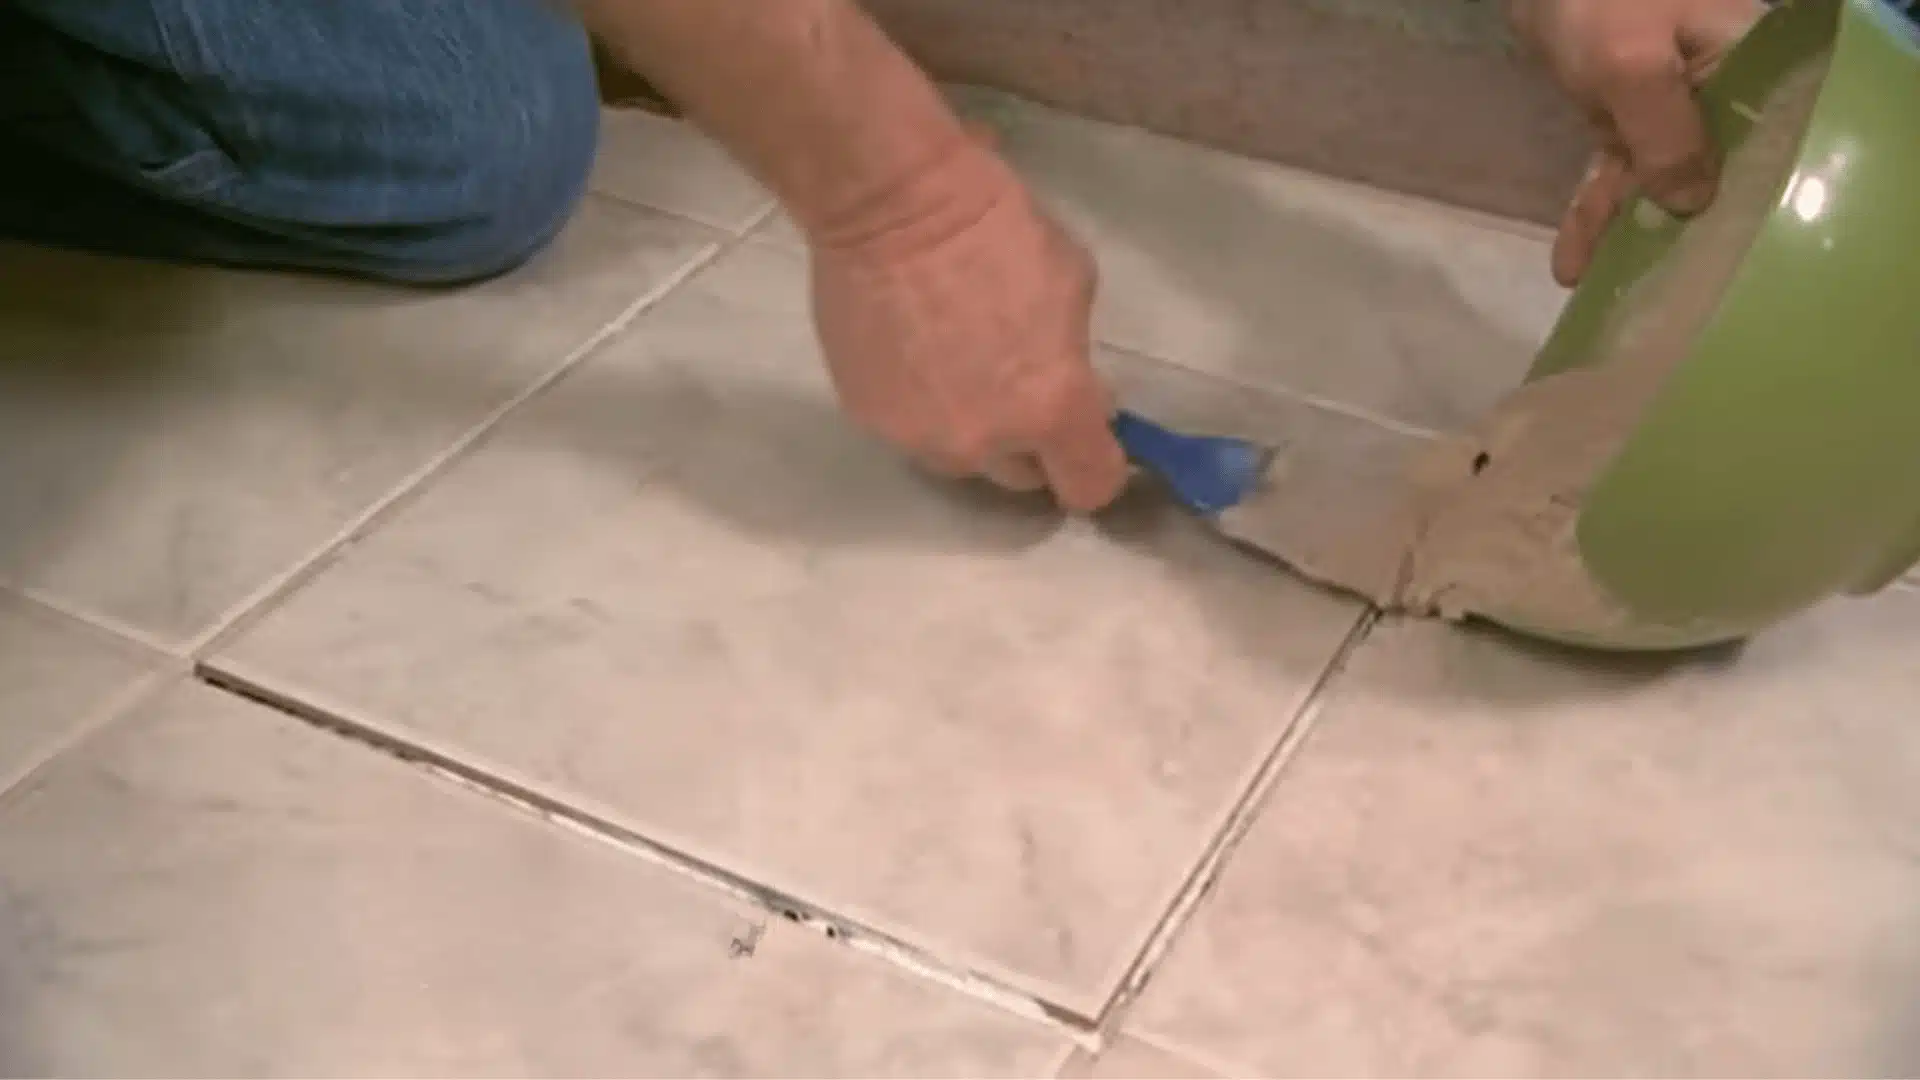
Spread grout into the gaps around the new tile using a rubber float. Push it firmly into the spaces so it fills and sits flush with the old grout.
Wipe away any excess grout with a damp sponge, then let it dry. The repaired area may look slightly different at first because older grout often changes color over time.
Watch the full tile swap from removal to grouting if you want to see the spacing and leveling technique before you begin.
Common Mistakes to Avoid When Repairing Tile
Tile repairs can go wrong even when the damage looks small. Avoiding these common mistakes helps the repair last longer and blend better with the surrounding tile.
- Skipping damage assessment: Fixing a crack without determining why it formed can lead to the issue recurring, especially when the subfloor is moving.
- Using the wrong repair material: A product designed for indoor tiles may fail on outdoor surfaces, in wet areas, or on delicate natural stone.
- Applying too much filler or glaze: Thick layers are harder to smooth and often leave a visible patch instead of blending with the tile.
- Rushing the curing process: Using the repaired area before the filler, adhesive, or grout fully dries can weaken the repair.
- Removing broken tiles too aggressively: Hitting or prying too hard can damage nearby tiles and turn a single replacement into a larger repair.
Taking a little extra care during each step prevents small mistakes from turning into bigger repair problems. A patient approach usually yields cleaner, longer-lasting results.
Signs Your Tile Repair Needs Professional Help
DIY repairs work for minor tile damage, but recurring problems often need a closer look at what is happening underneath.
| Situation | Why DIY May Not Work | Professional Help May Be Needed For |
|---|---|---|
| Cracks return | Movement under the tile, like a weak subfloor or uneven slab, may be causing the damage. | Inspecting the base and fixing the cause instead of replacing tiles repeatedly. |
| Multiple tiles crack | Damage across tiles or grout lines often signals a larger installation issue. | Finding movement, structural problems, or poor installation. |
| Tiles feel loose | Loose, shifting, or hollow tiles may indicate poor bonding or base damage. | Repairing the surface below before reinstalling tiles. |
| Wet or outdoor areas | These spaces need materials that handle moisture and temperature changes. | Preventing leaks with proper waterproofing and suitable materials. |
| Natural stone damage | Incorrect fillers or sealants can stain or damage marble, travertine, or slate. | Repairing and matching expensive stone safely. |
| Damage keeps returning | Fixing only the visible crack may leave the real issue unresolved. | Identifying the source of the problem and choosing the right repair. |
| Small surface damage | Minor chips or isolated cracks are often manageable with DIY kits. | DIY is usually enough if the tile is stable and the damage is limited. |
Use DIY methods for simple surface damage, but bring in a professional when the tile failure points to problems below the surface.
Conclusion
Tile repairs become much easier when you know the difference between a cosmetic problem and a deeper issue. A small chip may only need careful touch-up work, while a damaged or unstable tile may need replacement.
I’ve found that the biggest mistake homeowners make is focusing only on how the tile looks and missing what caused the damage in the first place. So take your time, use the right materials, and do not ignore repeated damage. Start with the cause, then make the repair.
Frequently Asked Questions
How Do You Fix a Cracked Tile without Removing It?
Clean the crack, inject a low-viscosity filler, wipe the excess, and allow 24 hours to cure. First, tap the tile; a hollow sound means it needs replacing, not filling.
What Is the Best Product to Color-Match a Chip Repair?
Start with a pre-tinted repair kit. If mixing your own, test the cured color in natural daylight first; filler always dries lighter than it looks wet.
Can You Replace a Single Tile without Disturbing the Rest of The Floor?
Yes. Cut the grout on all four sides first, then work inward with a hammer and chisel. Never pry from the edges; it cracks the tiles next to it.
How Long Does Tile Repair Take to Cure Before Use?
Fillers need 24 hours before foot traffic. Full replacements need 24 hours for mortar, then another 24 hours after grouting. Wet areas need 72 hours after grouting.