
Are you tired of spending money on expensive water filters or concerned about the quality of your tap water?
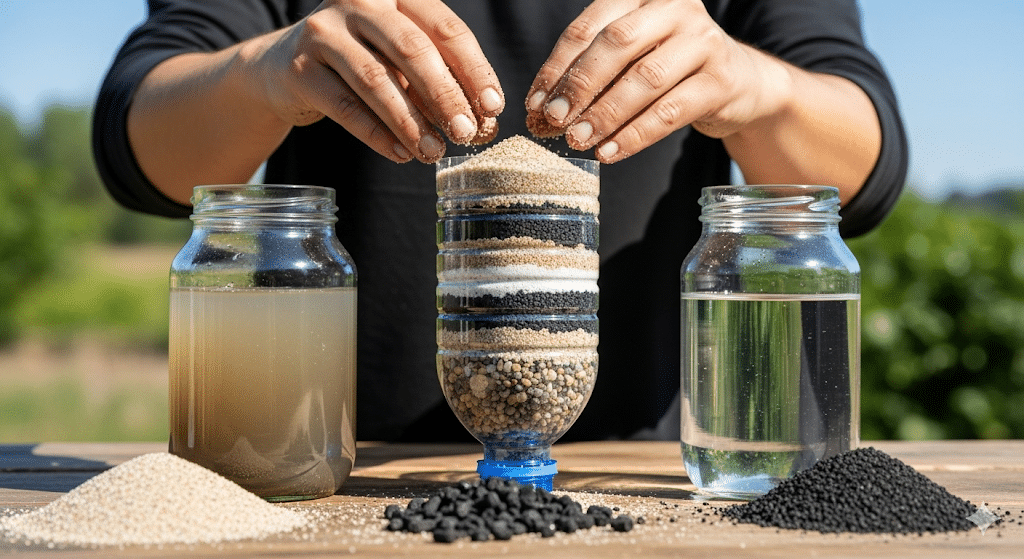
Building a DIY water filter is easier than you think! With just a few simple materials, such as a plastic bottle, sand, gravel, and activated charcoal, you can create your own water purification system at home.
This homemade filter removes dirt, bad smells, and many harmful chemicals from water.
If you’re preparing for emergencies, going camping, or just want cleaner drinking water, making a DIY water filter is a fun project that saves money and helps the environment. Let’s get started on this amazing project together!
Understanding How a DIY Water Filter Works
A DIY water filter works by using different materials to clean water step by step. Each layer has a special job. Gravel at the bottom catches big pieces like leaves and dirt.
Sand in the middle traps smaller particles that are not easily visible. Activated charcoal removes bad smells and tastes from chemicals. Cotton or cloth at the top stops the largest chunks from getting through.
This process uses two types of cleaning: physical and chemical. Physical filtration means materials physically block and trap dirt particles as water flows through.
Chemical filtration happens when charcoal absorbs harmful chemicals and odors into its tiny pores. When water passes through all these layers from top to bottom, it emerges much cleaner and safer to drink than when it began.
Materials You Need to Build Your DIY Water Filter
Building your own water filter is simple and uses everyday items you probably have at home. Here’s everything you’ll need to get started on your DIY water filter project.
| ITEM | PURPOSE |
|---|---|
| Plastic Bottle & Knife | The bottle is your filter container; cut it to create the funnel |
| Gravel | Part of the filter layers, which removes large debris |
| Sand | Finer filter layer; removes smaller particles |
| Activated Charcoal | Filters out chemicals and improves taste and odor |
| Cotton, Bandana, or Sock | Used as the base layer to hold filter materials in place |
| Hammer or Rock | To crush charcoal into small, effective pieces |
| Clean Cup or Bottle Bottom | Used to collect the filtered water for testing or further purification |
Once you gather these basic materials, you’ll be ready to start building your filter. Most of these items can be found around your house or bought cheaply at any store.
How to Build a DIY Water Filter in Easy Steps
Now that you have all your materials ready, it’s time to assemble them. Follow these simple steps carefully to build your water filter. Take your time with each step to make sure your filter works properly.
Step 1: Prep the Bottle
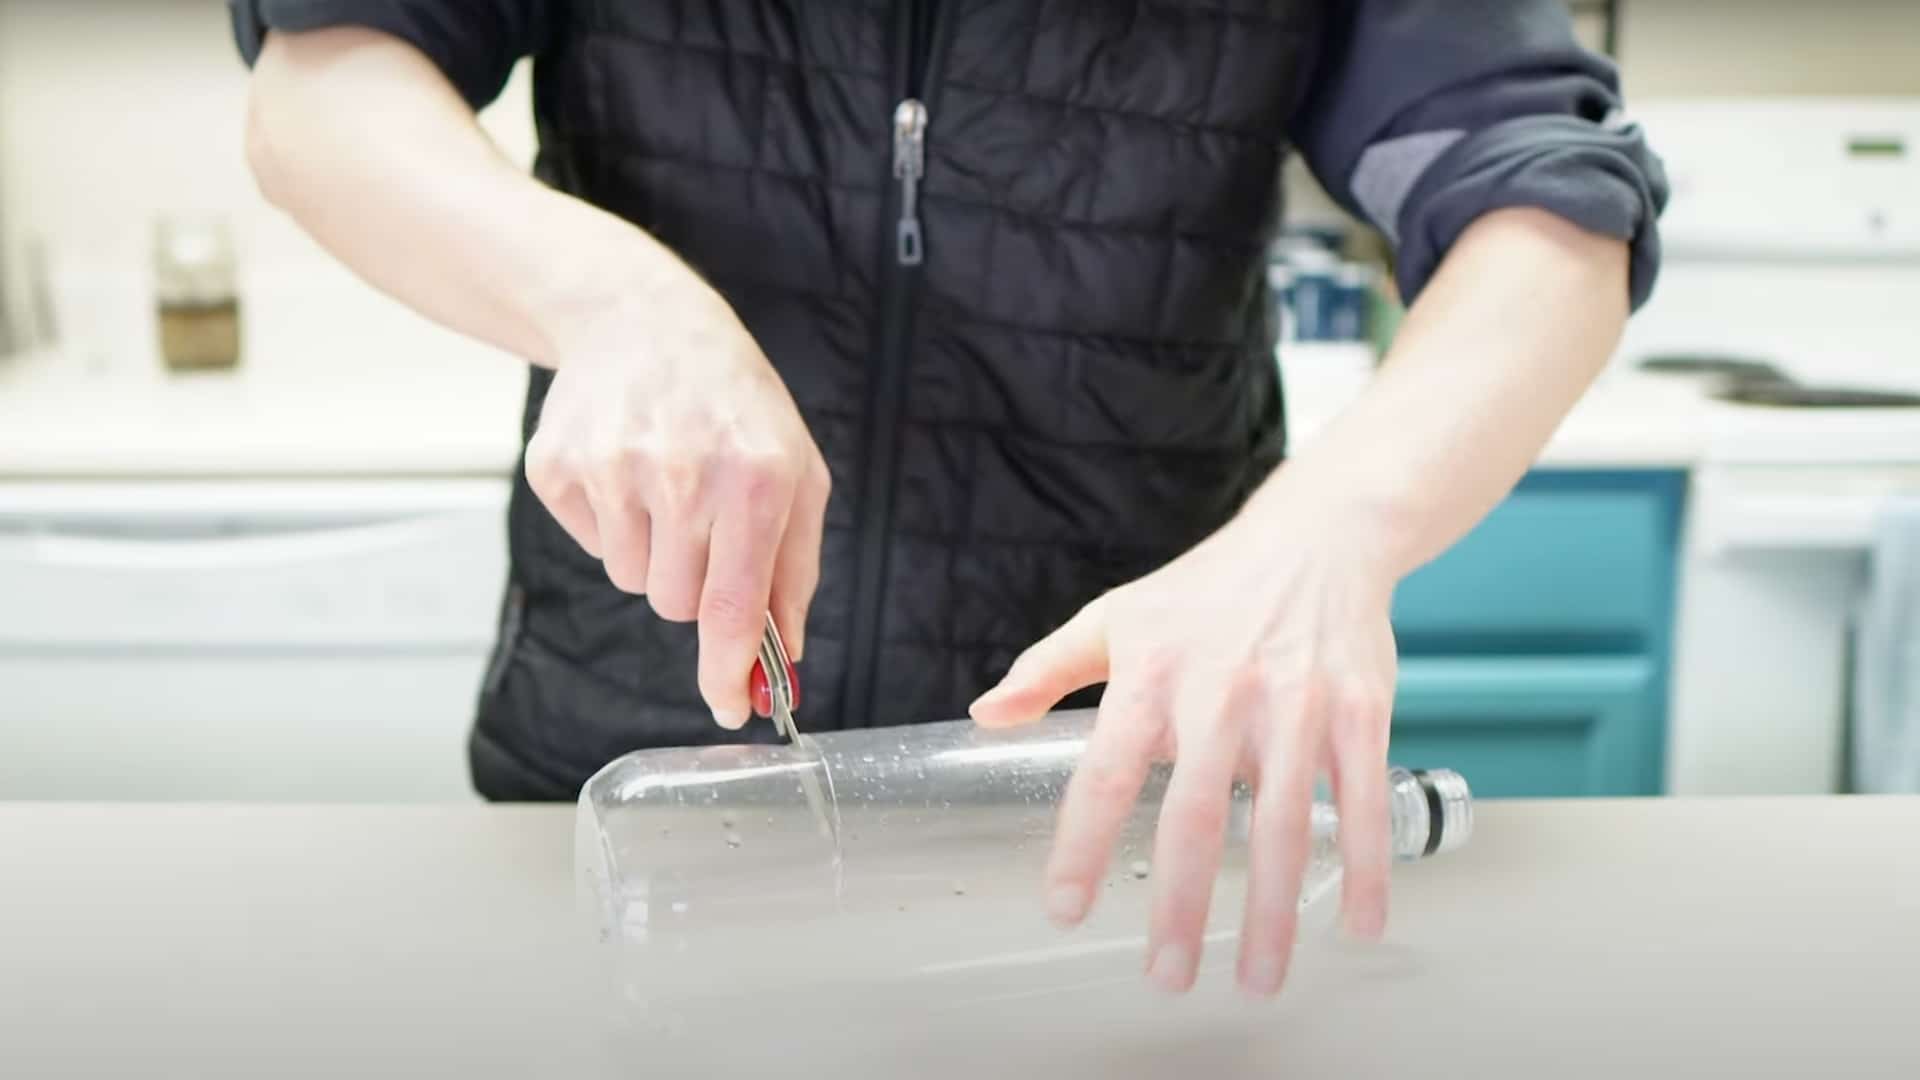
Start by carefully cutting your plastic bottle about one-third of the way from the bottom using a knife or scissors. Be safe and ask an adult for help if you need it. Turn the top part upside down so the cap ends up pointing down.
Place this flipped piece inside the bottom part of the bottle. This creates a funnel shape that will hold all your filter materials and collect the clean water underneath.
Step 2: Add the First Filter Layer
Take your cotton, cloth, bandana, or sock and stuff it into the bottle neck where the cap used to be. Make sure it fits snugly but not too tightly.
This first layer is very important because it holds all the other materials in place. It also catches the biggest pieces of dirt and debris. Push it down firmly so nothing can fall through the bottom opening.
Step 3: Add the Activated Charcoal
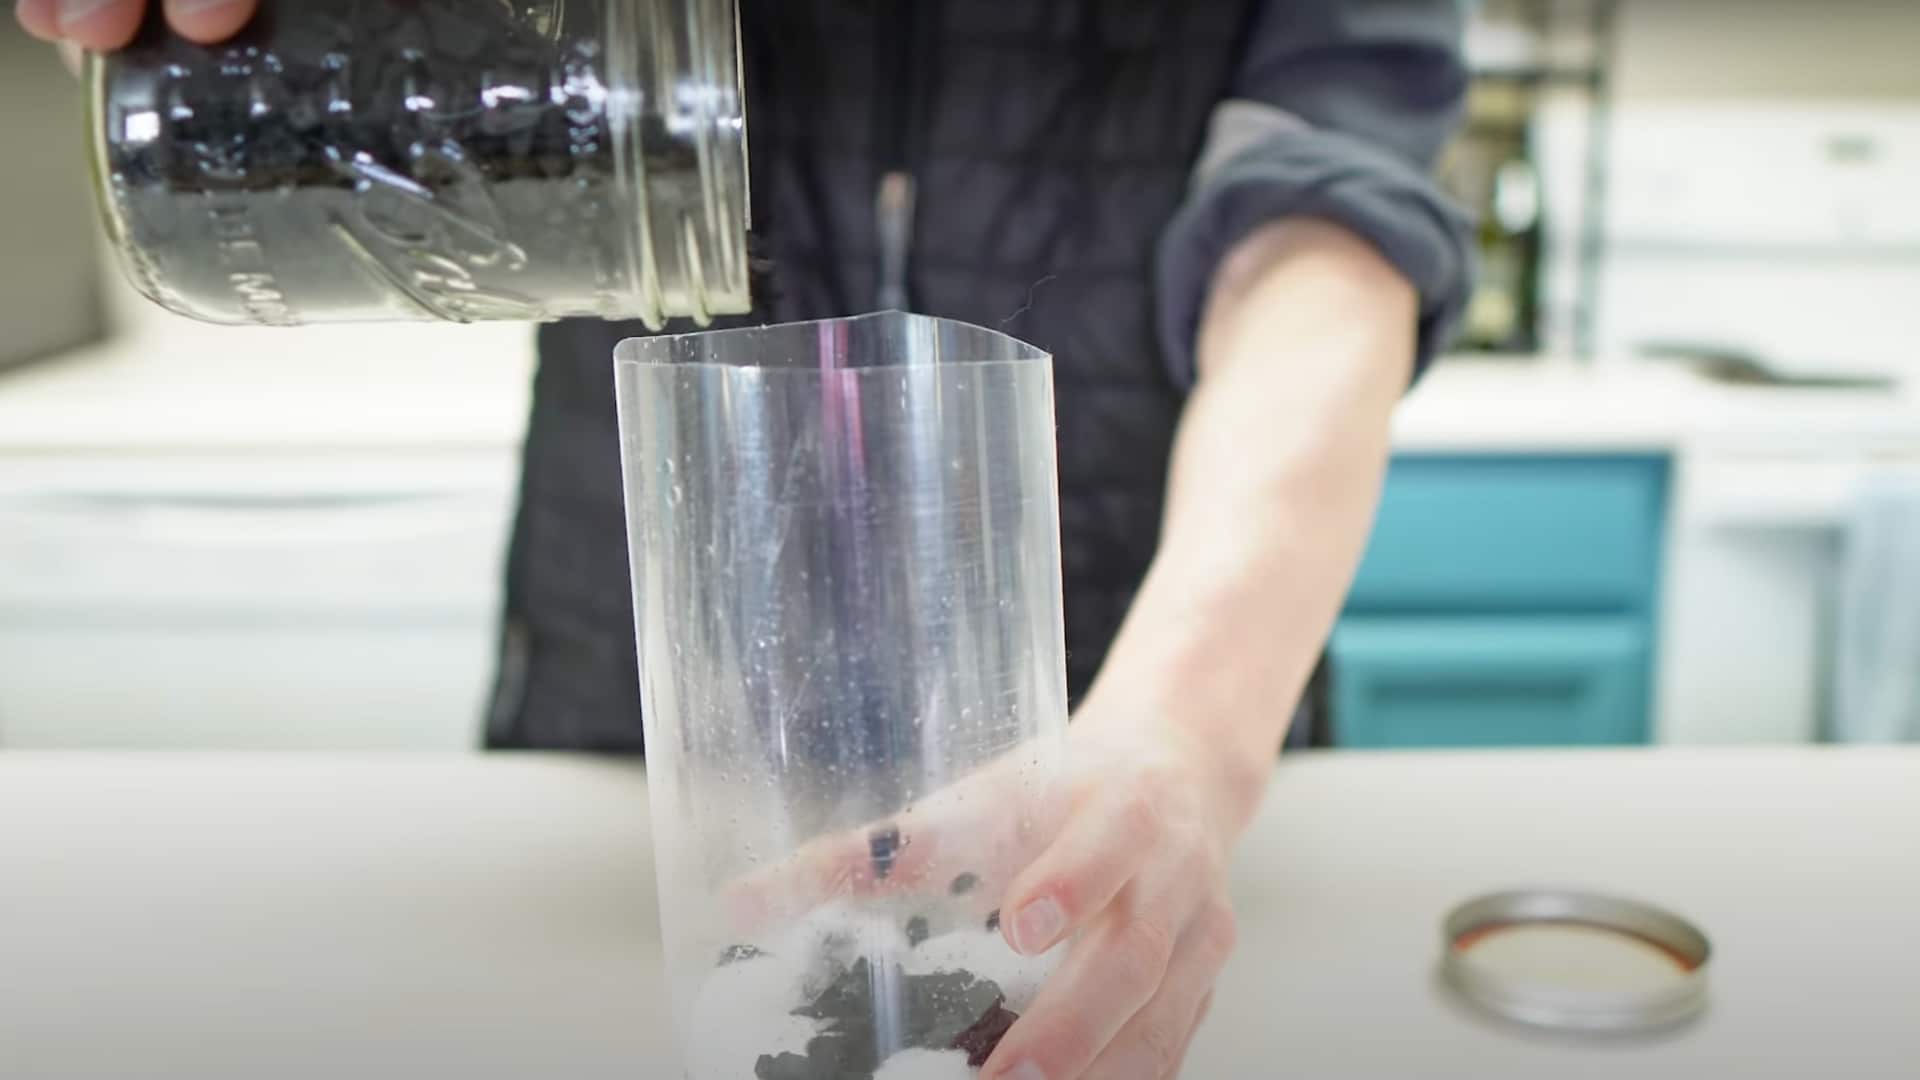
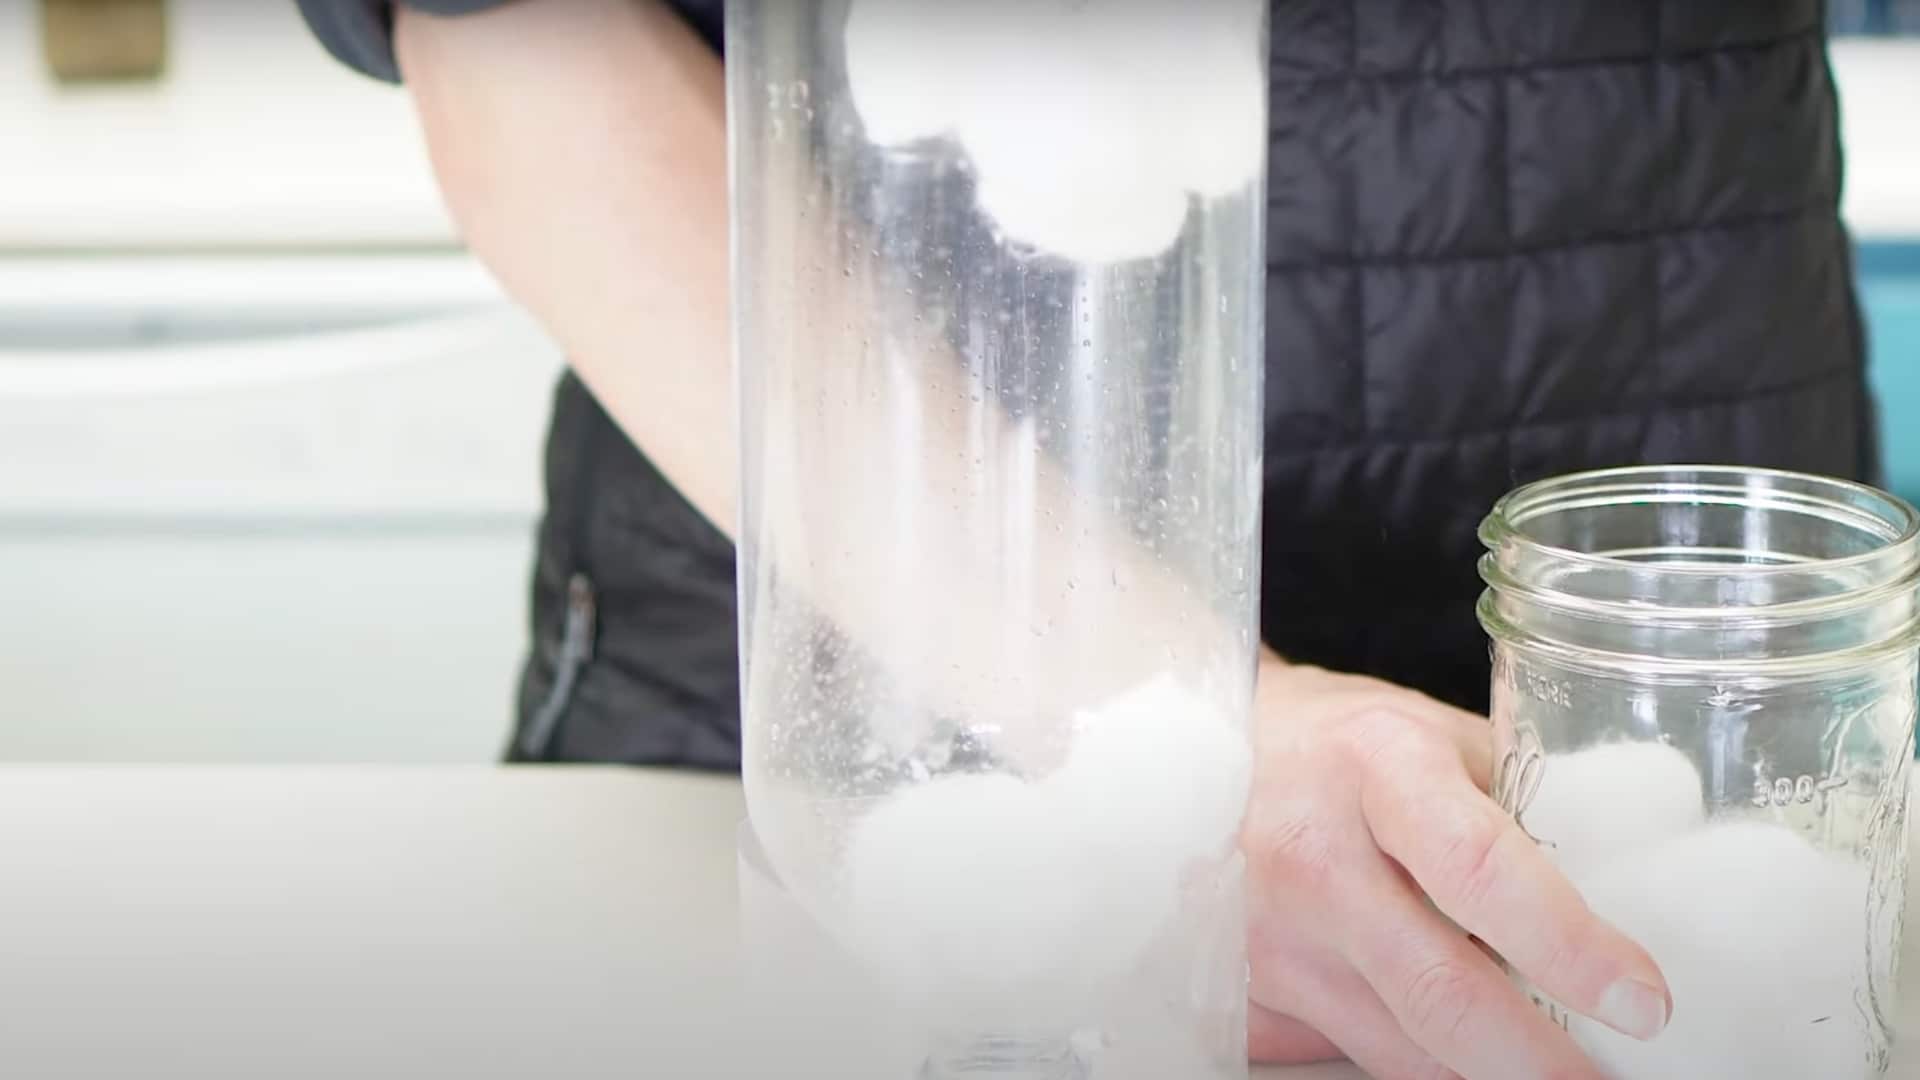
Break your activated charcoal into small pieces about the size of peas or smaller. You can use a hammer, rock, or heavy spoon to crush it. Pour the broken charcoal pieces over your cotton layer.
The charcoal is like a sponge that soaks up bad chemicals, weird smells, and nasty tastes from the water. Ensure you have sufficient charcoal to create a thick layer for optimal results.
Step 4: Layer the Sand
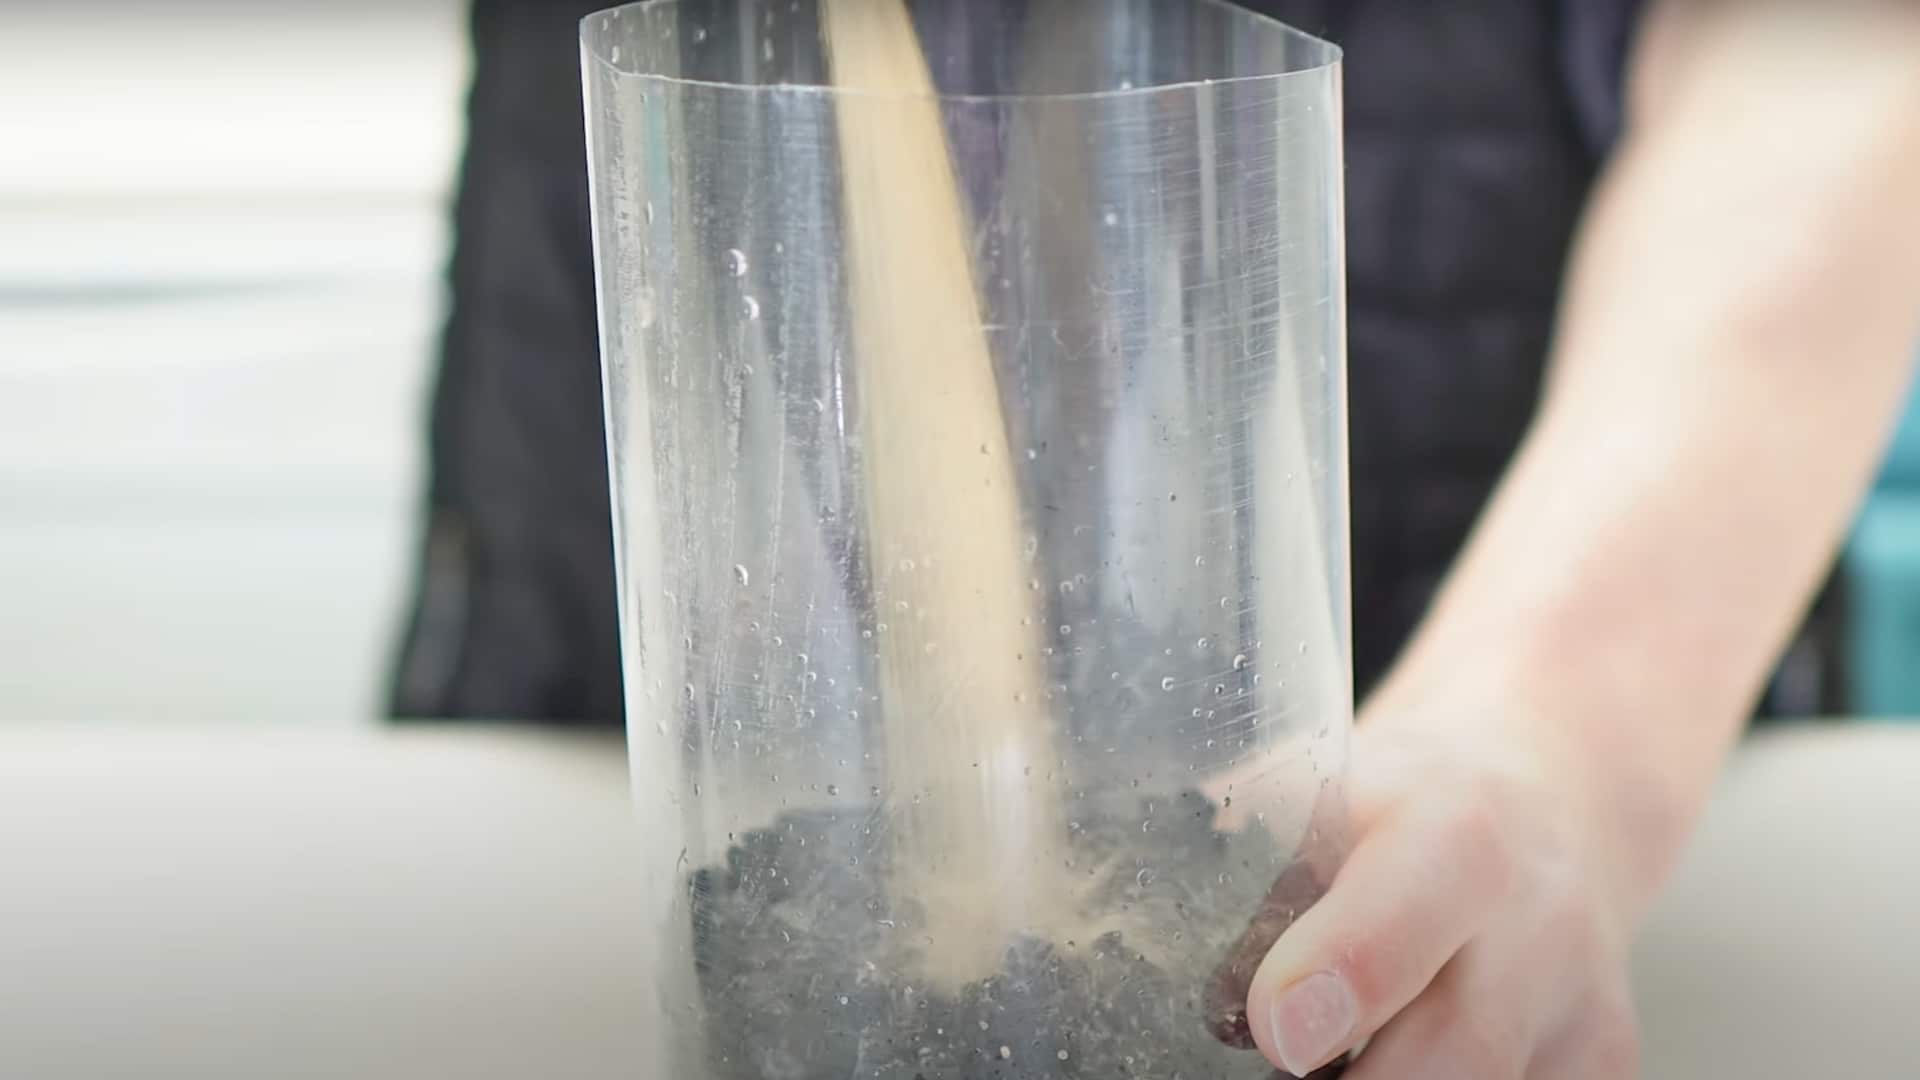
Pour your fine sand over the charcoal layer first. If you have coarse sand as well, add it on top of the fine sand. The sand works like a net that catches medium-sized dirt, mud, and tiny particles that slip past the other layers.
Make each sand layer about one to two inches thick. Pat it down gently so it’s even and flat across the whole bottle opening. This creates a smooth, stable base for your next layer.
Step 5: Finish with Gravel
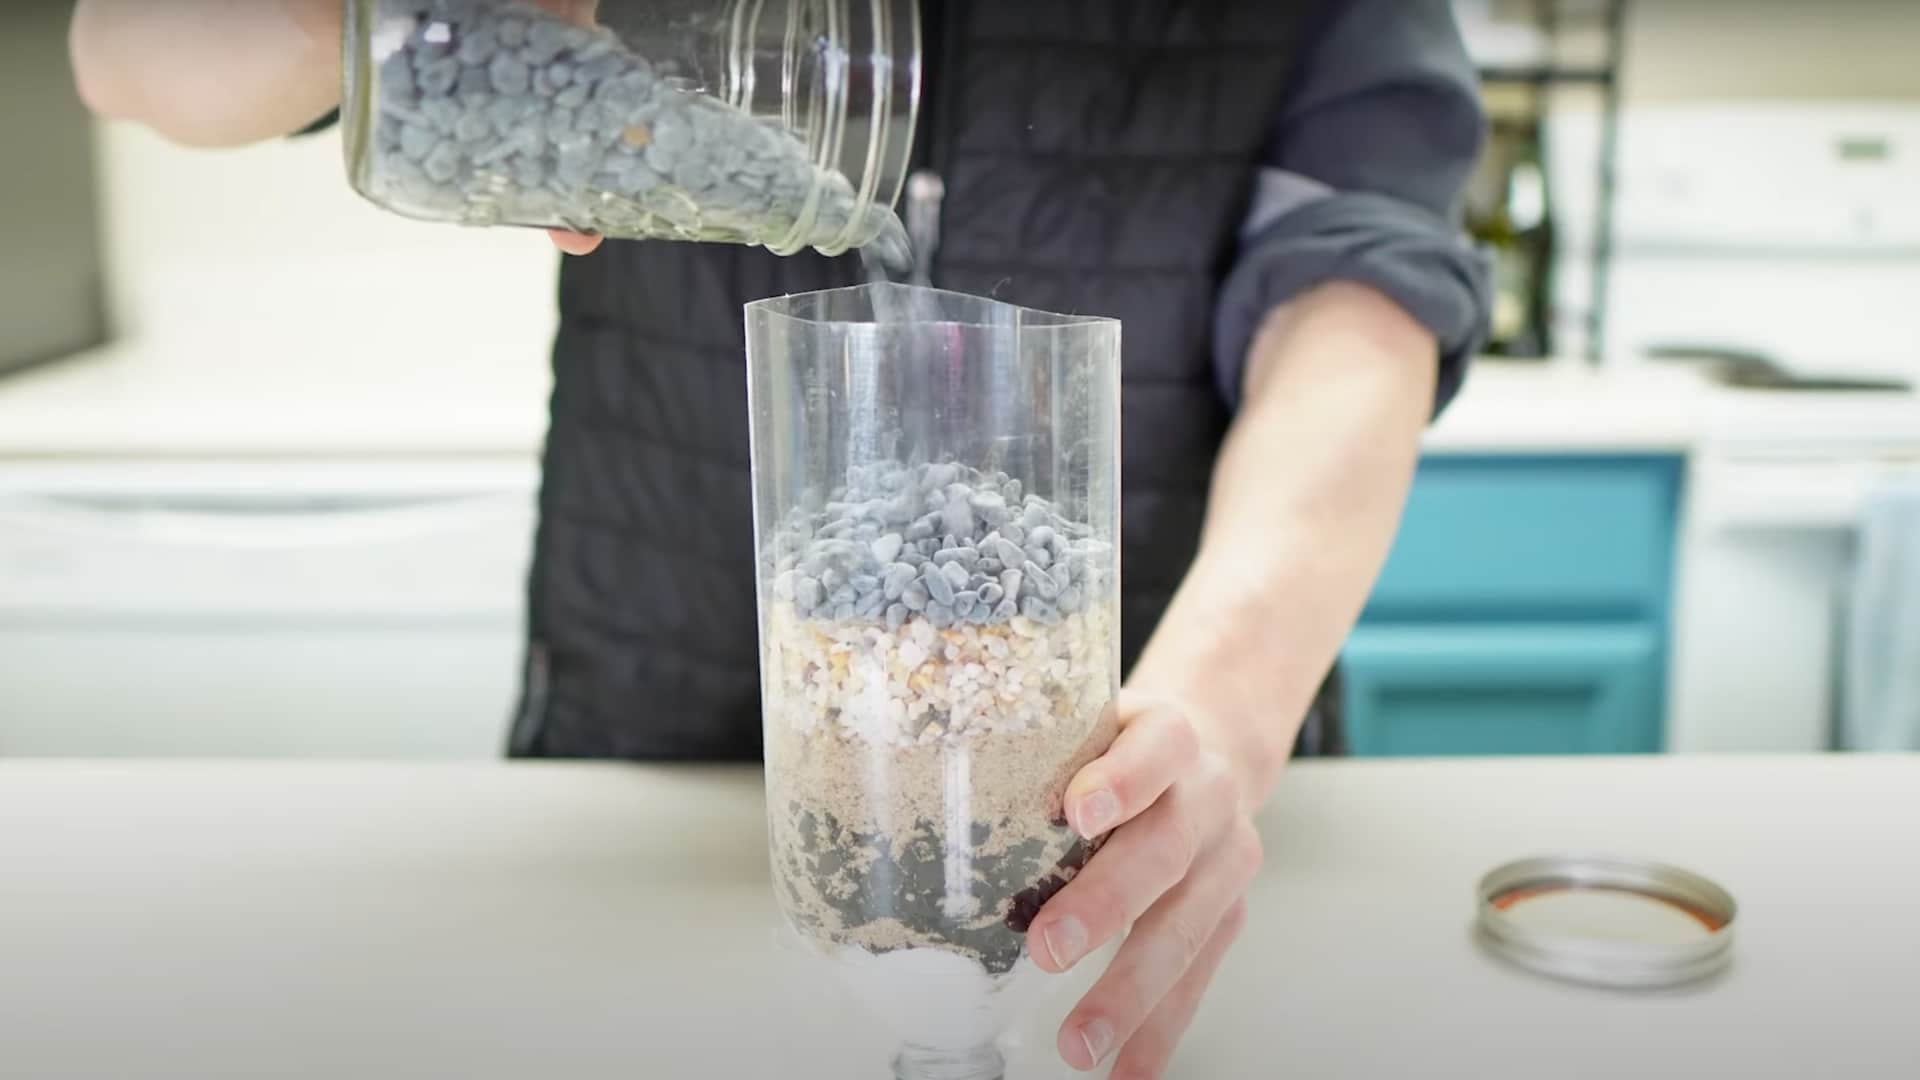
Add your gravel as the final top layer. If you have different sizes of gravel, put the smaller pieces in first, then add the bigger ones on top.
The gravel catches large chunks, such as leaves, twigs, and large dirt pieces, before they reach the other layers. Leave about one inch of empty space at the top to prevent water from spilling over when you pour it in.
Video Tutorial
For more information, check out this video tutorial by Water Filter Guru
Why Make a DIY Water Filter? Benefits You Should Know
Creating your own water filter offers numerous benefits that can improve your health and that of your family. First, it saves you lots of money because you don’t need to buy expensive store filters or bottled water.
You can use materials you already have at home or buy them cheaply. Second, DIY filters are better for the environment because they allow you to reuse plastic bottles instead of throwing them away.
You also avoid creating plastic waste by buying bottled water. Third, building your own filter teaches you important skills and makes you feel proud of what you created.
If your tap water ever stops working or tastes bad, you’ll know exactly how to make clean water yourself. This knowledge is especially helpful during emergencies or camping trips.
Tips for Improving Your DIY Water Filter
Want to make your homemade water filter work even better? Here are some simple tricks to improve how well it cleans water and make it last longer. Follow these tips to maximize the benefits of your DIY filter.
- Use More Activated Charcoal – Add thicker layers to remove more chemicals and bad tastes.
- Create Multiple Sand Layers – Use both fine and coarse sand to catch different particle sizes.
- Replace Materials Regularly – Change cotton, sand, and charcoal every few weeks.
- Pre-Filter Dirty Water – Let muddy water settle in a separate container first.
- Test Your Filter Often – Pour clean water through before using on questionable water.
These simple improvements will help your filter work better and keep your water cleaner for longer periods. Your effort will pay off with much better-tasting and safer drinking water.
The Bottom Line
Now you know how to build your own DIY water filter using everyday materials! This simple project gives you clean water while saving money and helping the planet.
Remember to replace your filter materials regularly and always test your water before drinking. Your homemade filter is perfect for emergencies, camping trips, or daily use.
Building a DIY water filter is a rewarding experience that teaches valuable skills you can apply anywhere.
Have you tried making your own water filter? Share your experience and tips in the comments below – we’d love to hear how your project turned out and any creative improvements you made!