
Ever wonder what makes Thai people smile when they smell garlic sizzling in a hot pan? It’s Pad Kra Pao time!
This beloved stir-fry transforms simple ingredients into Thailand’s ultimate comfort food.
In just 15 minutes, you’ll create a dish that balances spicy chilies, aromatic holy basil, and savory sauces, all topped with a perfectly fried egg featuring crispy edges and a golden yolk.
From busy Bangkok streets to quiet village stalls, this crowd-pleaser has earned its place as Thailand’s unofficial national dish.
Street vendors toss fresh ingredients in smoking woks while hungry customers wait nearby, filling the air with holy basil’s distinctive aroma.
Simple cooking that delivers bold flavors over fluffy jasmine rice—this is authentic Thai comfort food at its finest.
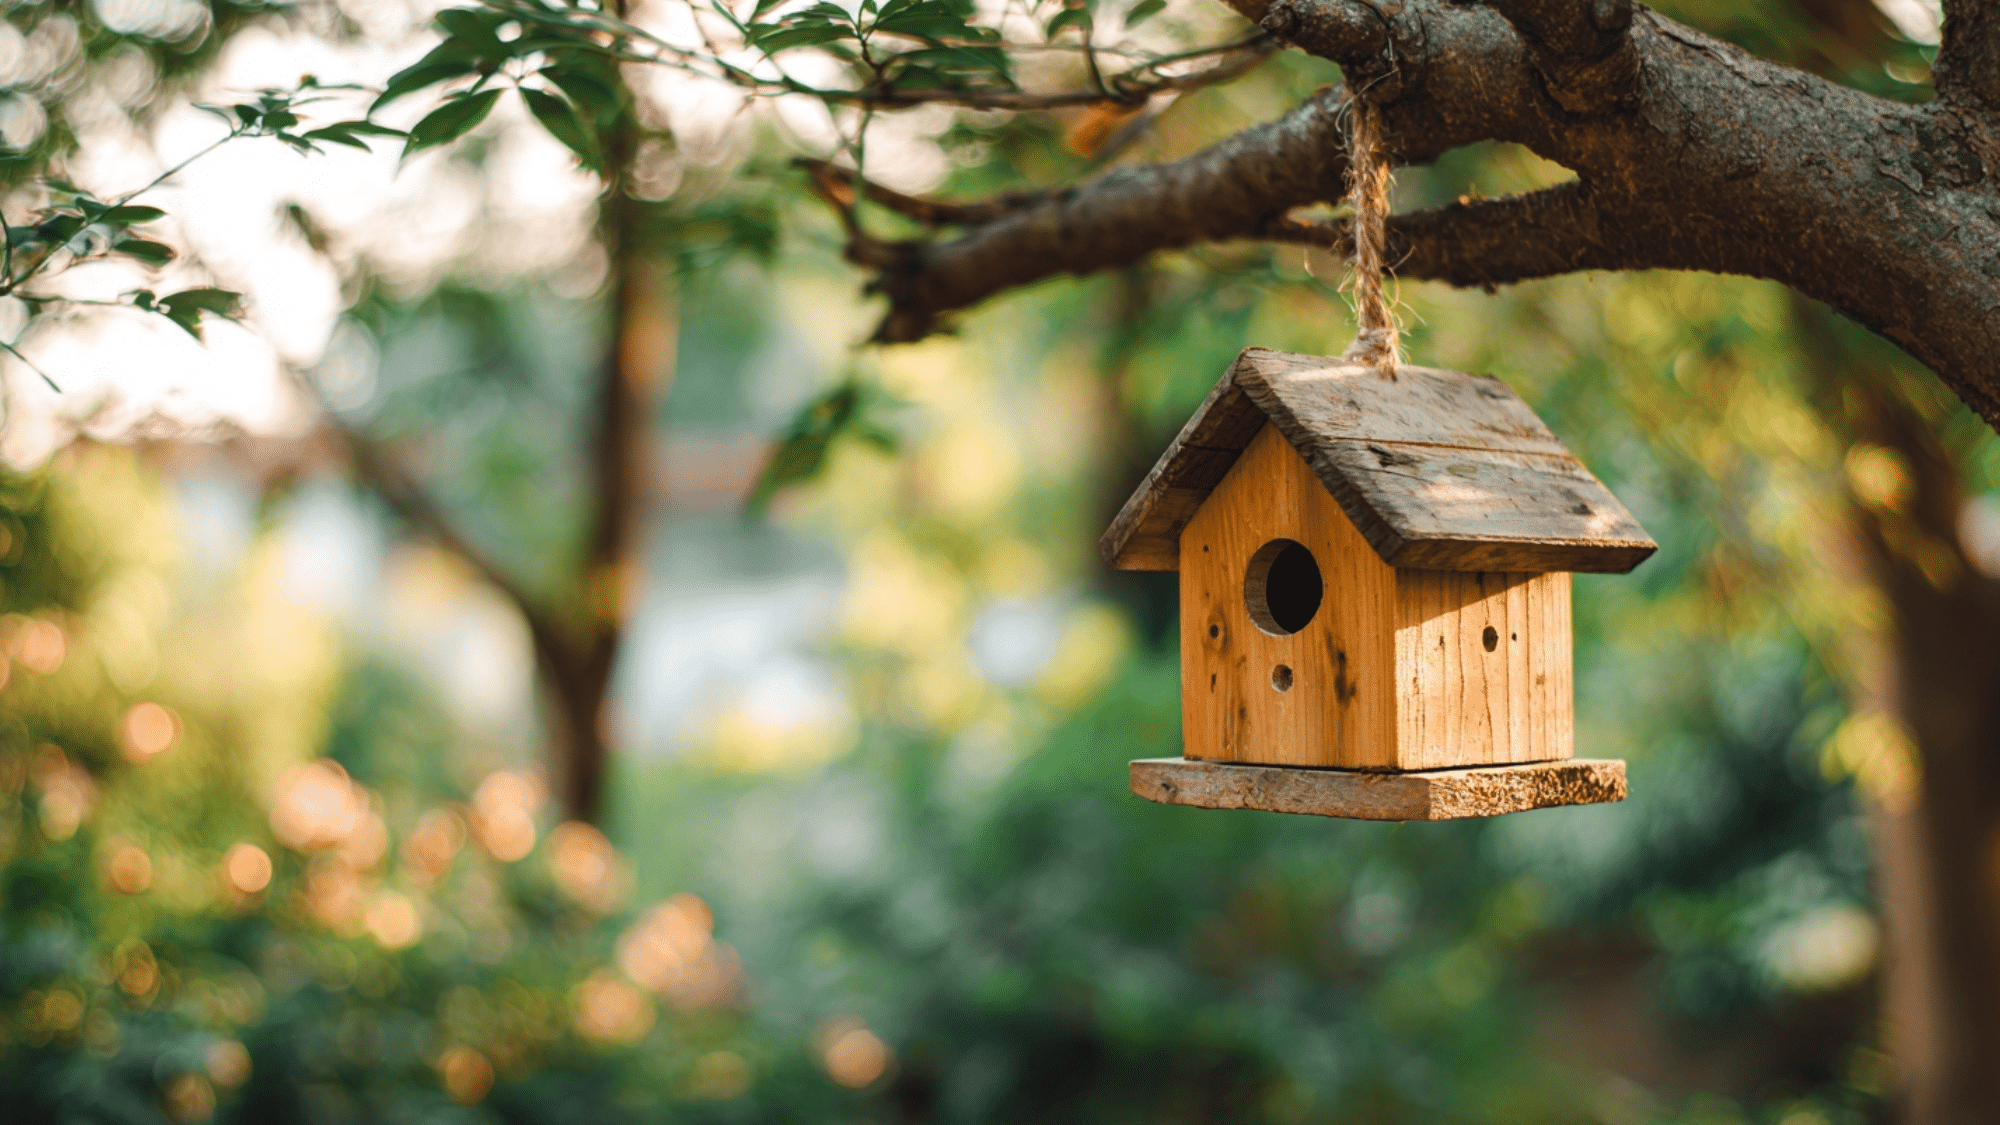
The Joy of Creating Your Own Bird House
Building your own birdhouse brings great rewards for both you and your local bird population. These handmade shelters provide essential protection from harsh weather and safe spaces for raising their young.
The nesting opportunities you create can make a real difference in supporting local ecosystems.
This project offers something special for everyone in the family. Kids love getting involved in the building process, learning about nature while developing their crafting skills. Adults find it surprisingly relaxing and satisfying to work with their hands.
When you compare costs, the difference is clear. Store-bought birdhouses often cost $20-50 or more, while a DIY version can be completed for just a few dollars using materials you likely already have around the house.
Now that you understand the benefits, let’s look at what materials work best for your project.
Materials You’ll Need
Building a birdhouse requires just a few basic materials and tools that most DIY enthusiasts already have. One cedar fence picket can create an entire birdhouse.
- 1 cedar fence picket (4 ft long) – that’s all you need
- Jigsaw (for detailed cuts like the entrance hole and roof angles)
- Circular saw (for straight cuts; used with a straight-edge guide)
- Drill with a 1½-inch Forstner bit or hole saw (for the entrance hole)
- Wood glue (waterproof type works best)
- Brad nails (or finishing nails with a hammer)
- Screws (preferably stainless steel for cleanup panel)
- Small punch or awl (for marking screw locations)
- Sandpaper (used before assembly to save time)
- Natural tung oil – safe and easy to apply
With these materials gathered, you’re ready to start the actual construction process.
Five-Step Build Process
Following a systematic approach makes birdhouse construction straightforward and enjoyable. These five steps will guide you from raw materials to a finished product that birds will love.
Step 1: Cut All the Pieces
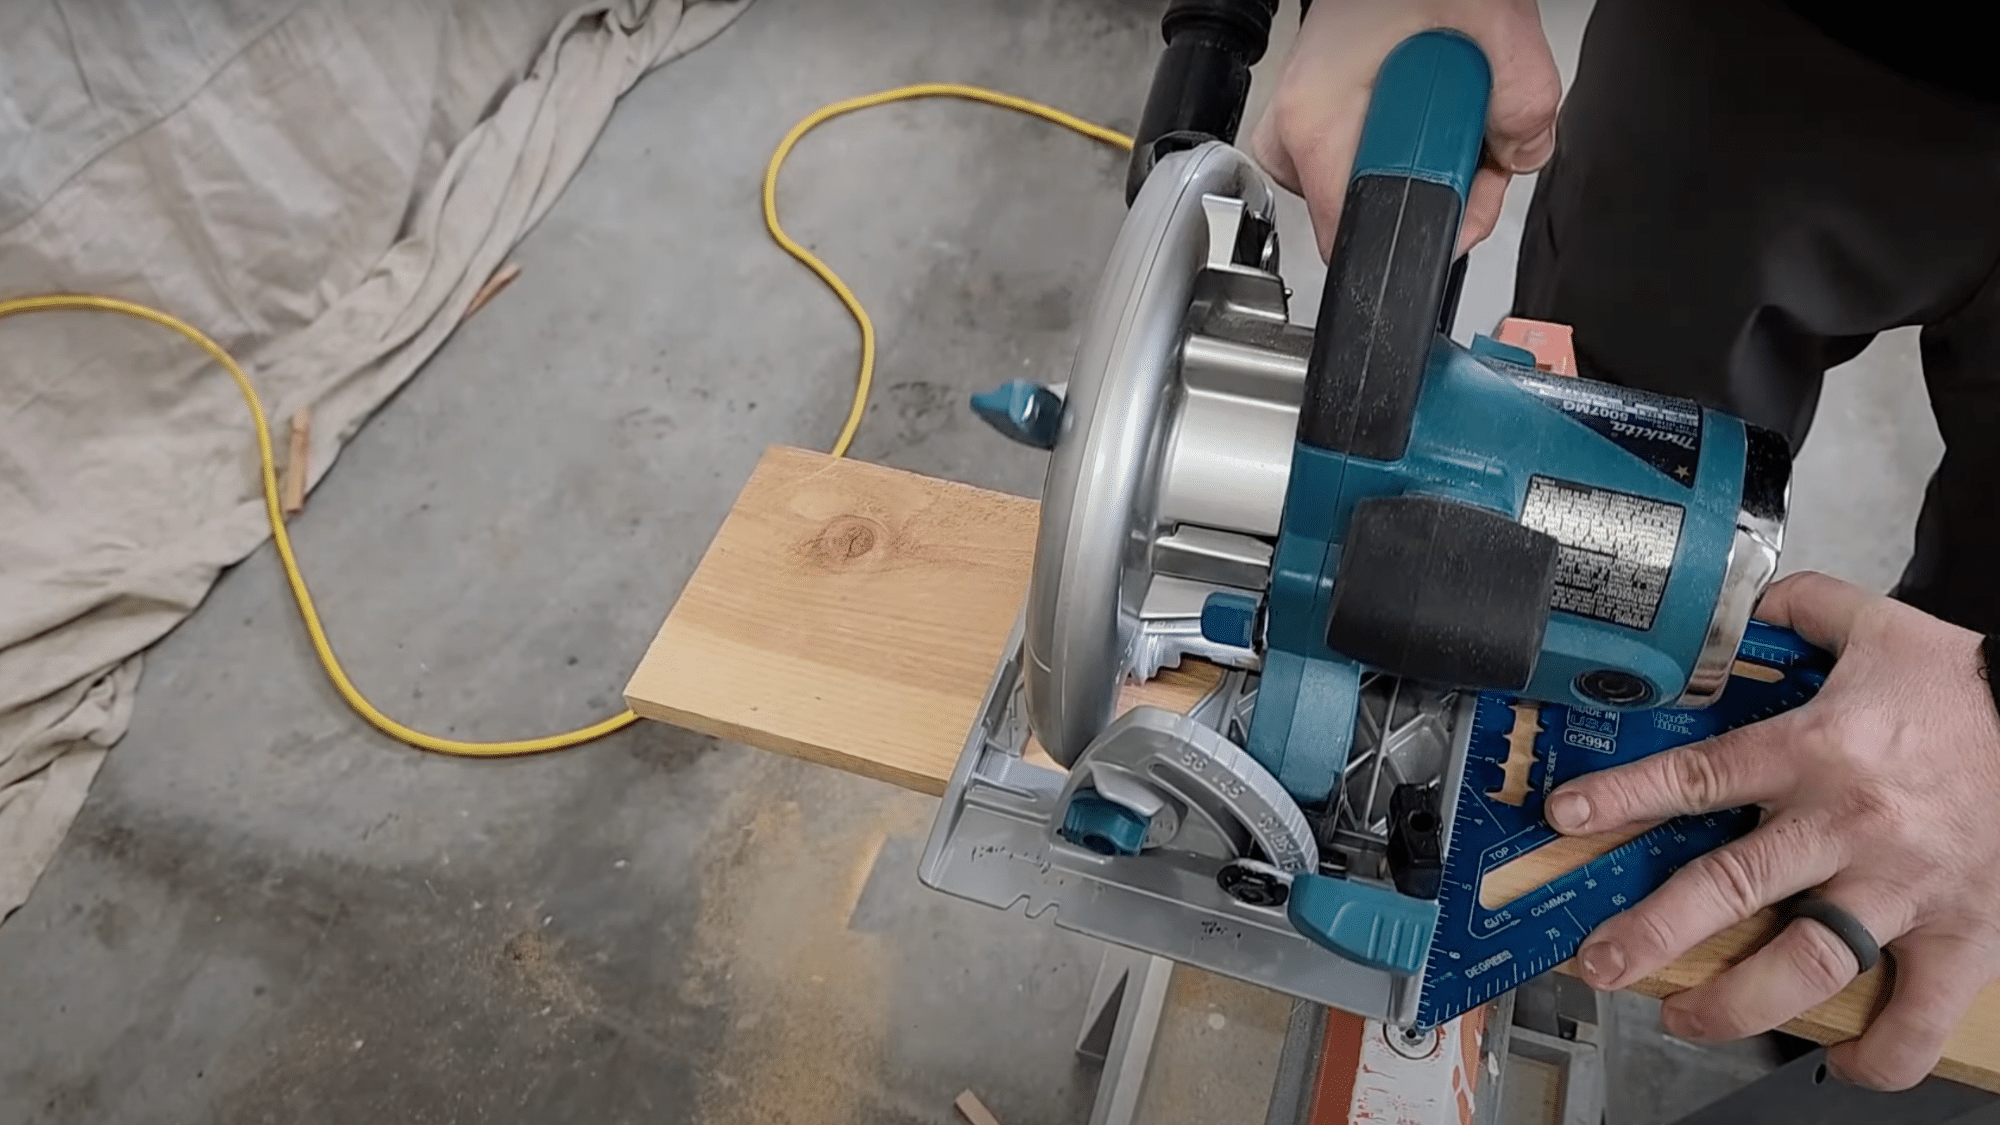
Use the circular saw with a straight-edge guide to cut all birdhouse components from your cedar picket and label each piece as you go. Rip one of the roof pieces by removing a strip equal to one board thickness to account for overlap.
Switch to the jigsaw to make the 45° roof-angle cuts on the front and back pieces and to cut the entrance hole. Do not use the circular saw for these small or angled cuts, as it’s unsafe.
Step 2: Drill the Entrance Hole
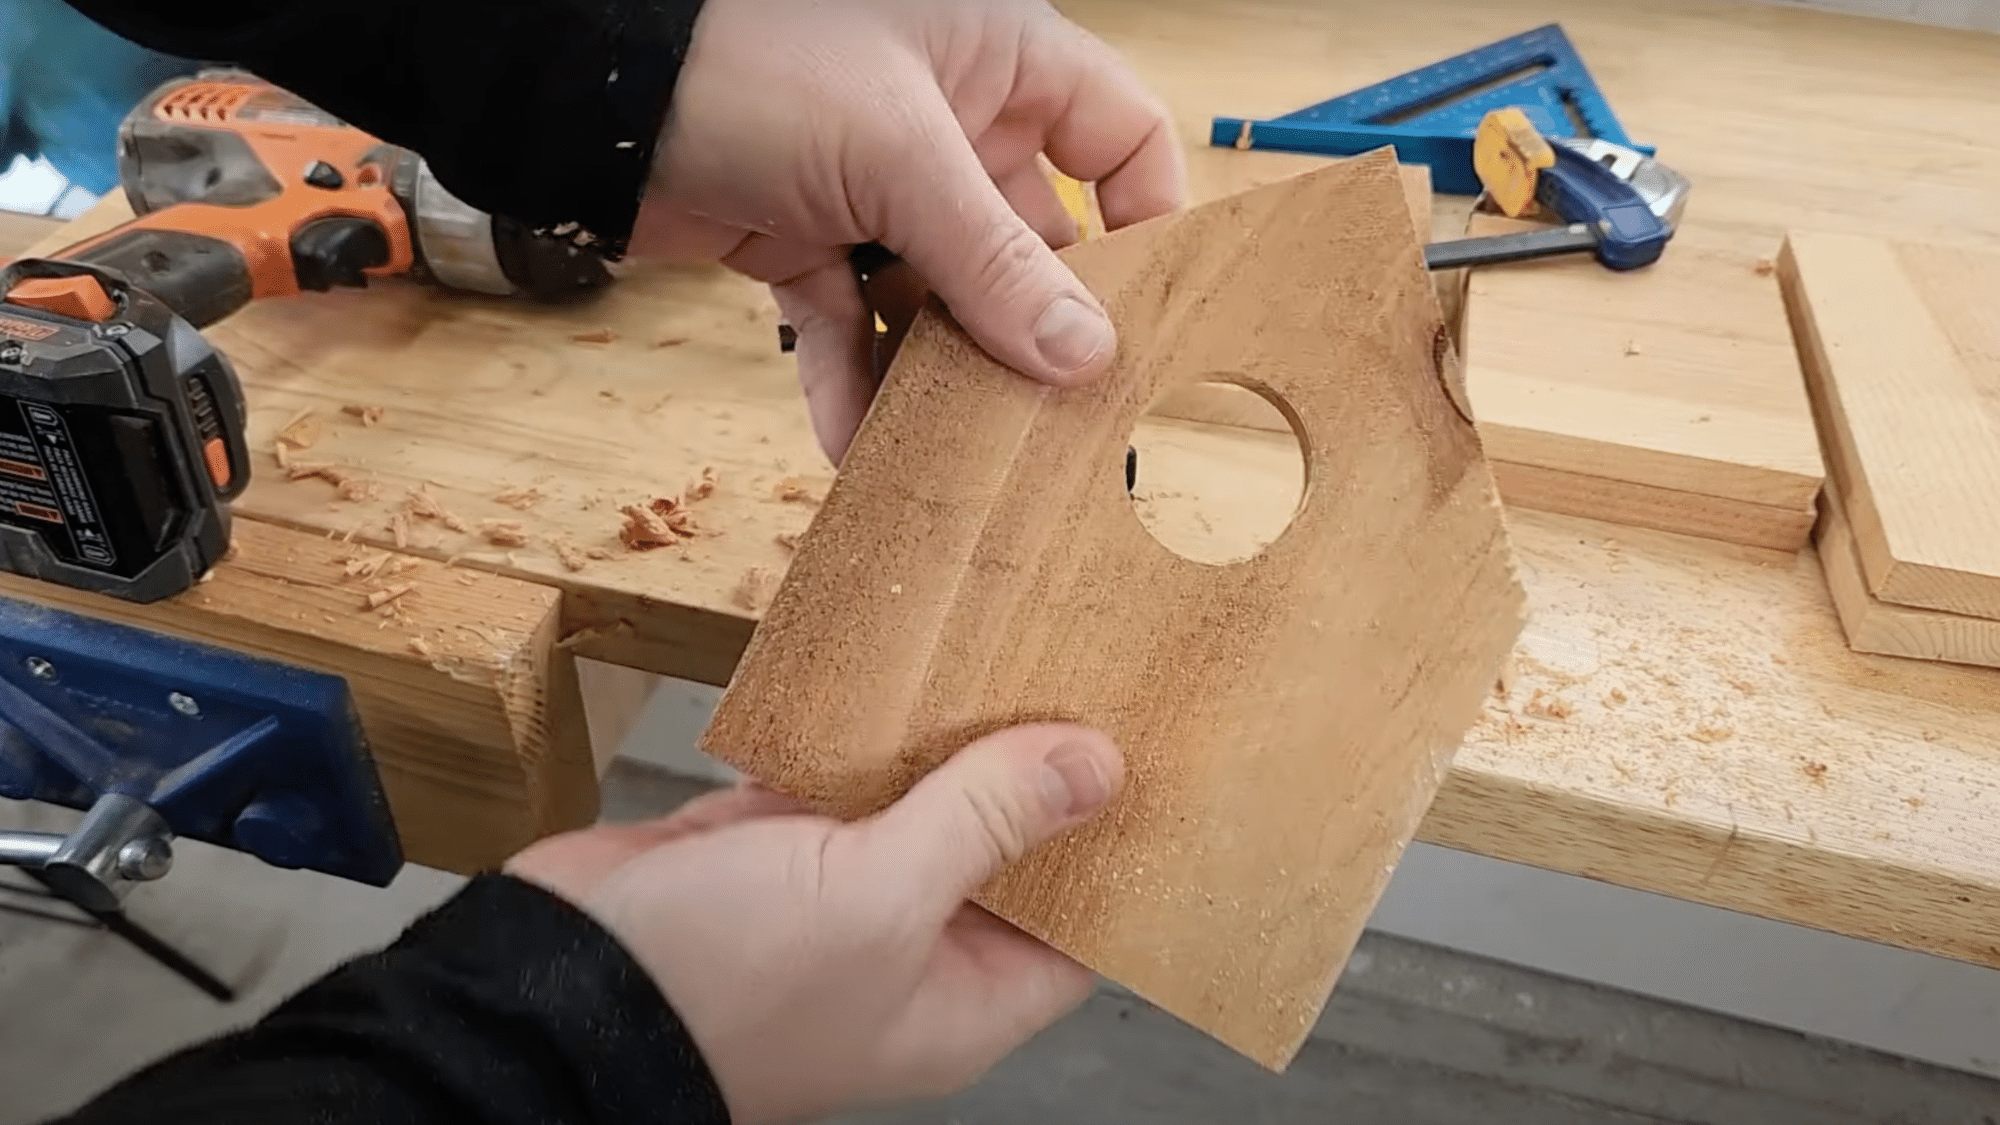
Using your 1½-inch Forstner bit or hole saw, start by drilling a small pilot hole, then cut halfway from one side and finish from the other to avoid tear-out and get a clean hole. This technique prevents splintering and creates smooth edges.
The entrance hole size is critical for attracting the right bird species while keeping larger predators out. A clean, properly sized hole also helps with proper ventilation inside the birdhouse.
Step 3: Sand & Assemble the Birdhouse
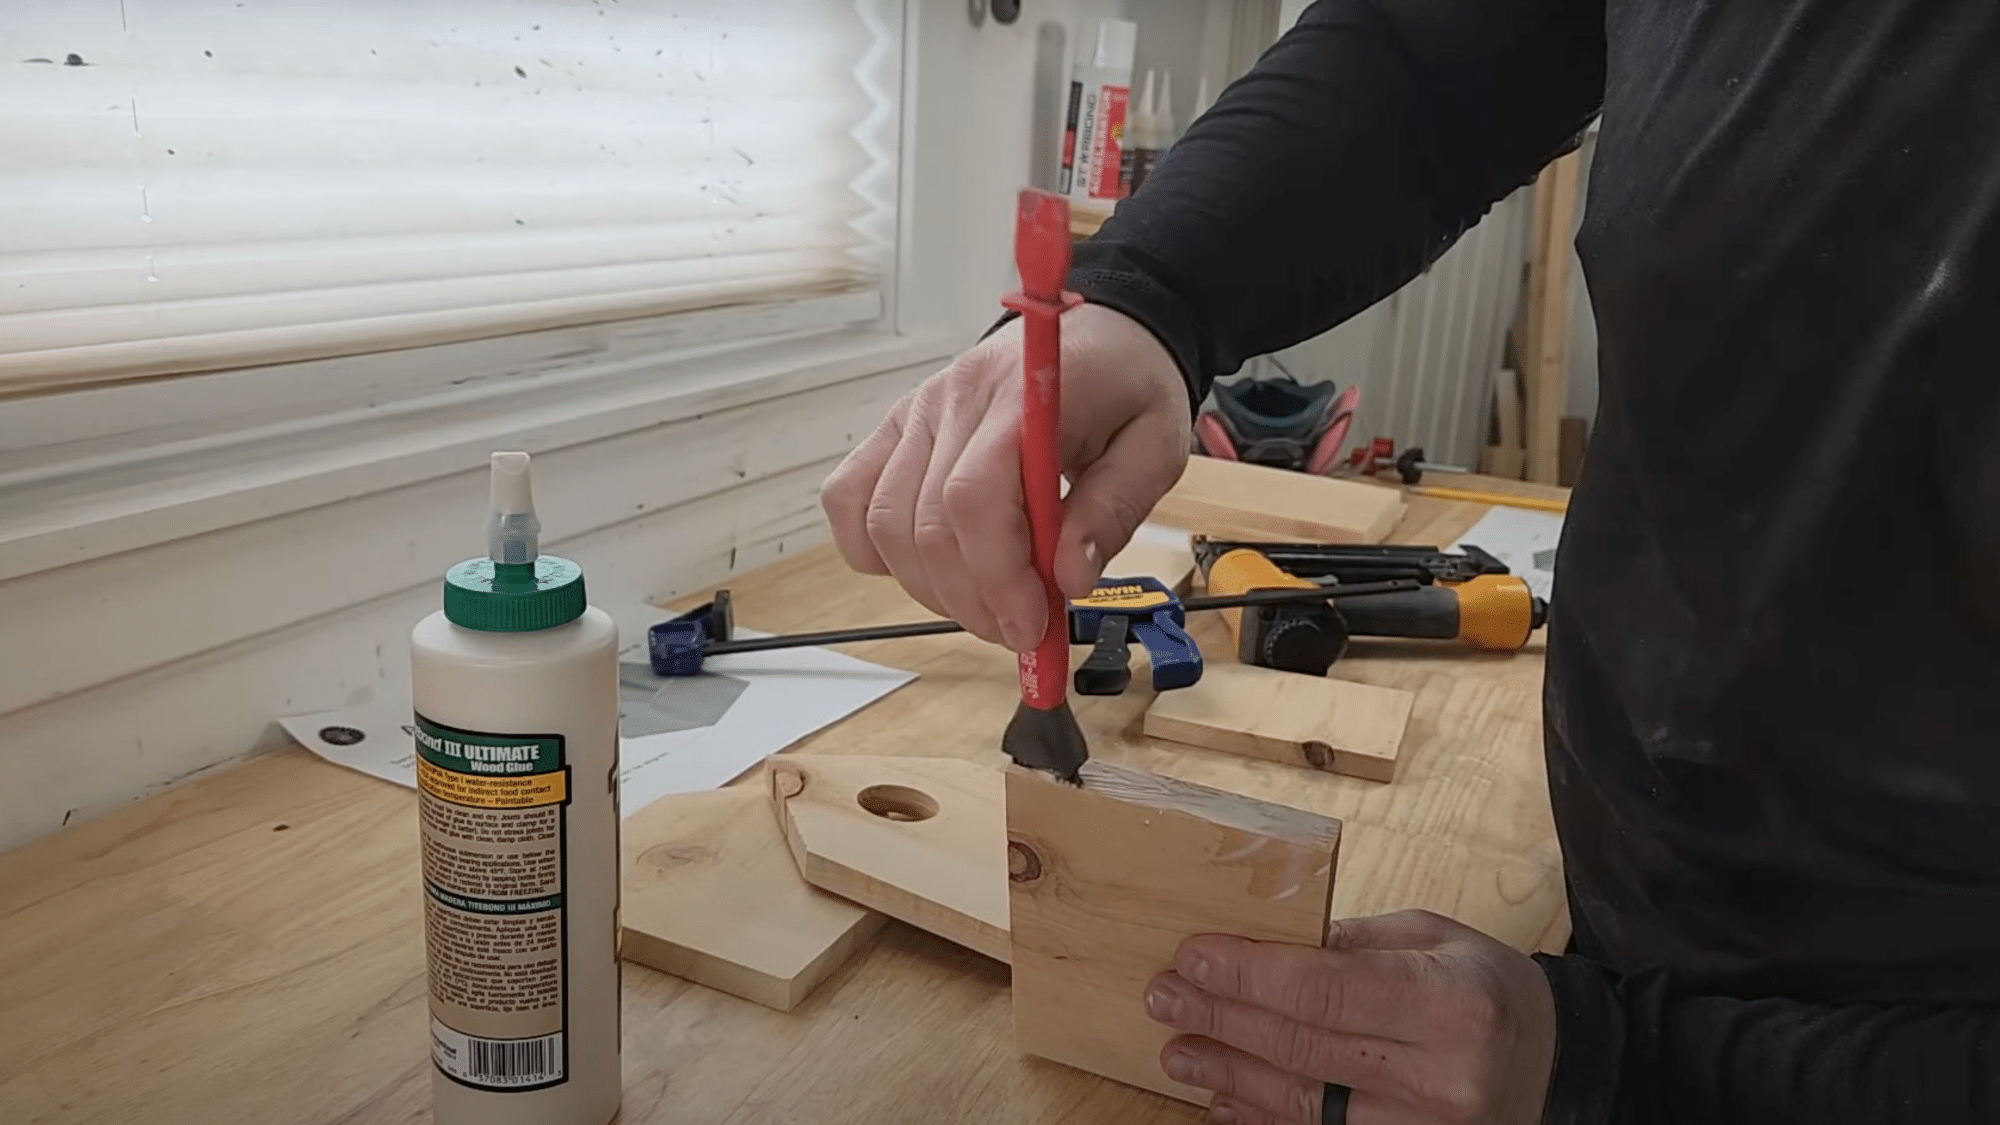
Sand all pieces before assembling, since it’s much easier than sanding after. Glue the pieces together by applying an even coat with a spreader. Use brad nails or finishing nails with screws to secure joints.
If mistakes happen with a misplaced nail, simply remove it with pliers and re-fasten correctly. Wipe off excess glue during assembly to ensure clean joints and a professional appearance.
Step 4: Set Up the Clean-Out Roof Panel
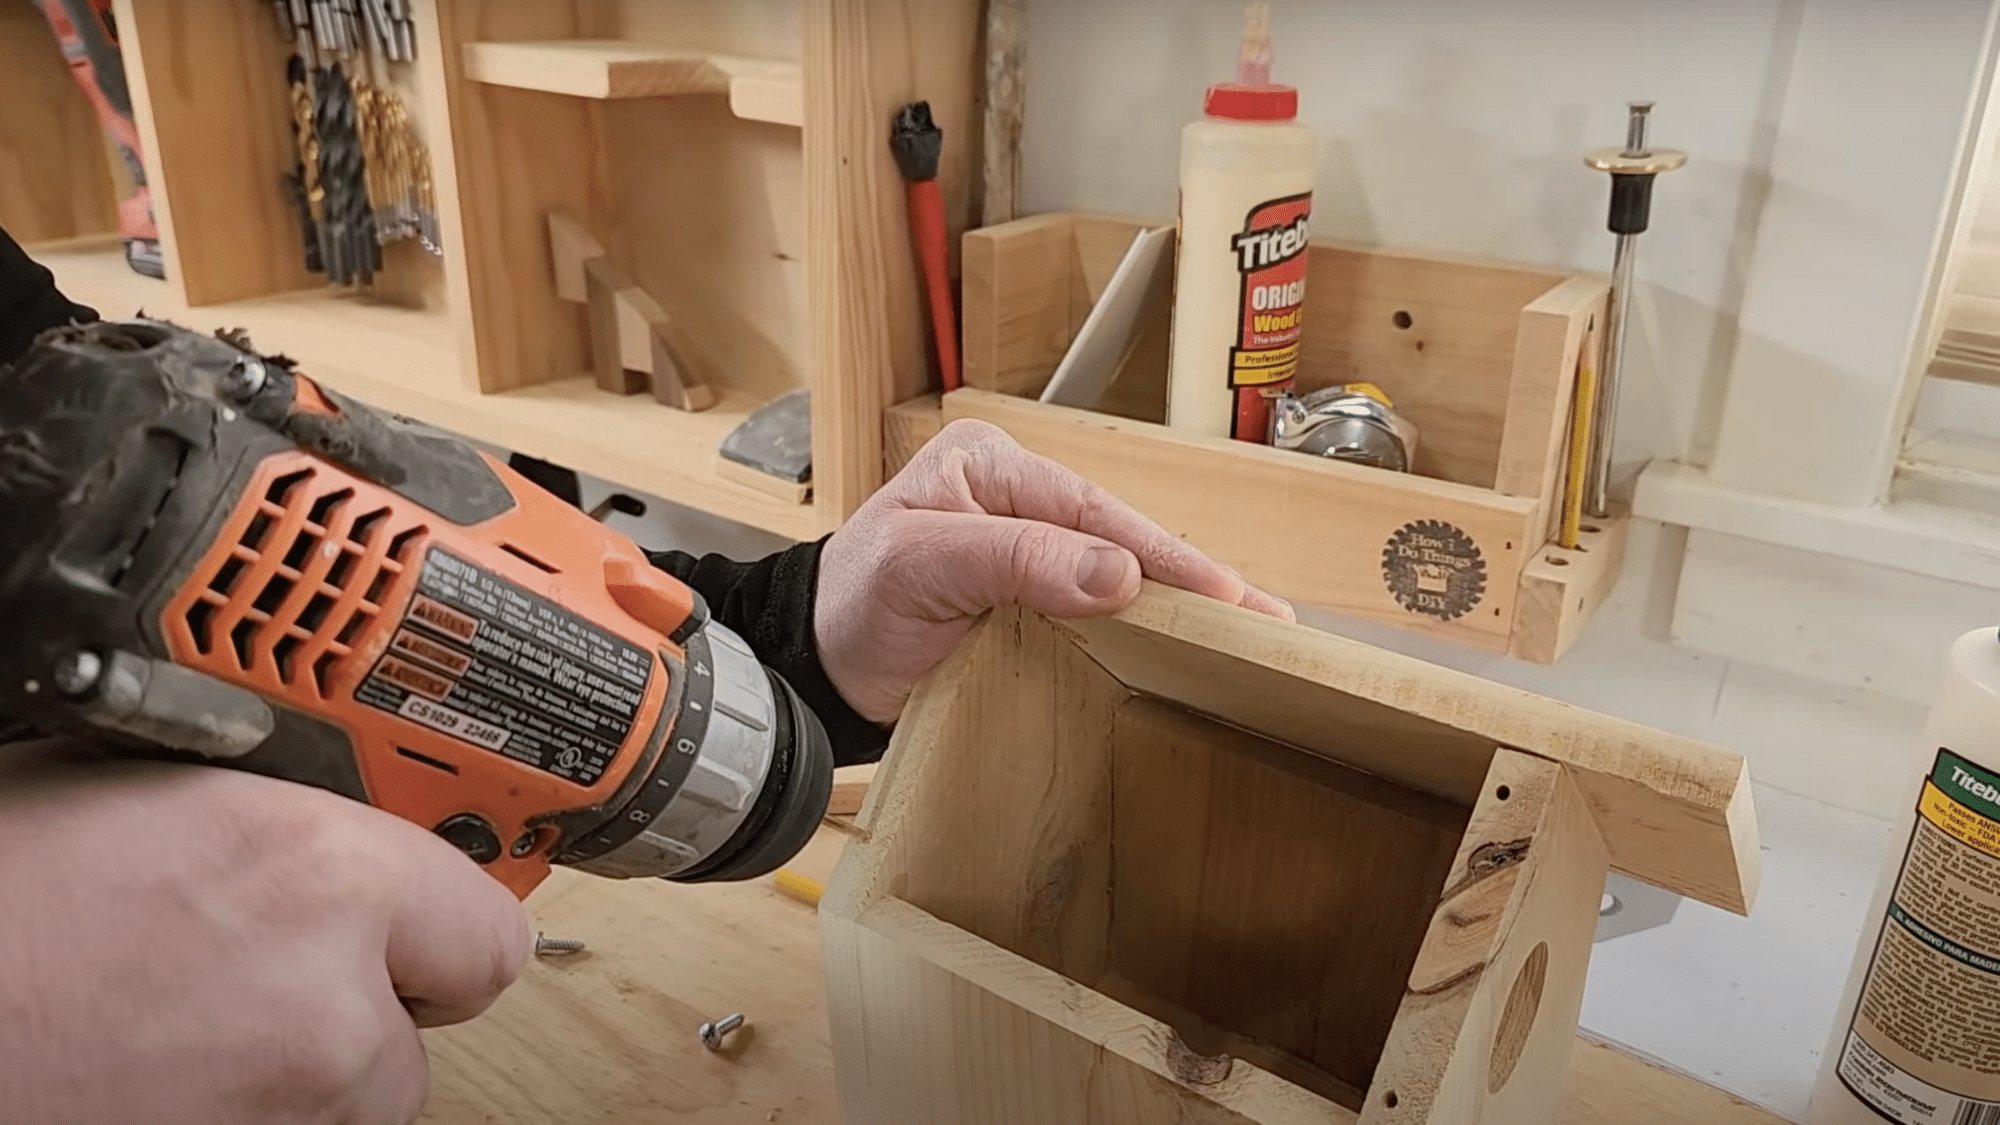
Secure the final roof panel without glue, using countersunk stainless steel screws instead. This allows future removal for cleaning. Pre-mark screw locations by using a punch to mark the holes, pre-drill, then countersink and set up the screw.
The removable panel is essential for annual maintenance and cleaning. Birds appreciate clean nesting spaces, and this feature allows easy access for seasonal upkeep.
Step 5: Fill Holes & Finish
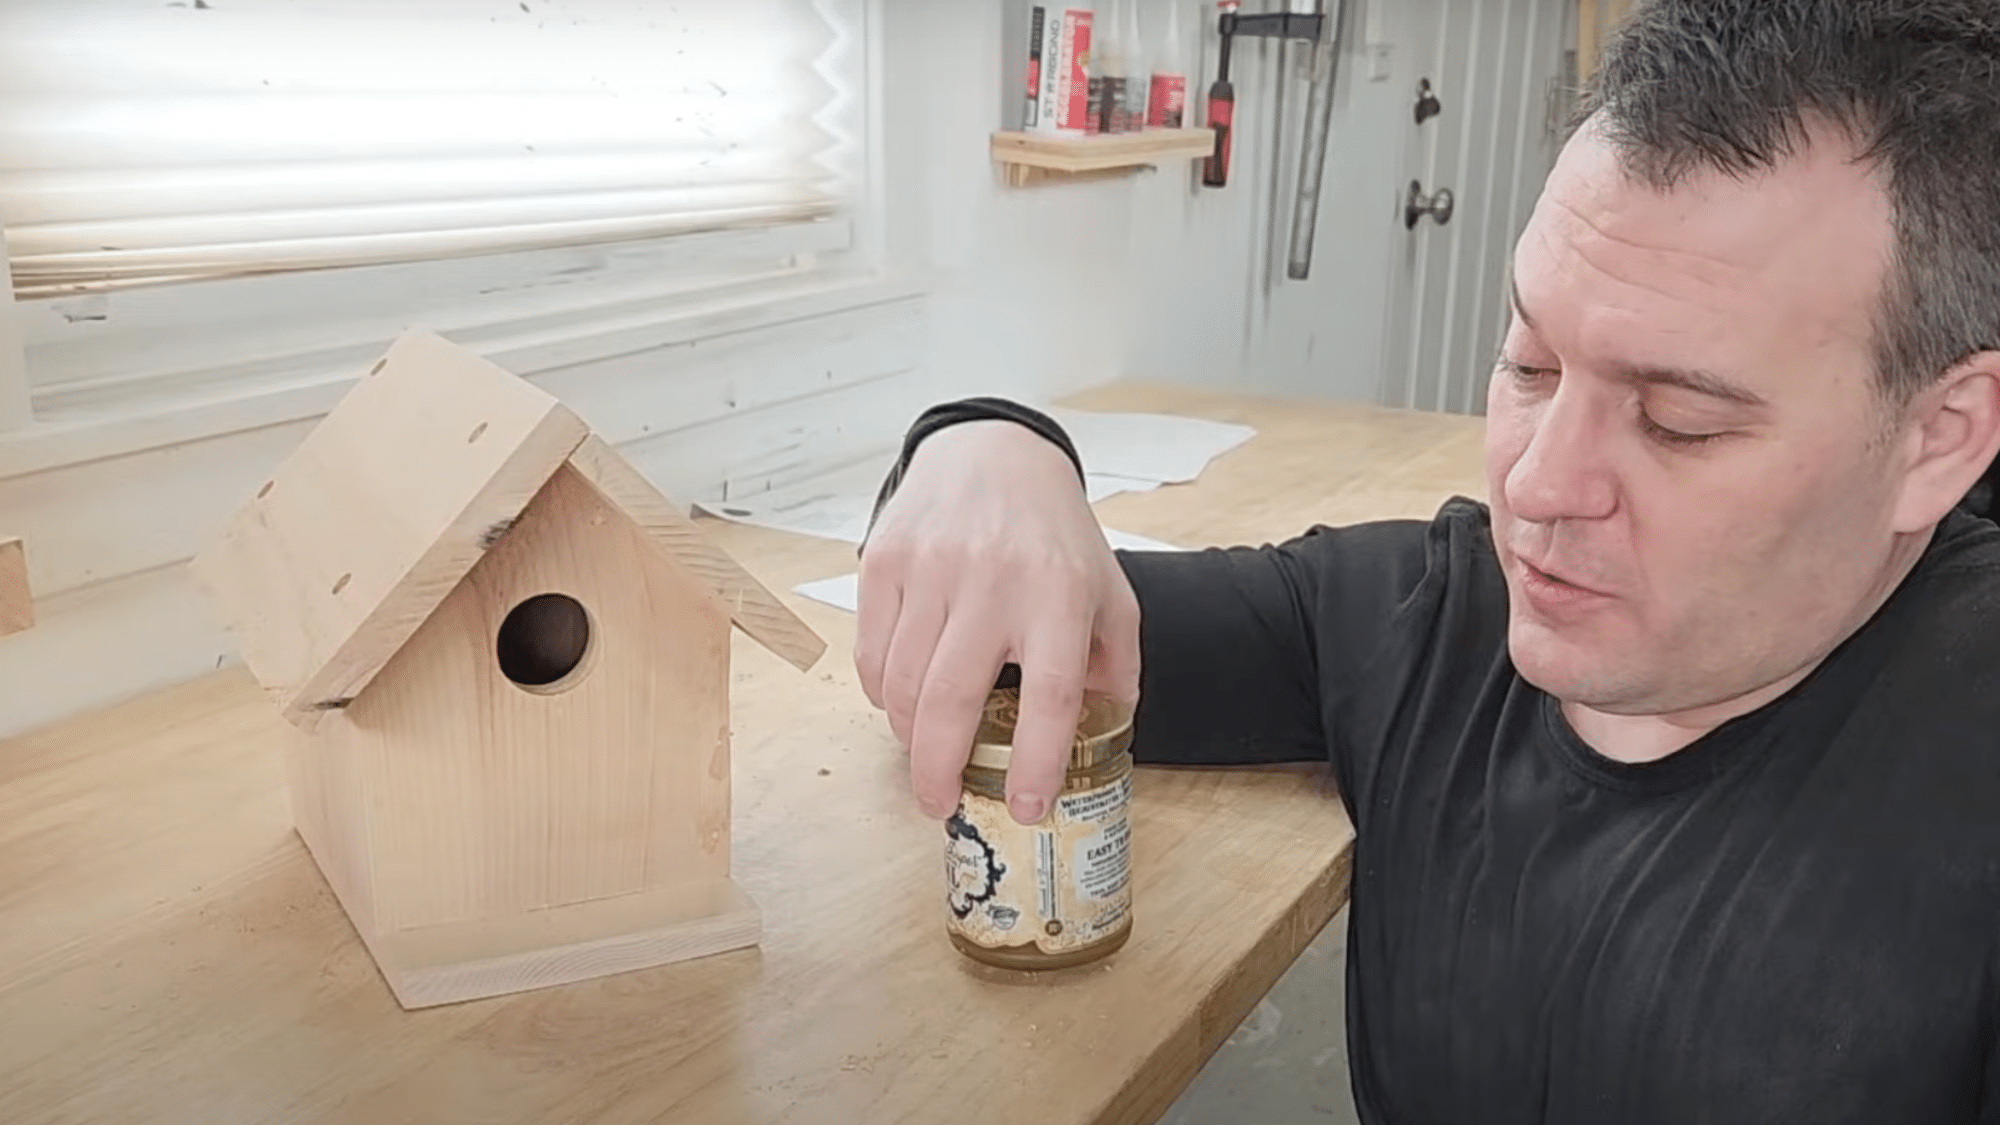
Fill fastener holes with a dab of wood glue, and once dry, sand smooth. The glue blends well with cedar. Apply a natural finish by rubbing Odie’s Oil into the surface as it improves color, protects the wood, and is bird-safe.
For mounting, either screw it directly to a pole or tree, or set up threaded eye hooks on top and hang from a branch. These finishing touches protect your birdhouse from weather damage.
Take your time with each step to ensure quality results. Once complete, you’ll have a professional-looking birdhouse that will provide years of enjoyment.
Video Tutorial
For more information, check out this video tutorial by How I Do Things DIY
Fun and Easy Birdhouse Ideas to Try
These creative approaches will inspire your next project and give you plenty of options to match your style.
- Classic Wooden Box Style: This lasting design uses simple rectangular pieces joined together. Sand the wood smooth, add a slanted roof for rain protection, and leave it natural or apply a light stain.
- Milk Carton Bird House: Kids absolutely love this project. Clean a half-gallon carton thoroughly, cut your entrance hole, and cover the outside with brown paper or paint.
- Plastic Bottle Conversion: Large detergent bottles work best for this eco-friendly option. Cut the entrance hole, add drainage holes, and decorate with natural materials like twine or bark.
- Teapot or Clay Pot Design: Old teapots make whimsical birdhouses – simply plug the spout and use it as the entrance. Clay pots can be turned sideways with the drainage hole as the door.
- Natural Log Style: If you have access to fallen branches or logs, hollow out a section to create an incredibly natural-looking home. This takes more effort but produces beautiful results.
Each of these ideas offers something different, so you can choose based on your available materials and skill level.
Once your birdhouse is complete, proper placement makes all the difference.
DIY Bird Houses on a Budget: Smart Tips for Affordable Builds
Building a beautiful birdhouse doesn’t have to cost much or require fancy tools. You can create safe, sturdy homes for birds using materials that cost very little.
Here are practical ways to cut costs while still building something safe and sturdy for birds:
1. Use What You Already Have
Old fence pickets, pallet wood, or leftover lumber scraps work perfectly for creating solid birdhouse foundations. Food packaging like milk cartons, oatmeal tubs, or coffee cans can be changed with a bit of creativity into charming bird homes.
2. Keep Tools Simple
A hand saw, hammer, and nails are enough for most wooden designs that will last for years. For carton or bottle houses, scissors or a craft knife will do the trick and make the project accessible for kids.
3. Skip Fancy Hardware
Instead of buying specialty hinges, create a removable panel with screws you already have lying around. Small finishing nails or even strong glue can often be substituted for brad nails without compromising structural integrity.
4. Choose Natural, Safe Finishes
Avoid toxic paints or stains since birds may peck at surfaces during their daily activities. Natural oils like linseed or tung oil, or simply leaving wood unfinished, keeps it bird-friendly and saves money.
5. Decorate with Nature
Use twigs, bark, or pinecones for decoration instead of buying craft supplies from the store. This not only saves money but also helps the birdhouse blend into your garden naturally.
These budget-friendly approaches prove that creating bird homes doesn’t require significant investment. Smart material choices and simple techniques can produce results that rival expensive store-bought options.
Setting Up Your Bird House for Success
Location determines whether birds will actually use your creation. Mount houses 4-6 feet high for most species. Choose spots that offer morning sun but afternoon shade to keep the interior comfortable.
Face the entrance hole away from prevailing winds and driving rain. Southeast or east-facing directions work well in most areas. Ensure cats and other predators can’t easily reach the house by placing it away from low branches or fences.
Maintenance keeps your birdhouse safe and attractive to residents. Each fall, clean out old nesting materials and check for damage. A simple brush and mild soap solution work perfectly for cleaning.
These simple steps ensure your birdhouse provides a safe, welcoming home for years to come.
Start Your Bird House Project Today
Creating DIY bird houses combines creativity, environmental consciousness, and budget-friendly fun into one rewarding project.
Whether you choose a simple milk carton design for a weekend family activity or tackle a more ambitious wooden creation, you’re contributing to local wildlife while developing new skills.
The satisfaction of watching birds find and move into your handmade creation is truly special. These birdhouse ideas work for any skill level and budget, proving that meaningful projects don’t require expensive materials or professional tools.
Why not start with one of these designs this weekend and see what feathered friends you can attract to your yard? Share photos of your finished birdhouse and inspire others to join this wonderful hobby!