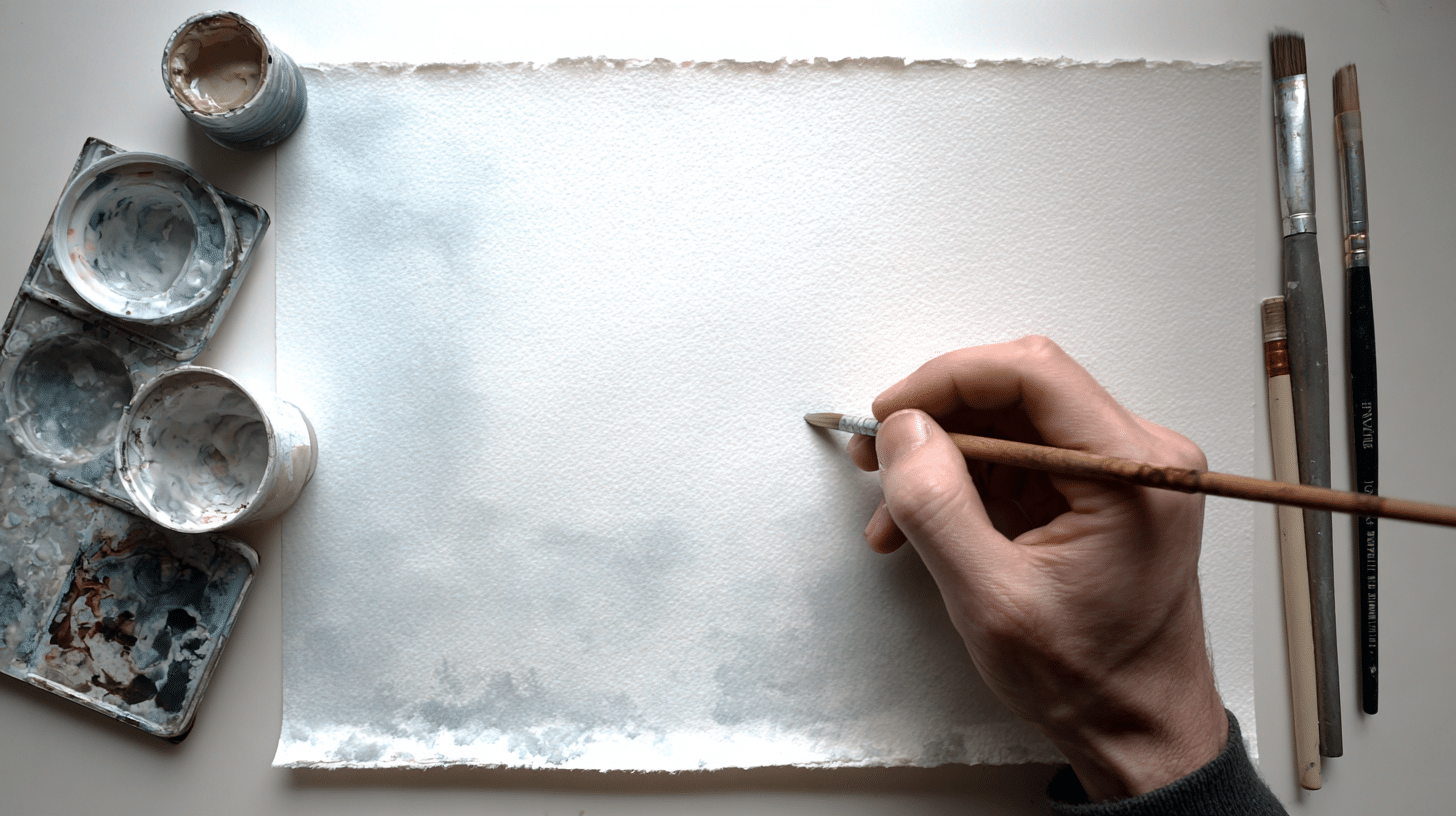
Ever seen a watercolor painting and thought, “I could never do that”? You can!
Watercolors are fun and easy to learn with the right tips.
In this blog, you will find basic techniques, like washes and fun textures.
Each one is broken down into clear, step-by-step instructions, making it easy to follow, even for beginners.
Grab your paints and let’s get started!
1. Wet-on-Wet
This technique is all about soft and dreamy blends.
Begin by wetting your paper with clean water using a brush or spray bottle. At the same time, the paper is still shiny, dab or stroke watercolor paint onto it.
The colors will flow and blend naturally, creating fuzzy edges and seamless transitions that are perfect for skies, backgrounds, or abstract art.
Don’t worry if it looks a little wild at first, that’s the magic of wet-on-wet!
Tip: Use thicker watercolor paper to prevent warping, since this technique uses plenty of water. Tape your paper edges for even drying and less buckling.
2. Wet-on-Dry
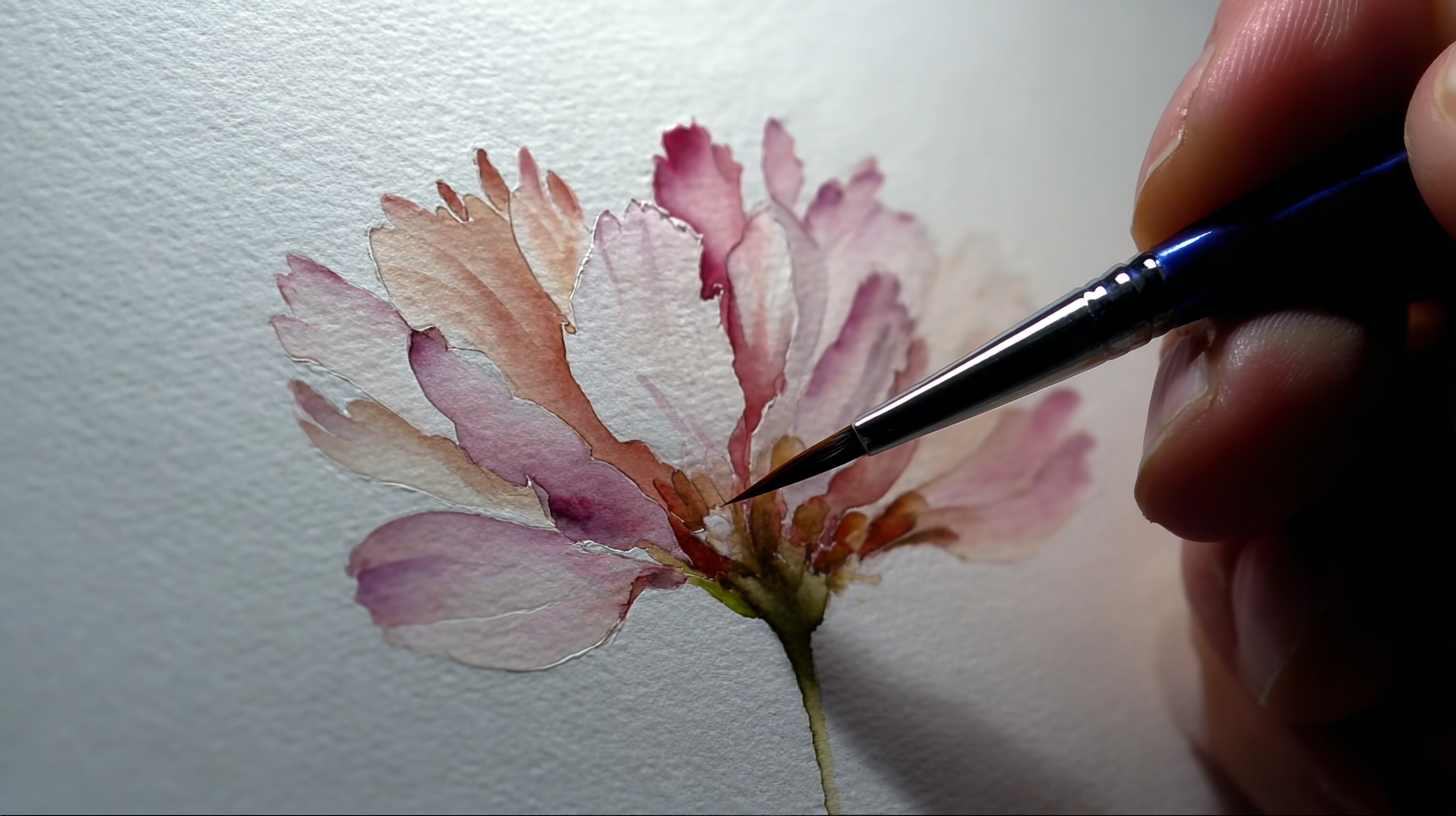
For crisp edges and more control, use wet-on-dry. Just load your brush with wet paint and paint directly on dry paper.
You will get clean, defined shapes, awesome for painting details, sharp lines, or patterned designs.
Try outlining objects or painting individual leaves, and watch how the shapes stay nice and sharp.
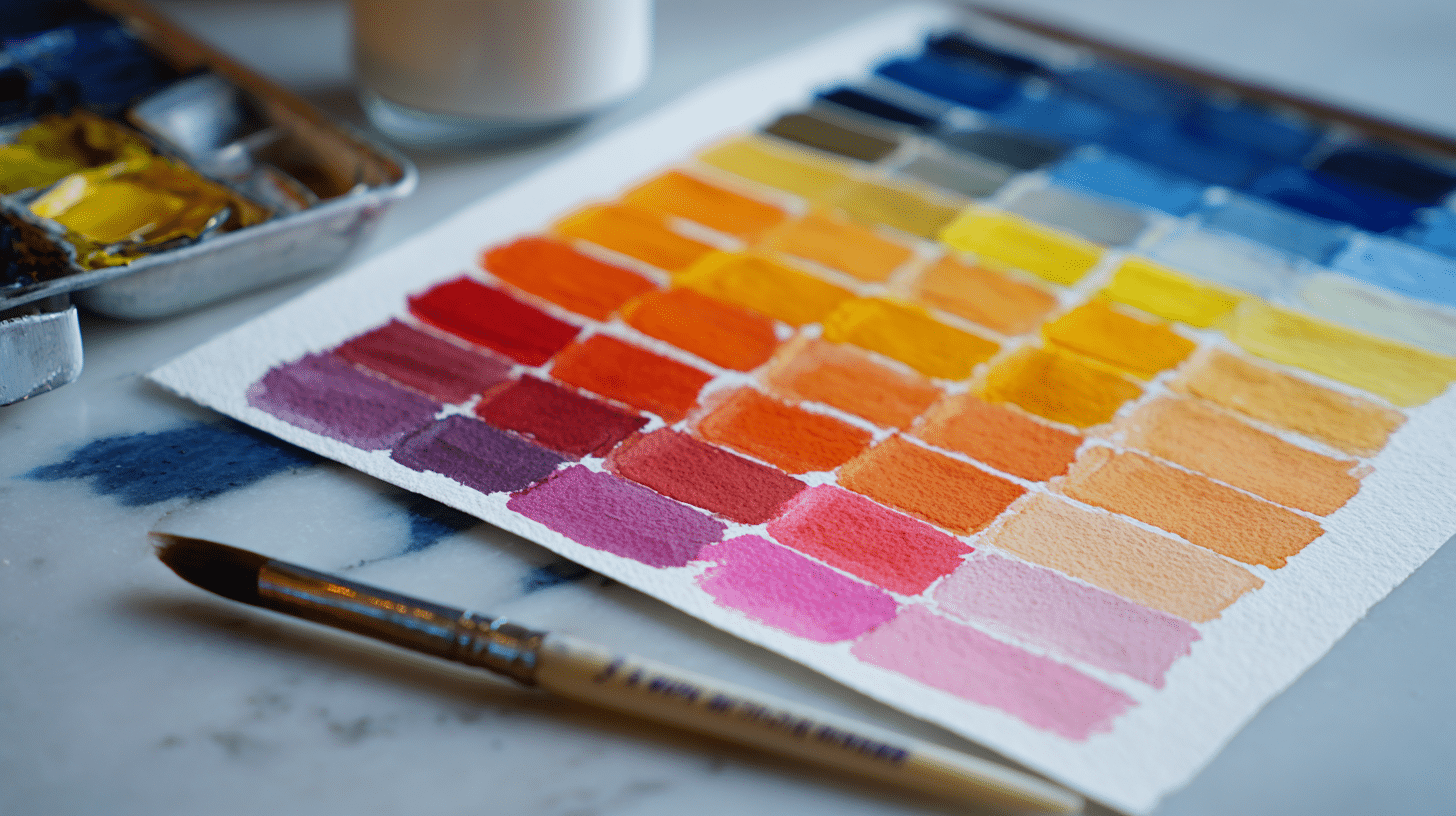
Tip: Pre-mix your colors on the palette to achieve the desired vibrancy. Colors appear more vibrant on dry paper, so test a swatch first.
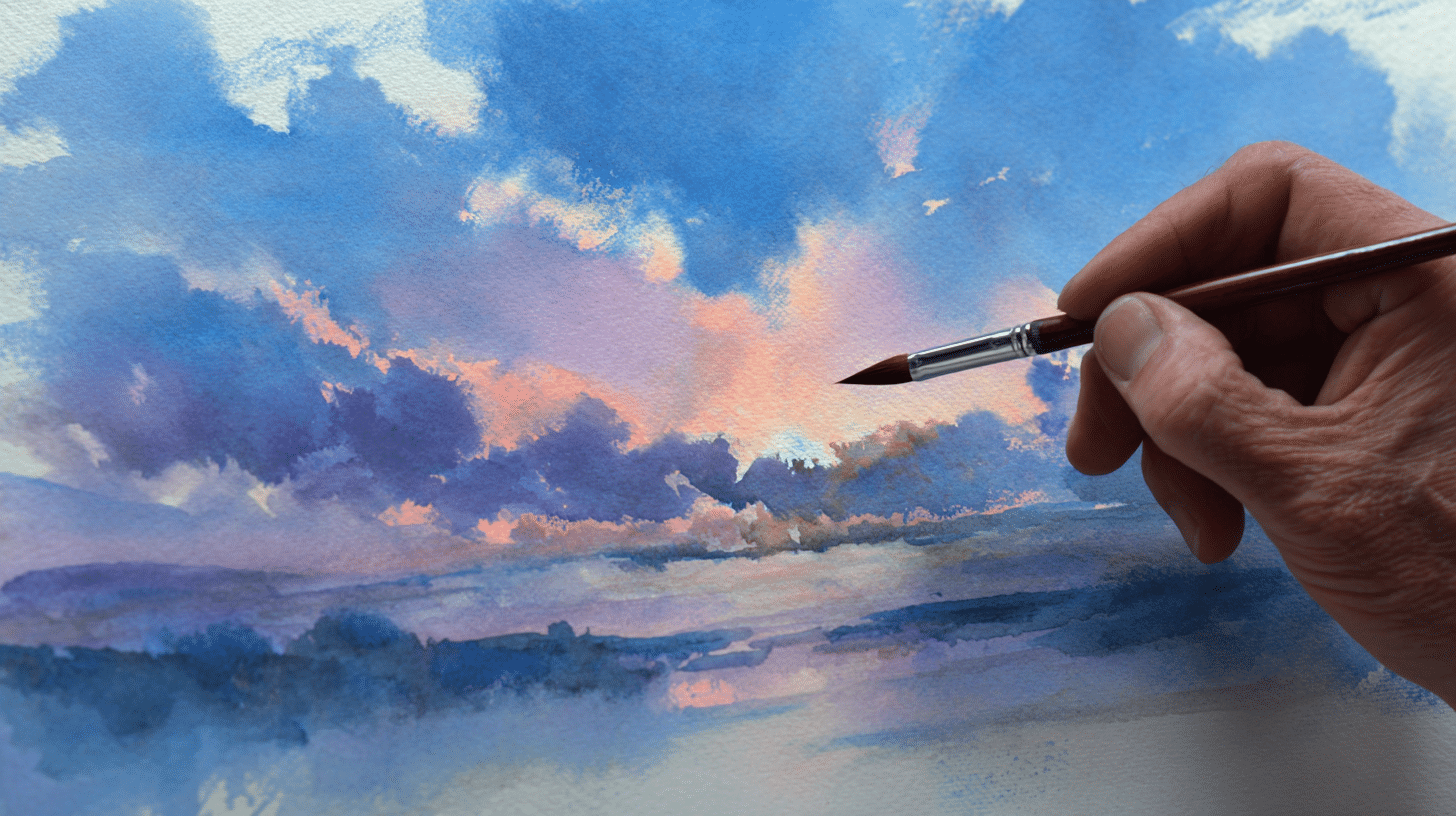
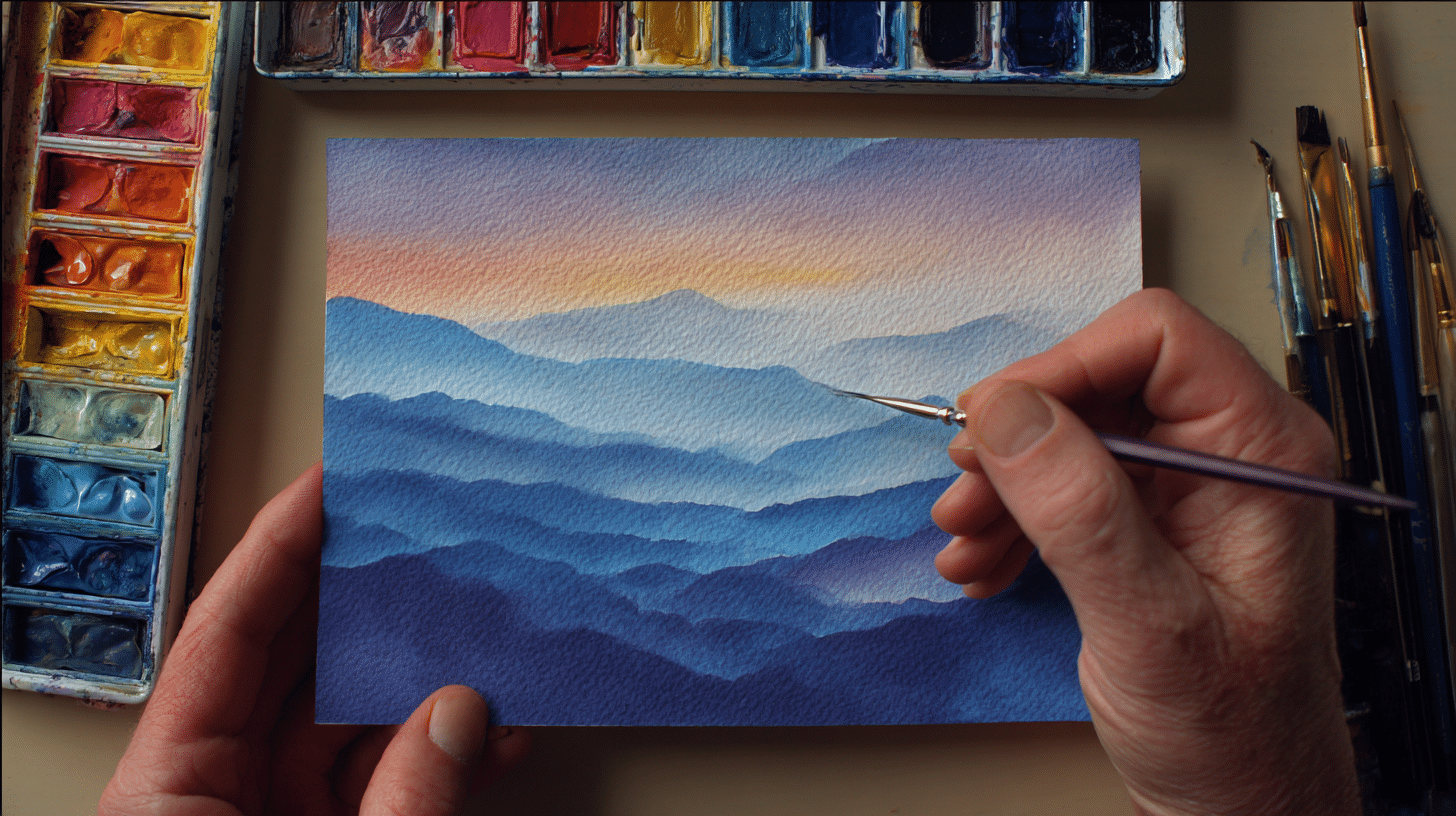
3. Graded Wash
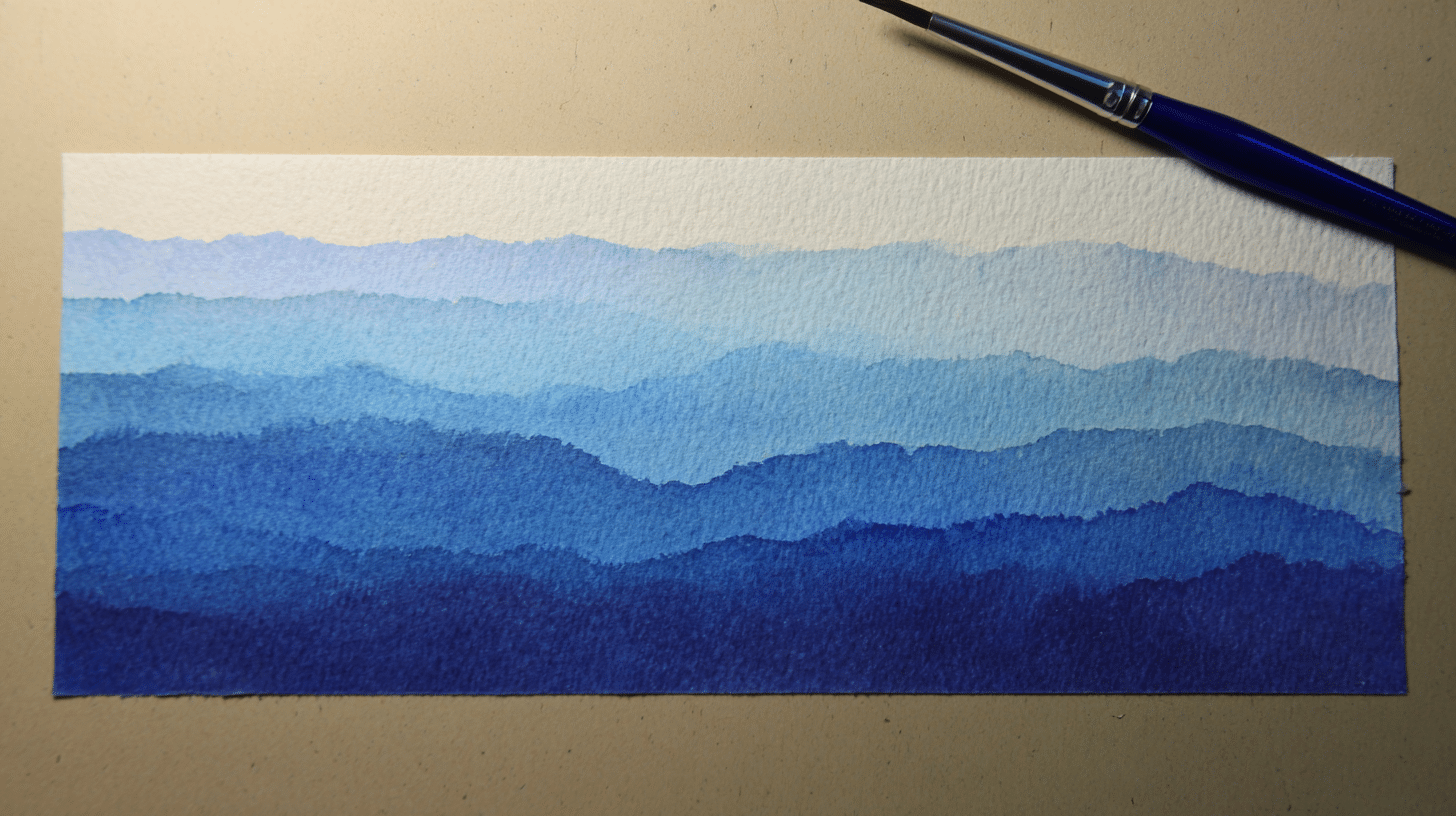
A graded wash gives you a beautiful gradient.
Start at the top of your page with a brush full of strong, wet color.
As you move down the page, rinse your brush and use clean water to keep pulling the color down, fading it gently.
This technique is perfect for things like sunrise skies, ocean depth, or anytime you want a color that weakens softly as it travels.
Tip: Tilt your board at an angle to let gravity help the pigment naturally flow downward and achieve a smoother, streak-free gradient.
4. Flat Wash
If you want a single, even block of color, try a flat wash.
Load your brush with plenty of paint and water, then make broad, side-by-side strokes across the paper.
Carefully move down the page so each row connects with the last, keeping a wet edge so you don’t get lines.
This is great for painting backgrounds or large shapes like fields and skies.
Tip: Keep a bead of wet paint at the edge of each stroke as you go across the paper; this prevents harsh lines and keeps the wash smooth.
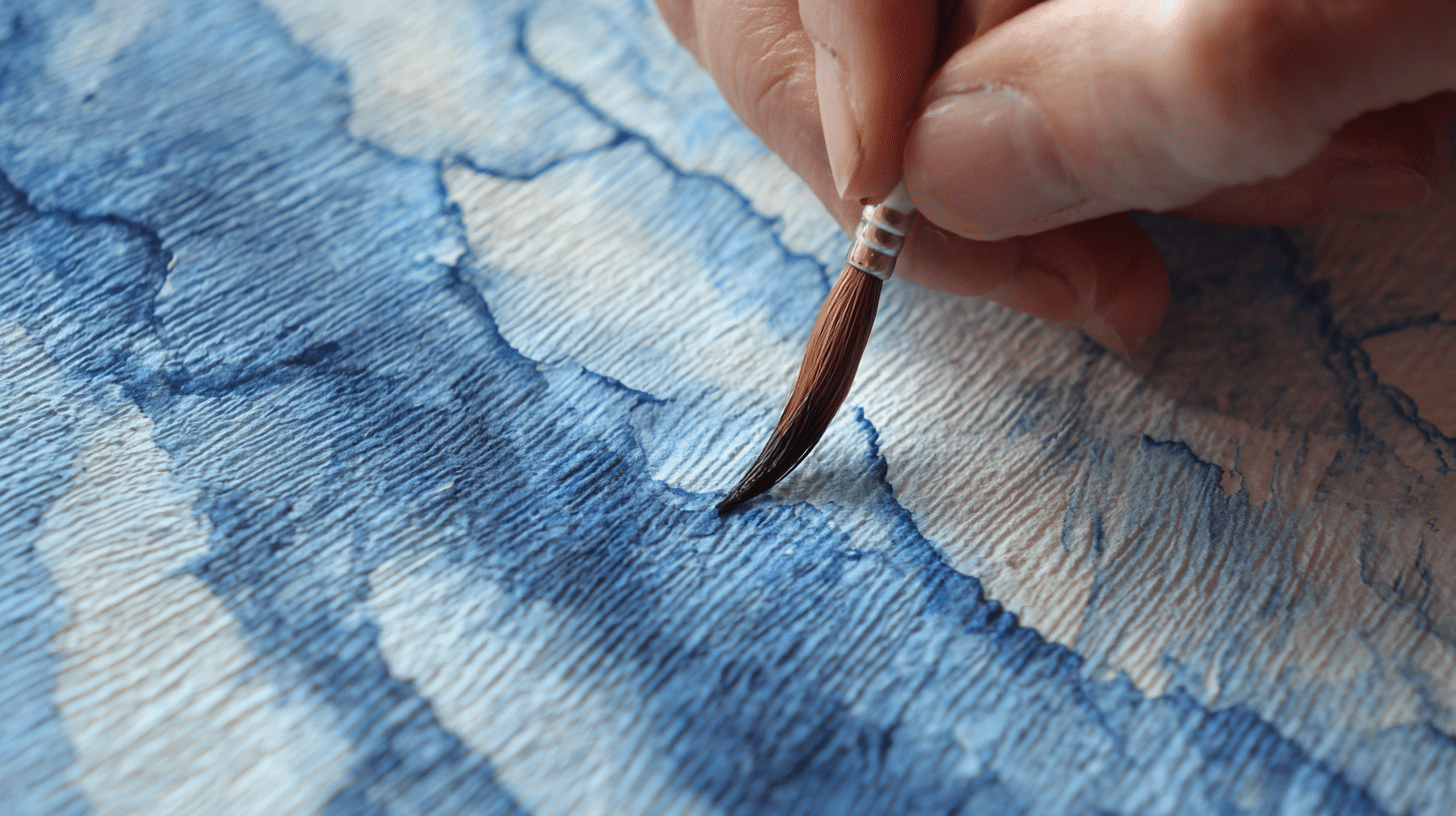
5. Lifting Off
Ever make a mistake or crave some highlights? “Lifting” is your friend.
Color paint, then, while it’s still wet, use a clean, damp brush or a bit of tissue to gently blot and remove some of the color.
This allows you to create lighter spots, which are helpful for clouds, sun reflections, or fixing small imperfections.
Tip: For more control, use a clean, slightly damp synthetic brush when lifting color. Natural sponges also work well for larger areas.
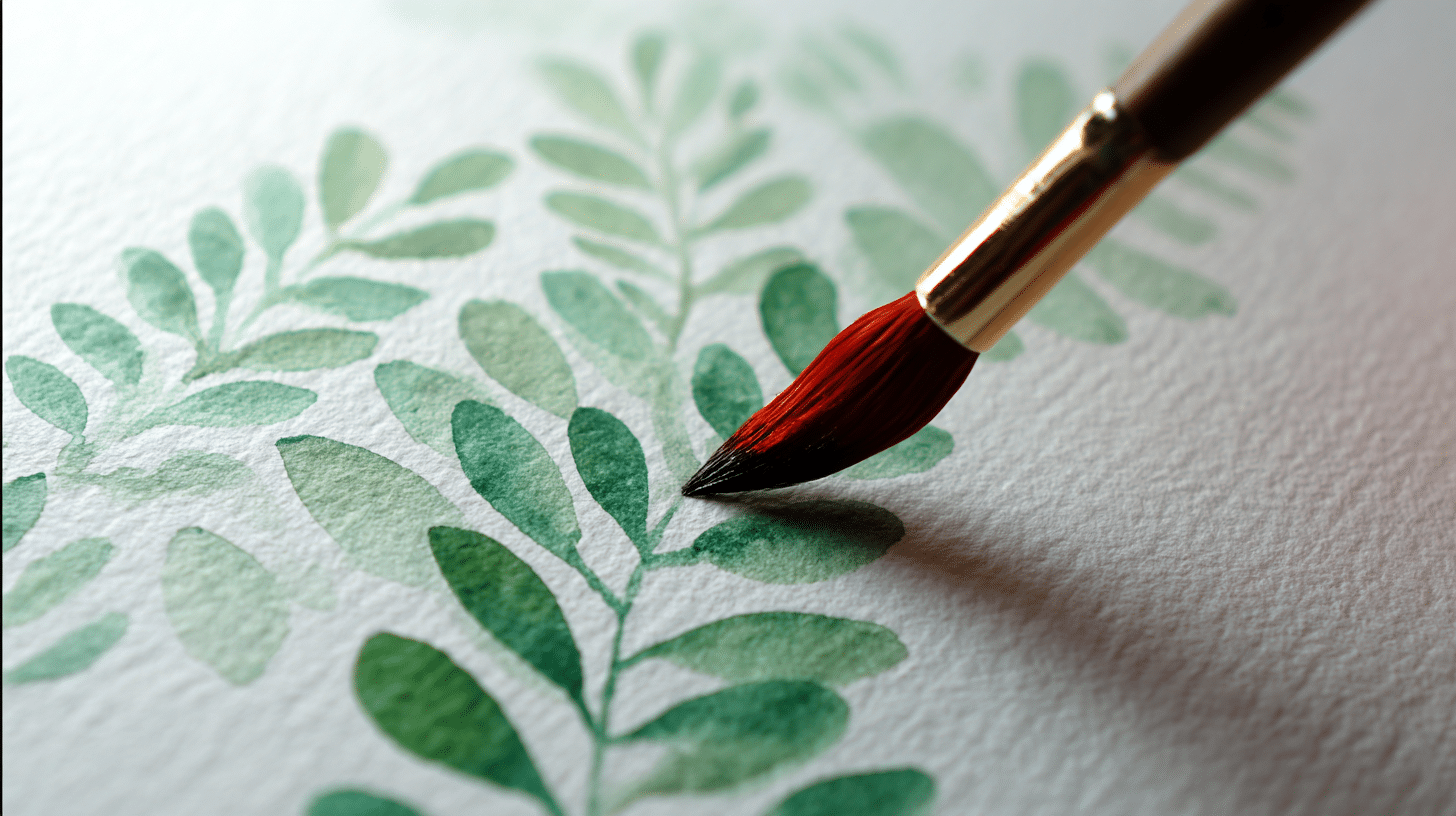
6. Dry Brush

Want texture? Take most of the water out of your brush, just pick up paint.
On dry paper, drag your brush lightly so the bristles create a rough, uneven line.
This “dry brush” effect works beautifully for rough tree bark, animal fur, grasses, or adding rustic texture to rocks and soil.
Tip: Use rough or cold-pressed paper for maximum texture and that scratchy, broken line effect that’s perfect for grasses, fur, or aged wood.
7. Layering/Glazing
Watercolors are famous for their transparent quality.
To build up richness and depth, first paint a shape or background and let it dry completely.
Then paint over that area with a new, light layer of color.
You will see through to the earlier layers, producing lovely, luminous effects. This is called glazing.
It’s excellent for shadows, adding richness, or adjusting colors gradually.
Tip: Let each layer dry thoroughly to avoid muddying colors and to keep glazes clear.
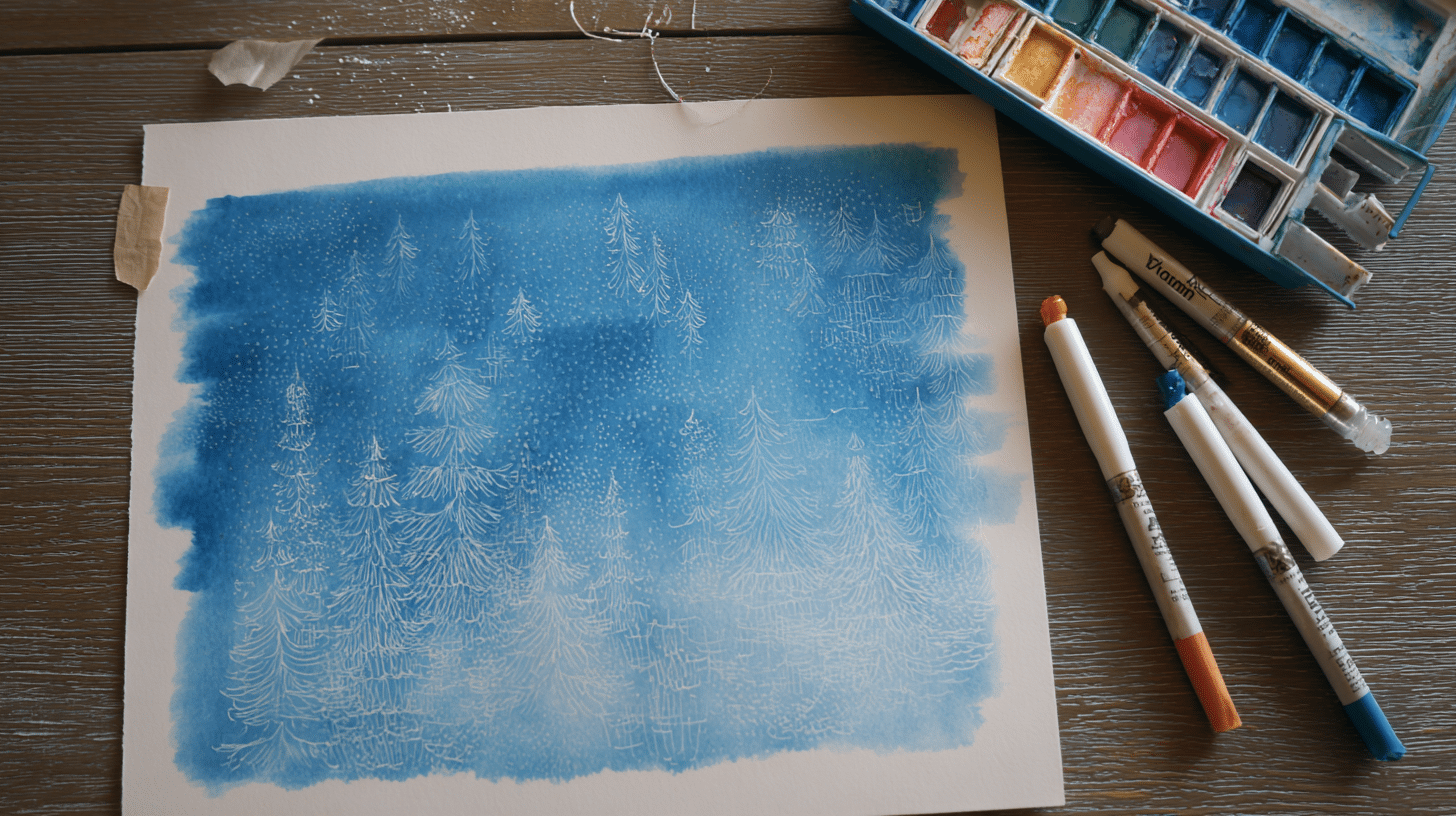
8. Salt Texture
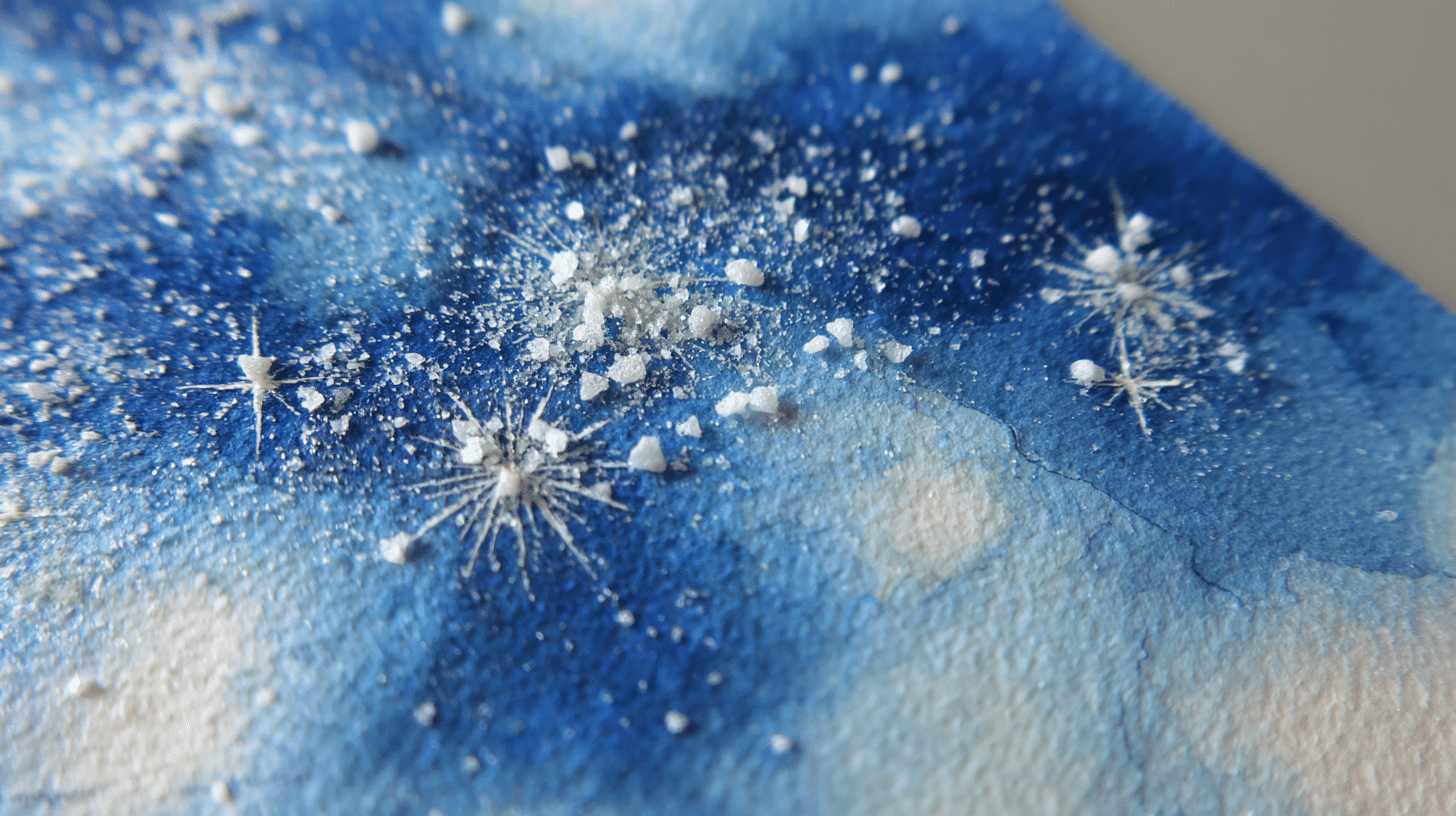
For a truly magical moment, sprinkle ordinary salt onto a wet, painted area.
The salt absorbs both water and pigment, leaving behind shiny, sparkly crystal patterns as the paper dries.
Let the paint dry thoroughly, then gently brush away the salt for an out-of-this-world texture, ideal for stars, snow, or textured backgrounds.
Tip: Try using different grinds of salt; coarse salt creates bigger starbursts, while fine table salt makes subtler patterns.
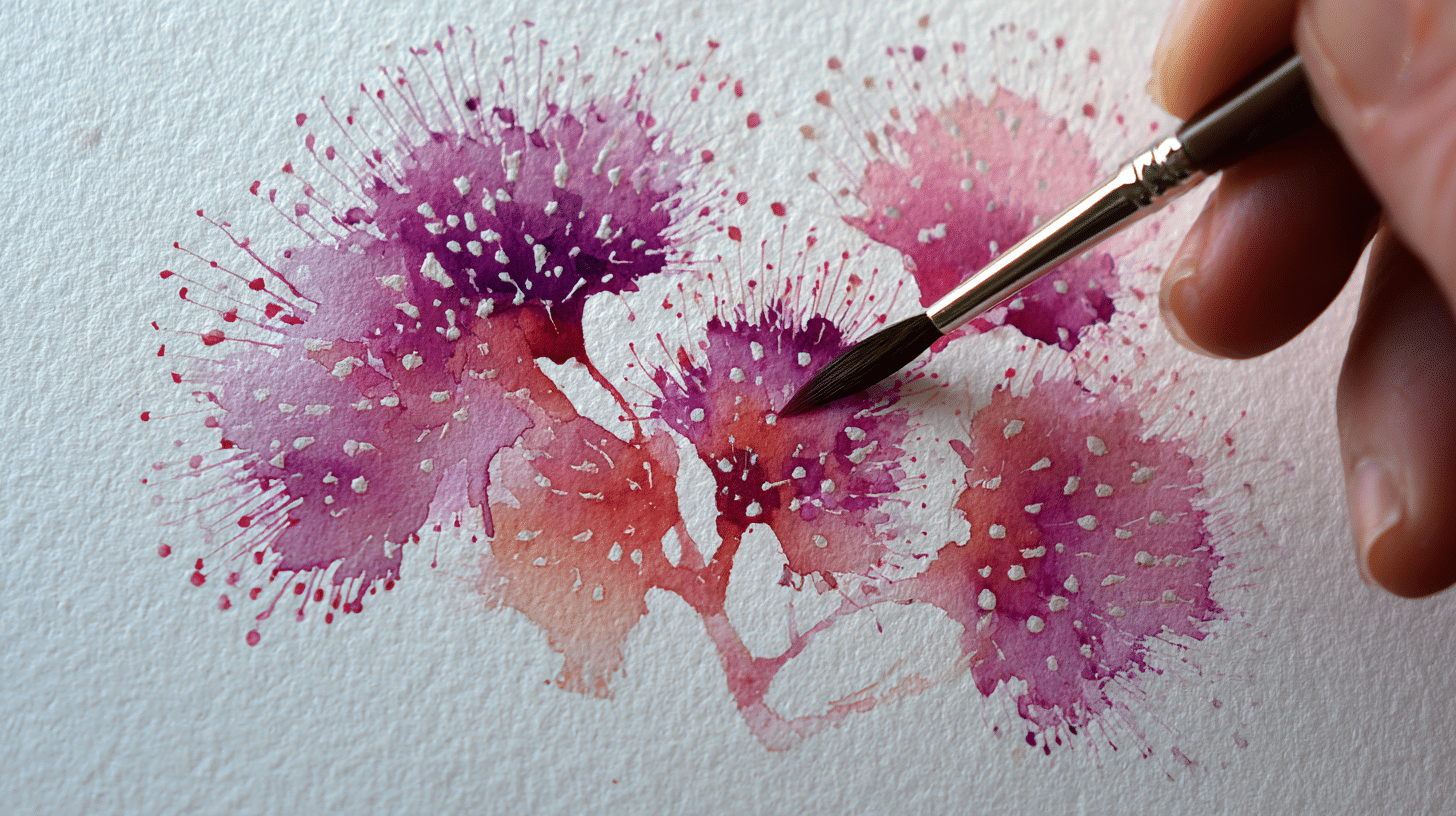
9. Splattering

Need a sprinkle of stars, sand, or lively energy?
Dip your brush in watery paint, then tap or flick it over your paper. Paint will scatter in playful droplets.
Great for adding fun background effects, painting freckles on fruit, or giving scenes an extra pop of life.
Tip: Shield parts of your painting with scrap paper or masking tape to keep some areas free from splatter. Practice flicking on a test sheet first to control droplet size.
10. Bloom/Backrun
Blooms are those unique, flower-like bursts where extra wet paint meets a less wet area, pushing the color out in feathery or cauliflower shapes.
They can be unpredictable, but they add wonderful texture and organic shapes when used on purpose.
Tip: Use a pipette or dropper to add controlled extra water larger blooms, and always place the paper flat to prevent the water from running.
11. Masking
Sometimes you want to keep part of your paper white for highlights or text.
Masking tape can block out straight lines, while masking fluid creates custom shapes or scattered spots.
Paint freely, then let everything dry.
Next, peel or rub off the mask to reveal the untouched paper.
Tip: Use a toothpick or old brush for detailed masking fluid application, and always let the masking fluid dry thoroughly before painting over it.
12. Wet Lifting

If you want to erase or shape a section you have just painted, quickly rinse your brush, blot it a bit, then gently pull or shape the color on the wet paper.
Wet lifting is perfect for painting waves, gentle mist, soft clouds, or adding subtle light spots, all without using white paint.
Tip: Blot your brush between each lift to avoid reapplying pigment, and repeat the process in layers for brighter highlights without damaging the paper.
13. Hard Edge
Watercolor isn’t all soft, blended borders!
For sharp boundaries, paint a crisp stroke on dry paper and let it dry before painting next to it.
The right angles and distinct lines stand out, great for architectural details, graphic designs, or whenever you want a snappy look.
Tip: For super-clean edges, wait until the previous stroke is bone dry. You can use a hairdryer to speed up the process if you’re short on time.
14. Soft Edge
For fuzzier, soft transitions, try painting onto slightly damp paper or adding extra water to the edge of your color.
The pigment feathers out gently, blending beautifully for petals, soft backgrounds, or skin tones in portrait work.
Tip: Soften edges right away while the color is still wet, clean your brush, then run it gently along the edge you want to blur.
15. Blending Colors
Wet both areas, then bring the two colors close together.
They will naturally melt into each other, forming a gorgeous gradient. Practice blending blue to purple for skies, or yellow to red for sunsets.
With a bit of patience, you can create some really breathtaking, smooth transitions.
Tip: Avoid working with more than two or three colors at once to prevent muddy mixtures. Always test blends on a scrap sheet before applying to your painting.
16. Scratching
While your paint is still wet, gently scrape lines into the surface with a toothpick, old credit card, or the end of your brush.
As the paint dries, pigment pools in these lines, leaving unique textures, think bark, veins in leaves, or texture in animal fur.
Tip: Try scratching before the paint dries all the way, but after it’s lost its shine; too wet and the grooves fill in, too dry and it won’t scratch easily.
17. Wax Resist
Draw on your blank paper with a white crayon or a wax candle, then paint over the area.
The wax repels the watercolor, leaving crisp white highlights or secret patterns. This is perfect for raindrops, snow, or hidden messages. Kids especially love this magical “reveal” technique!
Tip: Press firmly with your wax crayon for the best resist. To see your design as you work, lightly shade the area with a colored pencil first, then draw with wax over the marks.
Here’s a detailed tutorial video on how to use watercolours and their different techniques:
Wrapping It Up
Great job, you now know these easy watercolor techniques!
Remember, watercolor is all about practice and having fun.
Don’t stress about perfection; enjoy trying new things and see what happens.
The more you paint, the better you will get. So grab your brushes and keep creating.